Hello! Karen here today with some Bible Journaling and a video too!
I'm loving the new Bible Margin Stamps and keep finding new ideas and ways to use them in and out of my Bible. Today I'm sharing a Bible Page using the Bible Margins - Light set.
I've double stamped and done a bit of fussy cutting to add extra color and pattern - and reflective time - to my Bible journaling. There may be a bit of sparkle, too!
I'll walk you through my entry in this quick video.
Hello! Karen joining you today with something very addictive!
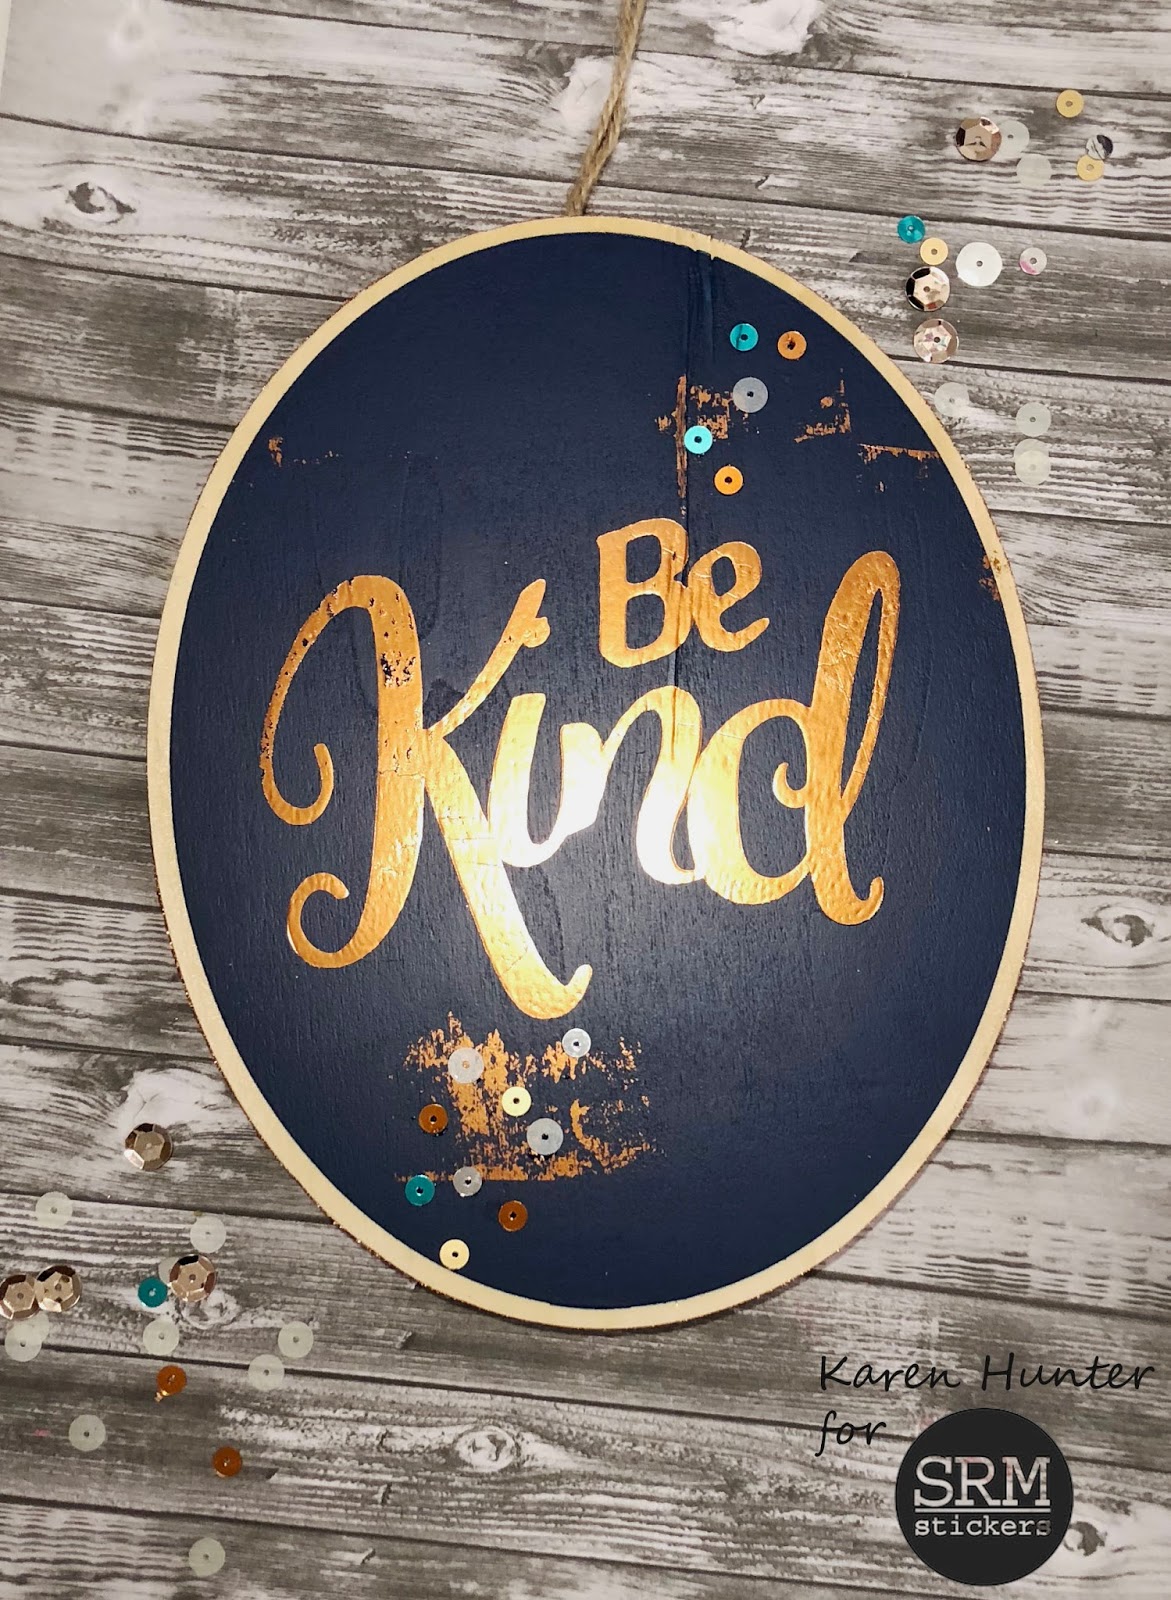
It's so fun when I get my box of goodies from SRM Stamps. Recently, as part of the Design Team, I was sent some textile foil. I'm new to textile foil, but was excited to discover different ways to add some shimmer and shine to my projects.
Today I'm sharing this wood plaque project using textile foil and EasyWeed Adhesive. Watch this video to see how I created this project and what I did when it didn't turn out quite as expected.
I love how this project turned out and I learned a lot in the process. I also love that I was able to use this wood plaque that has been sitting for quite some time, just waiting for sparkly inspiration.
Hello! Karen joining you today. I've been having a great time discovering different ways to use the new textile foils from SRM. Today I'm sharing some of my favorites.
To make these cards, I found free online images and imported them into a (Word) document. There I resized them and recolored to make sure they would print out dark and black. I printed each image onto card stock using a laser (toner) printer. It is key that the image prints with toner ink (not an inkjet printer).
I then ran my image with foil covering it through my personal laminator. The heat of the laminator adhered the foil only to the printed image. After a short cooling off, I simply peeled the foil away to leave the shiny image.
I'll walk you through it in this process video. But I have to warn you, though, you may become addicted to this easy and quick foil application technique!
Thanks for watching - I hope you are inspired to use textile foil in your projects!
Gift cards are always such a lovely gift to receive but it can be a challenge to figure out how to present them. Christinejoining you and Today I am offering up 4 ways to wrap gift cards that feature the Coffee Plans Stamp. I really like to give gift cards to places with coffee so this stamp set was perfect for this! Let's have a look at the four different ways and then I will share a video with you that walks you thru how to make each one!
This first one requires very little patterned paper and can tuck nicely into a card or on top of another gift.
Built around a tag, this one doesn't require a lot of extra supplies either and can easily be added on to something else as well (or hung on the tree!)
This is a bigger one and more of a stand-alone card, making it ideal to stick in the mail! And you can't miss the inside!
Inside the card pops up to showcase the gift card! And how fun is that coffee mug stamped with #coffeebreak. Coffee Plans is such a fun set!
Another stand alone card, this one is constructed easily (despite how it looks) from four circles and a square! It folds up nicely with a box fold and is a sweet surprise for the recipient.
You can check out the full tutorial on constructing these holders in this video:
Head on over to the SRM Store and get those stamps ready to start your holiday creating!
Hello! Karen here today with some techniques and a video too!
Today I'm sharing several ways I utilized SRM's Bible Backgrounds stamp set this week. My favorite technique was using the "amen" Bible background to dress up plain white letters.
After cutting the letters from plain white cardstock in my die cut machine (you could use your white or light-colored stickers), I randomly stamped on top of them before removing them from the cutting mat. Next, I added a bit of marker wash to give them colors that coordinated with my faith planner layout for the week.
To watch me complete this technique and to see a few more ideas using the Bible Backgrounds stamps, watch my process video below!
Options abound when it comes to watercolor techniques and we have all kinds of products for you to play with too! Christine joining you today with a set of techniques for you that work great using the Watercolor Twist Pencils! The Watercolor Twist Pencils come in three different sized packages, 12, 24, and 36.The video below features several ideas with tutorials on how to do each:
Here's a card that showcases how I used one of the backgrounds I created.
I punched the two leaves out from a watercolor background I made. Doesn't it add a lovely, whimsical element? The more I play with watercolor, the more I love the softness it adds.
The sentiment comes from the Child of God stamp setwhich is a versatile set great for cards and so much more.
Who likes to take Sermon Notes? Christine here today and I'll admit it's a bit of a foreign concept for me on a live basis
because I am married to a pastor....so I'm fending for myself in the pew
with four kiddos. Today I have a couple ideas of how to go in with
some ready made creations to add your sermon notes into! The first
project involves a traveler's notebook. The second is a mini book for
kids.
Let's kick things off with a video walk thru of how I created these two projects:
Now let's take a close-up look at these projects - here's the full spread in my traveler's notebook.
Hi there SRM fans! The newest stamp releases have so many possibilities and today I am going to share with you Christine joining you with 7 ideas for using the Mini Calendar Stamps from the Winter Plans,SpringPlans, Summer Plans, andFall Plans sets.
Rather than do picture after picture - how about a video to show the 7 ideas? I made 7 fun projects and here's a video walk-thru!
To recap here's the 7 ideas I highlighted: Baby Book, Save the Date
Cards, Date Cards (Birthday, Anniversary, etc), Bible Journaling/Prayer
List, Traveler's Notebook, Pocket Page, and Party Invitations. Here's a
couple closeups of the calendars on the projects.
Highlight a whole week or more in your traveler's notebook!
How about capturing all those sweet baby memories in a book and using the calendars to help document the days!?!
Are you ready to get your hands on those plans stamps!?! Head on over to the SRM Store to grab them!
Hello! Karen here today to share a project I made for my daughter.
Memorizing scripture is important in our home. To keep track of the verses we've memorized this summer, I created a magnetic holder using a small clear box from SRM. It's a perfect size for holding 3x4 cards. It was super easy to create with some scrap paper and SRM's faith stamps and stickers.
For the step-by-step process, check out the video below.
Hi there SRM Fans! Christine joining you today with a fun, Disney themed layout. One of the best things about the clear stickers is that so many of the sets are so versatile. I have consistently found that I love to use them on scrapbook layouts documenting a visit to Disney. Today I have a new one to show you!
As you can see I used various SRM Stickers to get the job done and worked them in throughtout the layout. Here's a process video showing the creation of the whole layout:
TheBlack Sticker Stitchescontinue to be a staple in my stash, so when I discovered that one of the hearts in the collection already had stitches printed on them, I knew the sticker stitches would be a perfect addition to the other two!
I topped each part of the title with little quotes from the Express Yourself/Everyday Boy sticker set. I love how they subtly add to the title to make it more interesting and have more detail.
I also pulled out this quote from the Express Yourself/Everyday Boy sticker set to add to the top and build a cluster off of. I thought this was an especially good quote for a day full of fun!
The next time you are creating don't forget to pull out your SRM Stickers and see how those fabulous clear sentiments can work in different ways for you!
Hello! Karen here today to share something special just in time for Mother's Day! And a video too!
Mother's Day is a special day to honor and celebrate those women in our lives who encourage, love, and inspire us. Today, I'm sharing a sweet card and gift bag to help me do just that.
Check out this process video to see how you can quickly put together a similar card and gift bag for that special lady in your life.
I'm a pen addict, there's just no getting around it! Christine joining you and now that we have established that I am going to focus on the new white gel pen from SRM Stickers! I'm also going to add in some jute twine and lots of stickers and you can check all of them out up close in a process video for this baby layout!
Here's the process video for this layout:
I used the Gel Reminisce White Pen to decorate all the little rectangles along my patterned paper.
It worked beautifully for making that patterned paper have a different look and a one-of-a-kind look! I also incorporated some Black Sticker Stitches to create a border along my layout. I tucked some light pink Jute Twineunderneath the pictures to add a touch of whimsy.
Hi there crafty friends! It's a busy time of year for my family so I wanted to create some cards that I could grab and send for encouragement. Christine joining you today and I'm using some Bible Journaling stamps and the Gold Calligraphy Paint Pen, I came up with some quick and easy ones. I also created a video for you to show you how I made them! Here's the cards!
Here's a quick walk thru how I made these cards:
As you can see each card has the same basic design but I changed up the words and borders.