Showing posts with label Cards. Show all posts

Thursday, May 3, 2018

Grad Card Season by Shanna


Hi SRM family!  Shanna here today to show you a couple creative cards to celebrate that special graduate in your life!  My oldest is about to finish her junior year in high school...so NO graduating this year (this mama can't even!) but she does have a few good friends who will be graduating.  I took the opportunity to create a couple cards utilizing her school colors, black and purple, but they could be easily modified to whatever color scheme needed. 


 I discovered I don't own many graduation stamps, but I really wanted to stamp on these cards. So I sifted through my SRM stamps and came across my Birthday Plans set...BINGO!  This set worked perfectly to create some backgrounds to die cut out for my cards!  I first stamped out "panels" of the images I intended to die cut, and then ran them through the big shot with my die of choice.  I grabbed my Take 2 Stickers by the dozen/Graduation stickers for my medallion sentiments and my cards were complete!
 I used the celebrate border stamp, hooray, and the balloon icon to make a total of 3 panels.


Take a look and let me know what you think!


I really wanted a bolder splash of color, so I chose to watercolor the balloons purple with my watercolor twist pencils.  Easy peasy and just what I had envisioned!
Supplies used:
Miscellaneous purple twine
Versafine Black ink

Thanks for stopping by!
Until next time,


Thursday, April 26, 2018

"Faux" Project Life Cards by Giorgia


Hello SRM friends, Giorgia here and today I want to share with you an idea on how to use Project Life cards if you are not into Project Life.  I'm calling them "faux" Project Life cards!   
I was so lucky to win a set of Project Life cards, but I don't like to do it, so I thought of using them in my cards! 
I created a panel with them and added embellishments; as sentiment I used SRM Stickers.

Here it is the first card:


And here it is the second one: in this one I also added a sweet SRM ladybug sticker as embellishment.


Both my cards are springy and feminine and they could also be meant as a card set: you can put them in a SRM Stickers bag, or box and give them away to a friend as a little gift.

I hope to have given you an idea!
Until next time,
ciao, Giorgia.


SRM products used 


Tuesday, April 24, 2018

Stamped & Foiled Thank You Card by Emma


Hello SRM fans!  It's Emma here today to show you how to use the wonderful textile foil and your SRM clear stamps to make simple and cute cards.


For this card, I am using the BIG Thank You clear stamp set as it gives us nice large letters to foil.

The trick with foiling, is to use something heat-reactive that will cause the foil to stick to the design when passing through a laminator.  There are several options, such as cuttable adhesive sheets, heat-reactive adhesive gel, or toner from a laser printer.  You can also get toner paper sheets that can be cut into a design and then foiled.


For my card, I am going to stamp the THANKS sentiment with Decofoil Transfer Gel.
Use a sponge dauber to dab the gel onto the surface of the stamp.  Stamp the image onto your cardstock, and allow to dry for about an hour.  I know it is slightly tedious to wait, however the gel is heat-reactive so it does not help to use your heat gun to set it.  (I know, I tried!)  My advice is to stamp the same sentiment several times, in case the first one doesn't stick to the foil as well as you hoped.  (Use more transfer gel each time you stamp the image).


Now, lay the foil sheet over the stamped images, completely covering them.  I chose this funky purple holographic style, as it's so cool.


Now, fold some plain kitchen parchment paper (NOT waxpaper!) around your stamped paper and foil.  This is another good tip - I have tried using cardstock or heavier paper around my project previously, and found that it did not work.  Switch on your laminator, and once it has reached temperature, feed your project through.  My laminator is an inexpensive $35 model - I know that some craft-specific ones can run to $200 or more.  For this model, I chose the higher 5mil temperature.  Please always follow the instructions for your own machine carefully.


Here are our foiled Thank Yous!  As you can see, the foil hasn't taken fully on a couple of the images, so now I can pick the best one.  I used a rectangular die to cut my chosen image from the sheet.


Now for the background.  I decided it would be fun to use the rest of the stamp set behind the main sentiment.  So for this, I have stamped the images with embossing ink, and used clear embossing powder.  


The embossing technique creates a cool 'watermarked' effect.  You can still see it, but it doesn't overshadow the foiled main sentiment.


Here is the finished card!  I think it looks simple but effective.
I hope you enjoyed my project, and are inspired to try heat foiling with your stamps too.

Happy crafting!
~~ Emma ~~

Supplies:
  • SRM Clear Stamps - BIG Thank You
  • SRM Textile Foil
  • Decofoil Transfer Gel
  • Tim Holtz Embossing Ink
  • Close to My Heart Clear Detail Embossing Powder
  • Scotch Laminator
  • Parchment Paper
  • Craft heat gun
  • Smooth white cardstock

Monday, April 16, 2018

Coffee Cards by Shelly


Hey y'all! Shelly, here.
Today, I'm sharing some fun and simple coffee cards with you.


I started with my background piece, which I used a die for and some patterned paper. After I used the SRM Stickers Coffee Plans clear stamp set for my coffee cups/images. I simply colored them in with colored pencils. Then added them to my squares on my card, which for one of the cups in each square I 'popped up' with foam tape on the back.


To finish my cards off I added my sentiment in the rectangle on my card. Easy peasy, right?!...


Thanks so much for stopping by!
Enjoy your day!
SRM Stickers supplies:


Thursday, April 12, 2018

Simple Foiled Thank You Cards by Samantha


Hello! Samantha here with you today. I can never seem to have too many thank you cards in my stash. I thought I'd play around with the new Easy Weed Adhesive and Textile Foil to create some Simple Foiled thank you cards.

To create these cards you'll need card stock, Easy Weed Adhesive, Textile Foil (I used blue and copper), a laminator or heat press, and a Silhouette Cameo or similar digital die cutting machine.


You will use your Silhouette Cameo to create and cut the design you want from Easy Weed Adhesive. When working with Easy Weed Adhesive you must remember to mirror your image for cutting (cut it out backwards). 


Place the design you cut on your card stock and heat it with a heat press (only about 2 seconds is needed for Easy Weed Adhesive on paper) or run it through your laminator. Make sure to peel the backing off of your adhesive as soon as you take the heat off. Do not wait for it to cool down. 

Finally, place a piece of textile foil over your Easy Weed Adhesive design. Apply heat a second time (with a heat press or a laminator). Wait until the foil cools, peel it off, and you have a beautiful foiled design. 

My favorite thing about using foil on card stock is that it shows up beautifully on both light and dark colored card stock leaving you endless possibilities for color combinations.  

I think these simple foiled thank you cards show that simple can also be stunning. 

Friday, April 6, 2018

Spring Cards in Gift Box by Angie


Hello SRM friends! Angie here with you again today to share some spring cards and a cute box to gift them in!!


I made all three cards using stamps from the Just Believe stamp set. For the blue card in the middle, I stamped the flowers and leaves on vellum. Then I used watercolor markers and water to give them the watercolor look. Then I just fussy cut them out. I placed the flowers and stems vertically down the card and used foam under the smaller flowers to add some dimension. 


I made the blue background by using distress oxides and water to give it the bleached look. I added some gold and pink ink mist splatters as well. 


The word 'spring' is from the Seasonal Plans stamp set.


For the front of this pink and white card, I added this fun doodle stamp from the Stamped Stitches set. I love how it adds so much to the card will such little effort!! I stamped and fussy cut the flower and stems and gave the card a fun edge by using a punch to make the scalloped border. 


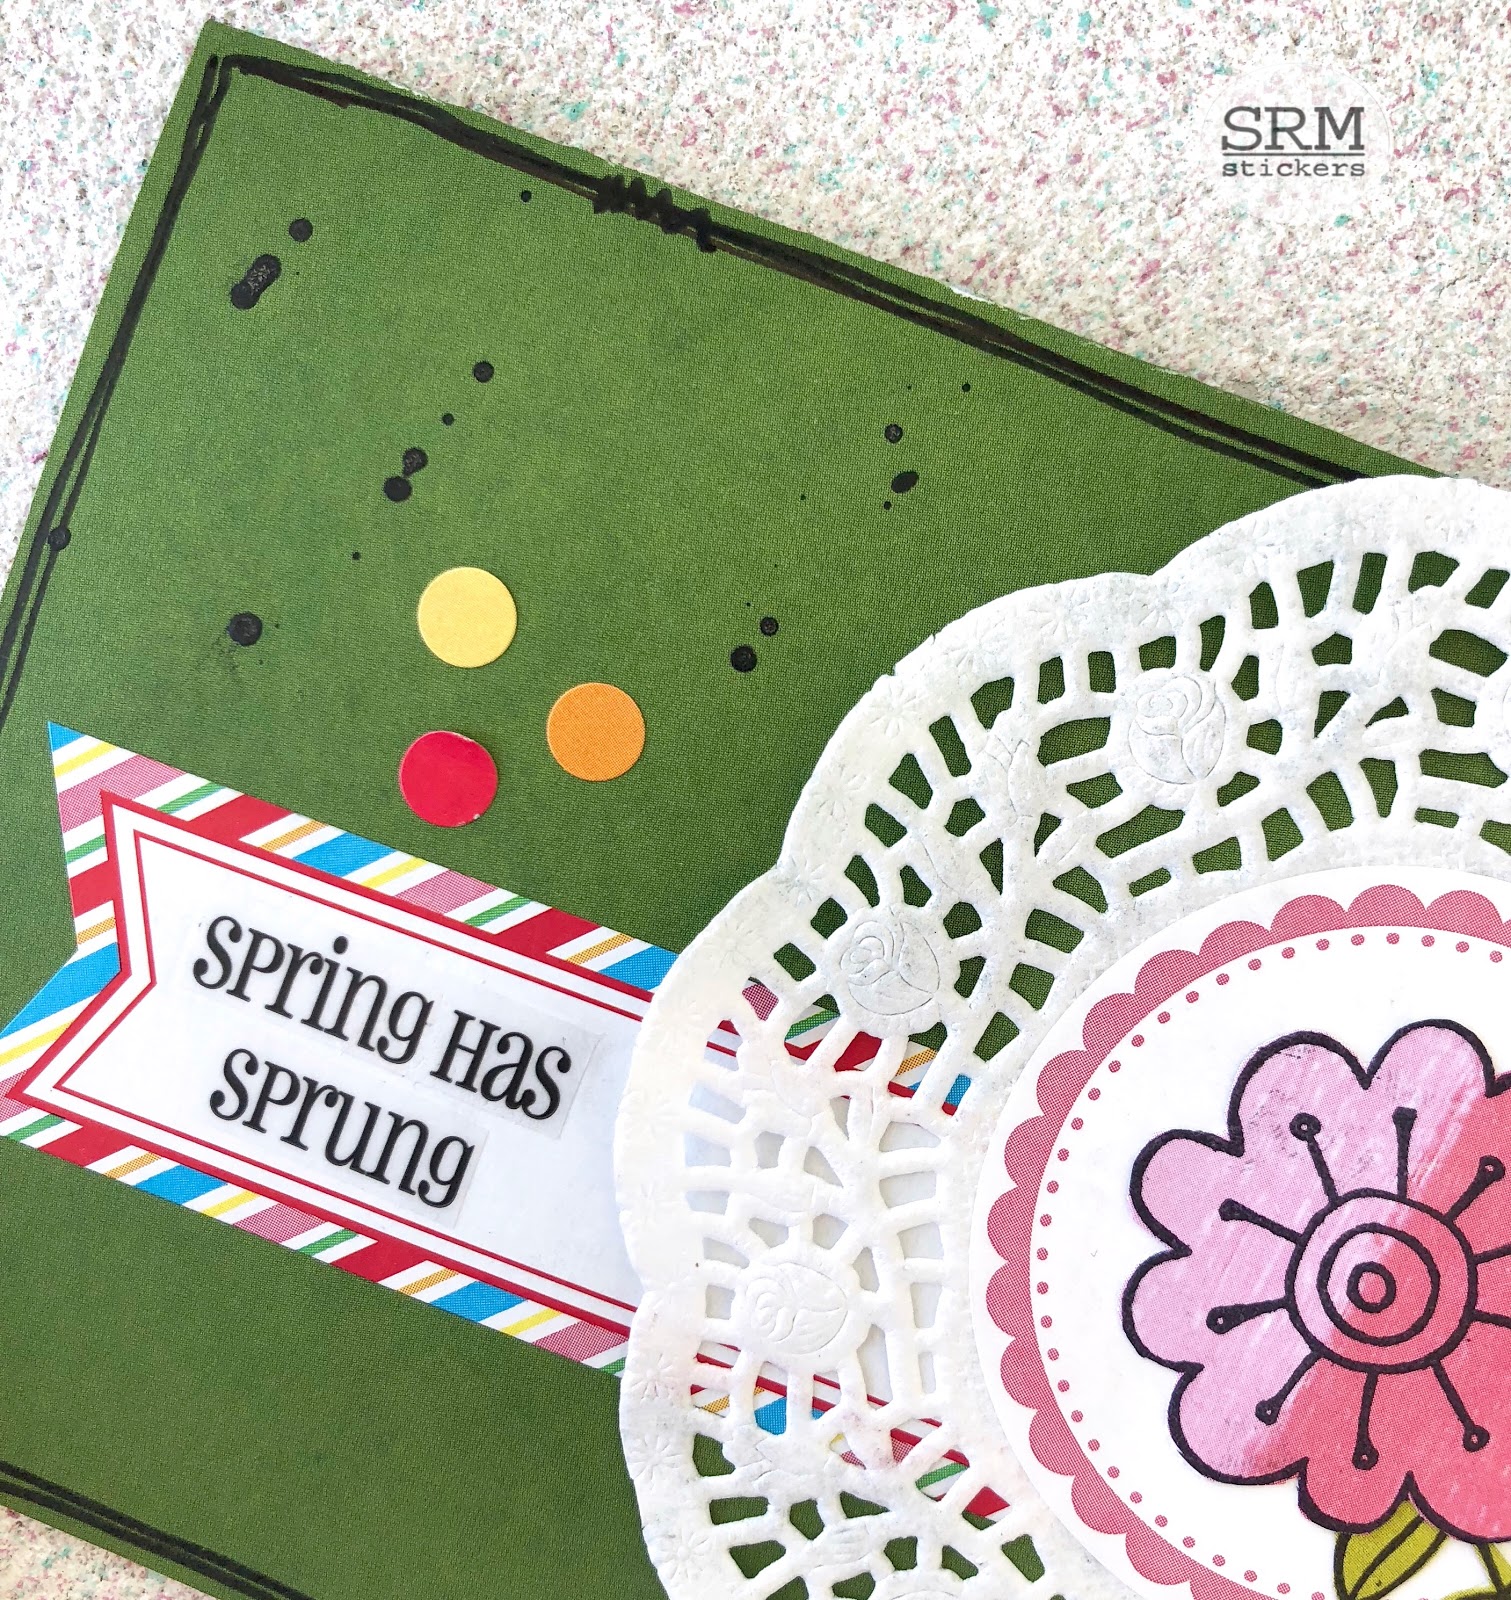
The green card uses lots of fun SRM products such as the small lace doiliesbright blank labels by the dozen and the Easter Express Yourself stickers. 


For the gift box, I used the A2 Clear Card Box. I punched two holes in the top and simply threaded the twine through the holes and made a bow. SRM has lots of twine to choose from. The flower borders on the box are from the Thank You Stickers by the Dozen set and the green label in the middle is another Labels by the Dozen sticker. I added another fussy cut flower, stem and a bird to finish off the box. 

Thank you for visiting the blog today. I hope my project gives you some inspiration to create your own!!

Friday, March 16, 2018

Faith Cards by Melanie


Hello! Melanie here today and I am sharing a couple of cards I made using the new Bible Margins Love Clear stamps.


These stamps are wonderful for stamping in Bible margins or for bookmarks, too. I used a masking technique to just use a portion of the stamps for my cards. I used a small sticky note to cover the part of the stamp I wasn't going to put on the card. Then I inked the stamp. After removing the sticky note, I could stamp the portion with ink onto the paper.


 By using the same basic overall design for both cards, I was able to complete them rather quickly. I varied the patterned papers and width of the strips.


 The Sticker Stitches are probably my #1 go-to product by SRM. I use them all the time. For these cards, the dot stitch was a perfect way to anchor the sentiment banner to the card.


Wishing you a "LOVE"-ly day! :)

SRM Products used:

Monday, March 12, 2018

Textile Foil Cards & Video Using Laser Printer and Laminator by Karen

Hello!  Karen joining you today.  I've been having a great time discovering different ways to use the new textile foils from SRM. Today I'm sharing some of my favorites. 


To make these cards, I found free online images and imported them into a (Word) document. There I resized them and recolored to make sure they would print out dark and black. I printed each image onto card stock using a laser (toner) printer. It is key that the image prints with toner ink (not an inkjet printer).   


I then ran my image with foil covering it through my personal laminator. The heat of the laminator adhered the foil only to the printed image. After a short cooling off, I simply peeled the foil away to leave the shiny image.


I'll walk you through it in this process video. But I have to warn you, though, you may become addicted to this easy and quick foil application technique!


Thanks for watching - I hope you are inspired to use textile foil in your projects!
SaveSave

Friday, March 2, 2018

Spring Card Set by Giorgia


Hello SRM friends, Giorgia here and today I want to share a set of cards I created as a gift for a friend: a card set is a little gift that you can make in minutes for your loved ones!

I made these three cards thinking of Spring, so I used pastel colors and flowers.
I used the same patterned papers and the same sketch to create the three cards, so they really are a set!


I used paper scraps to create the cards: when I need to make cards I always dig into my paper scraps box!I added die-cuts, a resin flower and machine stitching on all the cards.As sentiments I used SRM Stickers.


I put the cards in a clear card box: I adhered patterned paper inside it, decorated with SRM Stickers. 


I hope to have inspired you to make a card set: it is really easy and fun with SRM stickers.

Until next time,
ciao, Giorgia
SRM products used 

Thursday, February 15, 2018

Lucky Cards by Shelly


Hey ya'll! Shelly, here.
Today I'm swinging in to share a couple of fun and luckycards with you! 


I started with my background, which I used a clover stamp with and spritzed it with water and then stamped it on my card base. After I let it dry. I then used some gold glitter cardstock for my rainbows and some gold sequins for 'gold'. 


I added some foam tape on the back of my rainbows before adding them to my cards. Then glued on my gold sequins for a 'pot of gold' at the end of the rainbow. Lastly, some washi tape with a sticker sentiment on it and then some green twine. Fun and easy, right?!...

Thanks so much for stopping by!
Enjoy your day!

SRM Stickers supplies: