Showing posts with label Mixed Media. Show all posts

Thursday, September 21, 2017

Mixed Media Fall Decor & Video by Karen


Hello!  Karen here today with a mixed media project and a video too.  


I love fall and can't help creating a project or two featuring fall's rich colors. Today I'm sharing a fun mixed media project with lots of layers! 
Watch this video to see this project come together.


The finished project with all its yummy layers, including: paper, paint, washi tape, clear stickers, stamps, vinyl, and jute twine.


I'm ready to decorate for fall. Are you, too?


For this project, I used:

Thursday, September 14, 2017

Mixed Media Halloween by Tobi


Hi there, it's Tobi Crawford here with some mixed media fun! Halloween is a great reason to get a little messy with your projects, and it's fun to let loose and experiment a little.

I used a 3x3x3 Kraft box as my base. Before I assembled it, I did some stencilling, and misting and created a fun little background for the vampire (Sizzix). 


(For all of the stencilling I used Tim Holtz Distress Oxide Inks)

Once all of the sides were decorated, I folded the box into place and added the sentiment and vampire!


Thanks for stopping by! 

Monday, August 14, 2017

Bags of Fun Mixed Media Tutorial by Emma


Greetings to you, crafty friends!  Emma here, and today I am going to share a little mixed media piece using one of these wonderful SRM linen & lace bags, enhanced with lace.  They have a wonderful texture, which is just perfect for an art journal page.


 I know that being faced with a blank page is pretty daunting when beginning a mixed media piece.  The trick is to remember that you can build layers of colour, stamps, texture and embellishments to create your page.  This type of art isn't supposed to be "perfect", as it is a reflection of your current mood, or the inspiration you found.

To start, I picked some supplies to go with the linen bag:


Here, I have 4" white lace doilies, green jute twine, 2" punched scallop circle, and two stamp sets, Big Hello and Bible Backgrounds.  I really love the images on the backgrounds stamp set, especially the clouds!


To build the colour of the background, I have used Marvy ColorIn Watercolor Pencils.  


They blend beautifully!


 Now, to use the stamps to build up other elements in the background.  I used the clouds, springs and arrows in random areas.  Then, I stamped and embossed the 'hello' using white embossing powder.


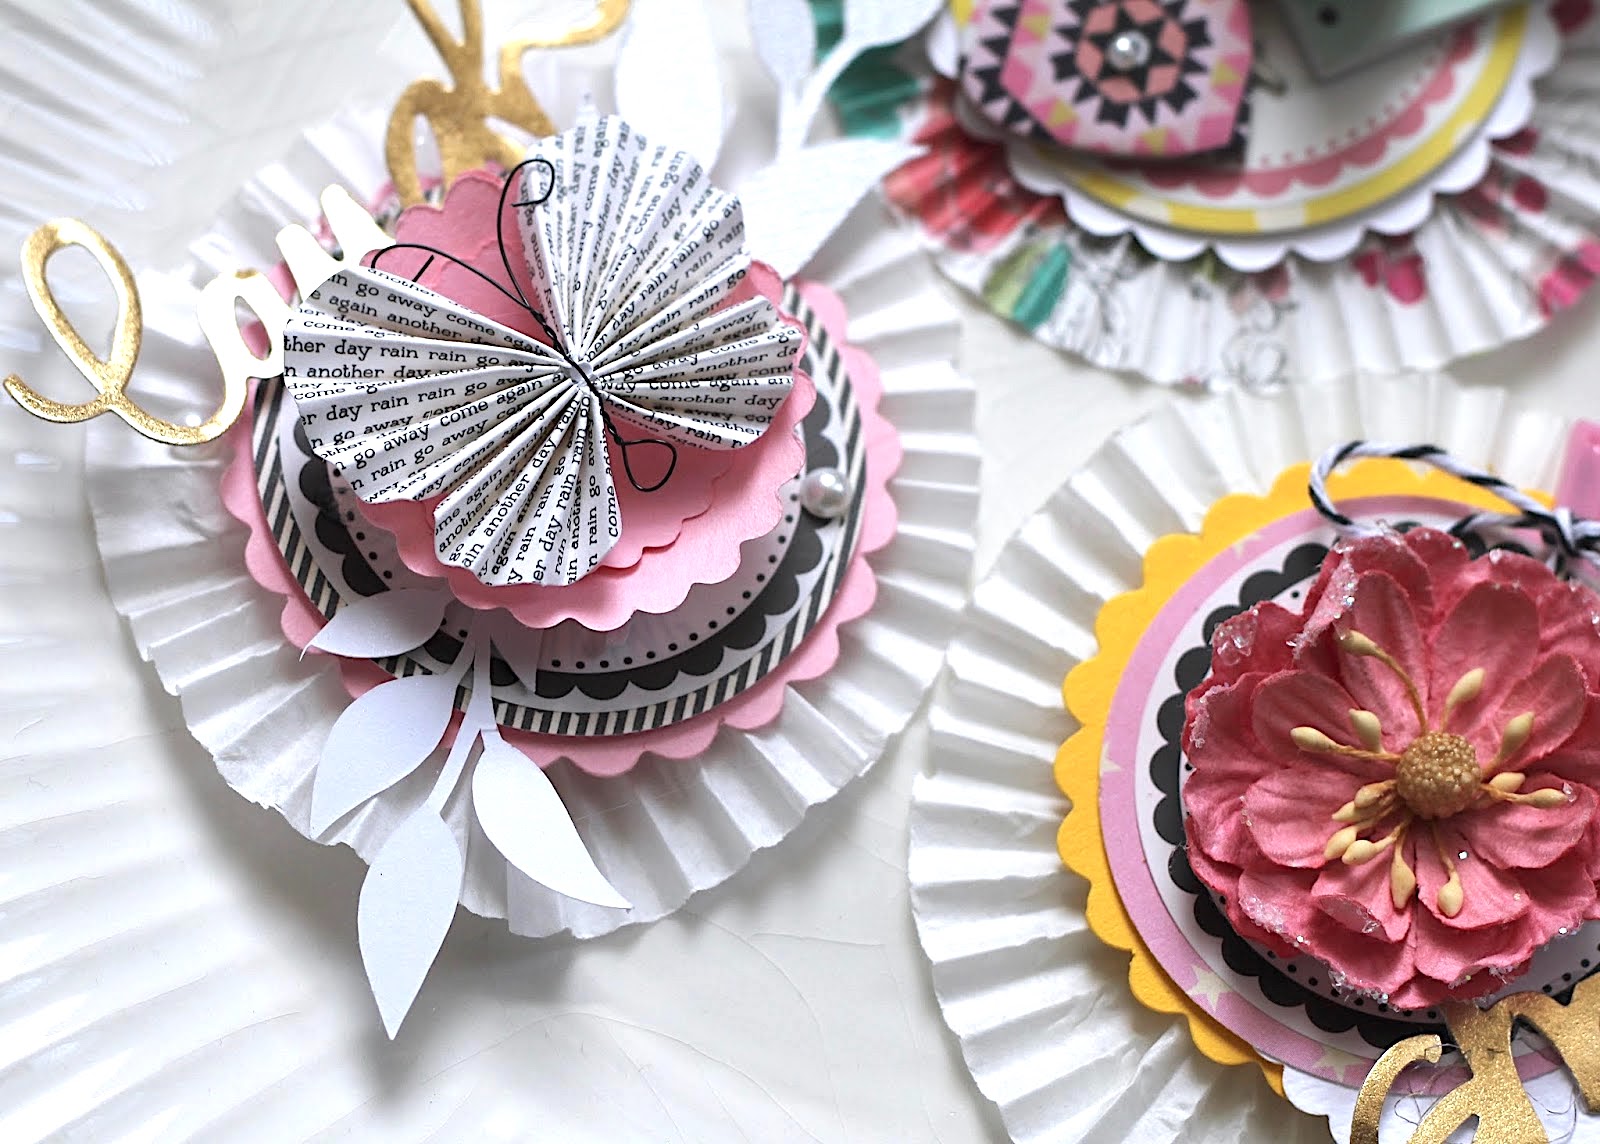
Now, I have added the linen bag (I used strong double-sided tape such as SookWang to hold it down).  Bursting from the bag are three paper doilies, that have folded into tube shapes and embellished with a little gold and copper gilding wax.  This really makes the texture in the doilies pop!  Lastly, I created a flower shape with the scalloped circle, and added petals and a bling rhinestone to the centre.  The green jute serves as a stem for the flower.


 I hope you've enjoyed my mixed media project, and that it inspires you to try something like this too!  It's so fun to let your creativity run wild.  (PS - I heard you can even use these linen bags to put things in, too!  So versatile! 😉)


Best wishes to you all! 
Emma 


Friday, July 21, 2017

Mixed Media Tags by Tobi


Hello!  Tobi here today.  I love to play with lots of different mediums and styles - it keeps this hobby of mine (which I have done for over 11 years now) fresh, new, and interesting. 

Today I am sharing some tags made with extra paint from a painting project. 


I have recently started experimenting with Acrylic Pouring and the paint that drips off the side of the canvas is just too gorgeous to throw away!!! 

Here's my painting: 


And here's the pool of paint that ran off the side. I simply dragged some tags through the paint and I had some lovely backgrounds ready to go! 


Some simple, yet striking die cuts paired with a versatile SRM sticker sentiment was all it took to dress these tags up. 


I love how a clear sticker adds just the right touch! 


Tuesday, May 2, 2017

Mélange Labels by Shantaie


Hello!  Shantaie here today to share some fun, delicious Mixed Media ideas for SRM Labels by the Dozen stickers    


What paper crafter doesn't find themselves with at least a few leftover bits and pieces of paper, & odd embellishments? More often than not we have gratuitous amounts of patterned paper odds, and that one flower from a package you used for a scrapbook page.... well I have mashed all these tidbits together to make these mélange can be scooped up and added to a layout, a package or tag super quick!


 I flattened some cupcake liners, and started with a base using punched pieces in varied colors and sizes, I even made a flower from my punched pieces !  I punched circles from my patterned paper scrap stash, and topped that with labels by the dozen stickers 


I simply layered on the leftovers including a pin with a striped twine bow, and a little gold die cut that was waiting for a new home! 

Now I have a little stack of them to grace anything that needs a bit of pretty! 

Thanks for stopping in! 

Monday, October 24, 2016

Thanksgiving Table Turkeys by Karen


Kids won't mind getting assigned to the "kids table" when they are greeted with these fun little turkeys! 


Start with a clear triangle box. Assemble and fill it with shredded paper (or maybe little treats for your little guests). Use a sharp craft knife to cut 3 "x" marks on each side. This is how you'll insert your crayons (the turkey "feathers") as shown below. They should fit nice and snug.


Decorate the front with a fun little turkey (mine is cut with my die cut machine) and clear border stickers. Don't forget to provide some paper or coloring sheets for the kids, too! For mine, I used a few stamps from the SRM-Faith collections to spell out "Give thanks to God" and will ask the kids to write or draw what they are thankful for. I can collect these and easily add them to my Thanksgiving scrapbook page along with photos of the kids. It will be a sweet way to remember the blessings of the day.


Thanks for visiting. Hope you are inspired to create something wonderful today!

For this project I used:

Wednesday, September 28, 2016

Happy Halloween by Shelly


Hey y'all! Shelly, here! 

Can you believe how fast time just keeps going on by?!...Before we know it, it'll be fall and you know what that means...Halloween! Heehee. :)

So, today I'm sharing a fun Halloween treat container. 


You can easily fill it with whatever you like! Candies, little spider rings, mini glow sticks, etc. The possibilities are endless! ;) 
*Confession: I would have filled my container with some chocolates...though, they have seemed to 'disappear'. lol*


I decided on doing something nice and easy. Especially since things can be a little hectic around this time of year. I started with adding my sentiment stickers to different colored cardstock and patterned paper. Afterwards, I cut them into little banners. (For my big 'Happy Halloween' sticker, I simply stuck it onto one of SRM Stickers large punched pieces.)  After, I assembled everything together and then added it to my container. 
Easy peasy, right?!...

Thanks so much for stopping by!
Enjoy your day!

SRM Stickers supplies used:

Friday, September 9, 2016

Love is…by Amber


Hello SRM Sticker fans! It's Amber here, today I have this lovely framed watercolor piece I created for a loved one to share. I had so much fun creating this piece. I used a wooden frame, watercolor paper, a large floral stamp, SRM Stickers By The Dozen/Wedding, and a few Marvy ColorIn Watercolor Twist Pencils to create this piece.


I started by stamping my large floral stamp onto some white watercolor paper and then started the watercoloring process. The Marvy ColorIn Watercolor Twist Pencils were super easy to use, just twist the pencil to feed the lead out and start coloring. I lightly colored my image and background with the twist pencils and then went over all the entire piece with a wet paint brush. The colors blend so nice and smooth, the more water you add the lighter the colors will be. If you want to achieve deep rich colors like I did keep layering and don't be afraid pull color right from the pencil itself. You can do this my wetting your paintbrush and touching your paintbrush directly to the lead.


Once my watercolored panel was dry I added one of the Love Is...sentiment stickers to some white cardstock, cut it, and adhered it to the bottom right of my piece. I added the entire piece to the inside of my wooden frame and then added some more stickers from the Stickers By The Dozen/Wedding sticker sheet around all four outside edges of my frame. Although this piece looks like it took a lot of time because of the watercoloring it really was quick and easy to create. I hope you enjoy.  Thanks for visiting! 

SRM Supplies

Friday, May 6, 2016

Flicker Friday - Planner by Yvonne Yam


Recently we had a guest design visit from Yvonne Yam who is such a talent.  We were fortunate to have her on our design team and she continues to use her SRM on a regular basis in her mixed media projects, her layouts and now in her planner. 

For today's Flickr Friday, we check out another post to her planner.  


Yvonne loves stickers and uses them liberally throughout her planner.  I spy the Calendar Companion, Year of Memories 2016, We've Got Your Border Birthday, Birthday Stickers by the Dozen and Cooking FreeStyle.  


And here's a closeup of some planner art that Yvonne includes each month.  Her planner is a combination of a planner, a journal and her passion for mixed media.


Thanks for joining us today!  If you would like to be featured on the SRM Blog's Flickr Friday, simply post a project using SRM products to our Flickr and you may be featured!

Wednesday, March 23, 2016

Planner Guest Designer - Yvonne Yam


We are excited to welcome Yvonne Yam today as a guest designer.  Yvonne is a true artist and she's turning her planner into a work of art! Let's take a look….
and let's hear from Yvonne in her own words.


Hello, Yvonne here and so happy to be back on the SRM Blog.  I've always loved their products and I was excited to be part of their design team in 
2013-2014.

I love it when the little bits and pieces in my stash get used up...even though it takes a long long long time to even make a dent in that stash...I'm sure you know what I mean. *winks*  


I'm currently enjoying my monthly planner spreads [daily and weekly are just too much work for me!] even though I've essentially completed only one month. *haha...fingers crossed that I can keep up with it!*  SRM's Calendar Companion is perfect for my planner and so many bits and pieces that it should last me quite a while!  


It's been fun fitting in the little bits of scrap paper, adding personal touches like a painted face and using found objects in my "save-it-for-a-rainy-day" stash in my planner. :)  


Like an ice-cream stick. It is lightweight and has a cool texture. :)
By the waydo you spy some SRM?  These clear stickers are perfect for planners or any kind of mixed media.   SRM's Cooking clear stickers are included on many of my projects.  "What's For Dinner" is a daily question in my house! :)


My partial girl's face was from a scrap piece of watercolour practice.paper that I tested my new watercolour pencils on.

Like most of you, my real schedule is stored electronically. This physical planner is just a way to jot down some memories that I may not scrapbook about and to use up my scraps.:)

Thanks for dropping by.  And be sure to share your planner projects with us on Planner Sticker Fun Facebook group. 

Happy Planning! 

Thursday, March 12, 2015

Small Things with Great Love by Shannon


Good Morning SRM fans!  Shannon here and so excited about SRM's new Chalkboard products!  You've seen a ton of inspiration featuring the new Chalkboard Markers being offered at SRM! It's my turn to show how versatile these markers really are...and chalkboards are all the craze now, even after the trend seems to have been around forever.  So I guess it's more than a trend, it's an essential basic!

I created this canvas using the Easy Chalkboard Marker, the Bistro Markers 6 mm tip (both White and Fluorescent) & the Bistro Markers Fine Tip (both Fluorescent and White).  In fact, I used every Chalkboard product that SRM offers!

SRM Stickers Blog - Small Things with Great Love by Shannon - #chalkboard #markers #white #blackboard #fluorescent

The markers are so fluid, yet they give you the ease of marking exactly how you want to! This is an 8X10 canvas, I seasoned the "Blackboard" before adding the quote.  Here's a link to how you can season almost any surface:  https://www.youtube.com/watch?v=msr9CpNBNcE#t=18

Here's what I created…. 
Click on images to enlarge!

SRM Stickers Blog - Small Things with Great Love by Shannon - #chalkboard #markers #white #blackboard #fluorescent #canvas #DIY

Here are some close ups of the quote and texture.  Love how the fine tip creates the bright dots in the background.  I love the way this turned out and can't wait to make more in the future!

SRM Stickers Blog - Small Things with Great Love by Shannon - #chalkboard #markers #white #blackboard #fluorescent #canvas #DIY

SRM Stickers Blog - Small Things with Great Love by Shannon - #chalkboard #markers #white #blackboard #fluorescent #canvas #DIY

If you would like to WIN some of these awesome markers, be sure to leave a comment here on the blog and keep your fingers crossed.  

Thanks for letting me share!!! 
Now, go pick up some chalkboard markers and get creating!! 

Psssst….. by the way…..  SRM is featured on the My Favorite Things Challenge Blog today.  Hop on over and check it out:   http://www.cardchallenges.com/2015/03/mft-color-challenge-17.html

Friday, November 21, 2014

Mixed Media Tags & Video by Shery


Hello, SRM friends! Shery here to share mixed media tags and a video using some of my favorite SRM Stickers products. If I were to pick my absolute favorite from all the stickers by SRM, I'd say it's the Sticker Stitches! I simply love them because they can add so much interest to any project. The Sticker Sentiments are fabulous, as are the Punched Pieces.


I created my tags from one sheet of 9" by 12" watercolor paper, which I cut in 8 equal parts, so each tag measures 3" by 4.5". I used different media (Gelatos, watercolor brush pens, Inktense blocks, Twinkling H2Os, gesso, and modeling paste) plus stamps, inks, and stencils.

SRM Stickers Blog - Mixed Media Tags & Video by Shery - #fall #tags #mixed media, #stickers #punched pieces #thank you,

For my first set of tags, I used Gelatos over some whipped spackle. I stamped some leaves to create a subtle background then used the Black Sticker Stitches. Then I applied modeling paste over a chickenwire stencil and gave it some shimmer with autumn butternut Twinkling H2Os. I sponged vintage photo Distress ink on large yellow Punched Piece and medium white Punched Piece punch pieces, layered them, and used the sentiments from the Sticker Sentiments/Thank You sheet.

SRM Stickers Blog - Mixed Media Tags & Video by Shery - #fall #tags #mixed media, #stickers #punched pieces #thank you,

I did the background for this second set of tags the same way I did the first set, only this time I used Inktense blocks. I sponged vintage photo Distress ink on large yellow and orange punched pieces, layered them, and used the sentiments from the Sticker Sentiments/Fall sheet.

SRM Stickers Blog - Mixed Media Tags & Video by Shery - #fall #tags #mixed media, #stickers #punched pieces #thank you,


For my last set of tags, I used watercolor brush pens for the background. I wanted these two tags to be completely flat so I picked two of the bold sentiments from the Sticker Sentiments/Thank You sheet and stuck them directly onto the tags.

SRM Stickers Blog - Mixed Media Tags & Video by Shery - #fall #tags #mixed media, #stickers #punched pieces #thank you,

 I have a video showing how I made the tags from start to finish and I hope you enjoy it! I made these tags assembly line style so they made for quick work :o) Thanks so much for letting me share my project with you today! Hope they inspire you to use SRM Stickers -- they're awesome for mixed media!  View the video HERE!