Showing posts with label Jute Twine. Show all posts

Thursday, May 31, 2018

Doilies and Gift Bags by Shelly


Hey y'all! Shelly, here.
Today, I'm sharing some sweet doily gift bags with you!


I started with my doilies and added a fun die cut sentiment piece to each of them. Then I added them to my little bags with some jute twine and a mini staple to adhere it on my bag. After, I added a couple little die cut bees and a little 'I love you' sentiment banner. Easy peasy, right?!...


Thanks so much for stopping by!
Enjoy your day!
SRM Stickers supplies:

Jute Twine
Kraft patterned bag

Thursday, May 24, 2018

Hello Spring by Karen


Hello Karen joining you today.  As I write this blog post, I'm still on the look-out for spring. Winter does not want to let go quite yet. Even though spring may not have arrived on the outside, this brightly painted spring sign certainly warms up the inside and helps me "think spring."


I used a scrap piece of wood, lightly sanded for this sign. I grabbed several of my brightly colored acrylic paints and "messily" painted the board so that all the colors could be seen. After designing and sizing "Hello SPRING" in my electronic die cutting software, I cut the letters in vinyl and applied them to my (dry) sign. 
Next, I layered a cream colored paint on top of my board and the applied vinyl. I like to peel my vinyl off before the paint is quite dry. I love the variation of bright colors revealed underneath the vinyl as I peeled it off.


To finish off my sign I added some spring colored twine and a trio of buttons. Simple eye hooks and more twine made it the perfect sign to hang in a sunny spot in my home. 
Come on, spring!

For this project I used:
wood board | acrylic paints | Oracal 651 vinyl | SRM spring jute twine | buttons | eye hooks
SaveSave

Monday, April 30, 2018

Bible Bubbles Card by Michele


Good morning! Michele here with a fun Bible Bubble card! This is one of SRM's new sets and I think it is so cute! I used a stencil and inks to create a subtle background.  I stamped each bubble sentiment in black ink and gave it a bit of depth with gray Copic markers.  


I also colored the hearts with red Copic markers.  I added glossy accents to the hearts and each of the bubbles for dimension.  


For a few last minute touches, I added a few rhinestones and red twine to bring out the red in the hearts.  


Thank you so much for stopping by today!

Tuesday, April 17, 2018

Let Love Grow by Jenn


Hi friends, Jenn here! Wedding season is almost upon on us. I thought this would be a great time to show a quick favor idea if you or someone you know plans to tie the knot this summer. These are really simple favors, that are not only sweet but practical.

I used the small bags and used twine and jute to decorate the bag. Next I made a tag with directions on how to "use" these favors. I chose to fill the bags with wildflower seeds so guest could watch love bloom and remember the happy couple. I also think a sweet alternative could be vegetable seeds, and or perhaps the specific wedding flowers so guests can plant their own.


I simply attached the round labels onto white cardstock and cut around them, added a few stickers and lettering and attached them onto the bags with twine and jute. These bags would be so fun to customize to ones wedding colors and decor themes. For these three examples I chose to go simple and elegant with black and white.


I hope this idea sparks some inspiration for your wedding or even backyard get together...why not pass out sweet little bags of seeds at any party. 

Supplies Used:
Fabric Bags/small, Bakers Twine/Charcoal, Jute Twine, Le Pen, Sticker Sentiments/Love, We've Got Your Sticker/ForeverLabels by the Dozen/Black and White

Friday, April 6, 2018

Spring Cards in Gift Box by Angie


Hello SRM friends! Angie here with you again today to share some spring cards and a cute box to gift them in!!


I made all three cards using stamps from the Just Believe stamp set. For the blue card in the middle, I stamped the flowers and leaves on vellum. Then I used watercolor markers and water to give them the watercolor look. Then I just fussy cut them out. I placed the flowers and stems vertically down the card and used foam under the smaller flowers to add some dimension. 


I made the blue background by using distress oxides and water to give it the bleached look. I added some gold and pink ink mist splatters as well. 


The word 'spring' is from the Seasonal Plans stamp set.


For the front of this pink and white card, I added this fun doodle stamp from the Stamped Stitches set. I love how it adds so much to the card will such little effort!! I stamped and fussy cut the flower and stems and gave the card a fun edge by using a punch to make the scalloped border. 


The green card uses lots of fun SRM products such as the small lace doiliesbright blank labels by the dozen and the Easter Express Yourself stickers. 


For the gift box, I used the A2 Clear Card Box. I punched two holes in the top and simply threaded the twine through the holes and made a bow. SRM has lots of twine to choose from. The flower borders on the box are from the Thank You Stickers by the Dozen set and the green label in the middle is another Labels by the Dozen sticker. I added another fussy cut flower, stem and a bird to finish off the box. 

Thank you for visiting the blog today. I hope my project gives you some inspiration to create your own!!

Thursday, March 15, 2018

Spring Cards by Angie


Hello SRM friends and fans! Angie here today to share some spring card inspiration. I love using SRM's bags as envelopes and decorating them too!


One of my favorite stamp sets from SRM is the Just Believe set. I used the stamps from that set on both of my cards.  It is a religious themed stamp set but by looking at my cards, you would never know that. That is one reason why I love SRM's stamp sets--they are so versatile. 

I also used the XXX stamp from the BIG Love stamp set to give my cards a stitched look. The XXX stamp is one long strip but I cut mine down so I could have just three stamps. 


I stamped and fussy cut both butterflies, one of the flowers and the leaf stem. I also stamped one of the other flowers on the pink tag. 

To color the butterflies on the thank you card, I used the watercolor pencils. Just simply add your color and then spread it around using a water brush. 


I used SRM's awesome labels by the dozen on both cards. Those labels have so many uses. They can be used on cards, scrapbook layouts, tubes or even for labeling stuff in your kitchen!! SRM also has many colors of jute twine. I used light pink jute on both cards. 


As you can see, I also used two awesome bags from SRM as cute 'envelopes' for my cards. Have you checked out the selection of bags? Go ahead and have a look. I used the embossed chevron glassine bag and the lime green stripe bag.


I hope you enjoy the ways that I incorporated spring on my everyday type of cards.

Thanks for stopping by the SRM blog!!


Other products used:


Tuesday, March 13, 2018

Easter Mason Jar Centerpiece by Jenn


Hello, Jenn back again! This time with an Easter centerpiece/gift idea using everyones favorite (well at least mine)...mason jars! These are quick cute centerpieces that can be made in next to no time with just a few SRM sticker essentials.


To start I am using a quart sized mason jar, I filled mine with Easter grass, jelly beans, and a chocolate bunny. Now comes the fun part...I chose to decorate with a scrap of fabric to cover the lid, and a sweet bow out of jute twine. Using a few Easter stickers I decorated the outside of the jar. I also though it would not only make a cute centerpiece but also a gift to give, so I created a tag using SRM stickers and markers.


I hope you enjoy this sweet festive idea may it bring a little joy to your Easter table. Till next time stay creative and keep sharing your fantastic ideas over on social media using #srmstickers #srmpress. Follow me on Instagram @creativegurl85 for more creative ideas

SRM products used:
SaveSave

Friday, March 9, 2018

Easter Bunny Gift Bags by Giorgia


Hello SRM friends, Giorgia here.
Today I have for you an idea for cute Easter gifts for kids. You can also make this DIY with your kids to have fun together, it is not complicated at all.

Turn SRM kraft paper bags into the cutest bunny butt ever!


To create the bunny ears you need to cut a deep V shape at the top of the paper bag. 
Now fill your bag with Easter chocolates and hot glue the pom pom towards the bottom of the bag to make a bunny tail. Then tie your bag at the base of the ears with bakers twine or jute twine and add a gift tag decorated with SRM Easter stickers.
So cute and easy! 


Until next time,
ciao, Giorgia. 
SRM products used 

Thursday, March 1, 2018

Lucky in Love Card by Angie


Hello SRM friends! Angie here with you today to share a non-traditional St. Patrick's Day card.

I made a loved themed card but tied St. Patrick's Day in as well. This card would be perfect for the person you are lucky to be in love with!!


I used white cardstock for the base of my card. I added some ink splatters using some watered down Distress Oxide ink in Lucky Clover (how appropriate, right??). 

The clover paper is from my stash and since I knew I wanted to use the gold doily on the top of the card, I stamped and heat embossed gold clovers on the green cardstock.  I cut those papers into banner shapes, added the doilie  and then tied some green jute twine around it. 


For the stamping, I used the word 'love' from the BIG Love stamp set. I used the word 'in' from the Walk By Faith stamp set. SRM's stamps are so versatile and can be used in so many different projects. I used a stamp from my stash for the word 'lucky'. I used gold heat embossing on 'lucky' and 'love' to tie in that gold theme. 

I hope you enjoyed my card!!

Friday, February 23, 2018

Happy Easter Hybrid Project Life Layout by Shanna


Hello SRM friends, Shanna here today with a springtime Easter layout in anticipation of Easter 2018!   I am a Project Life/pocket page scrapbooker mainly, but here lately have been enjoying making hybrid layouts that combine a PL layout with a traditional 12x12 layout.  I am in love with the marriage of these two!  For me it's the best of both worlds, because sometimes there is a single picture or two that I really want to highlight, ESPECIALLY with holidays.  

I decided to "scrap ahead" and create a layout that will highlight this coming Easter's festivities.  I loved pulling all of the different elements together for these pages!  


 Here is a look at the traditional 12x12 scrapbook layout...I am really enjoying all of the layers! The doily added some visual contrast with all the squared edges going on in this layout as well.  Easy-peasy :)


For the traditional 12x12 layout I pulled stickers from the Year of Memories/2018 and Express Yourself/Easter stickers sets. 


I also used a mini calendar sticker and circled the date!  Such a fun way to journal the date!  I had fun creating bunny ears above my sticker sentiment with some pink jute twine that I unbraided for a single piece.  Hippity-Hop!


Next up, here is a closer look at the pocket page layout (Project Life format). I am a big matchy-matchy person....so the 2 layouts make my crafty heart happy! This layout pulls together the same sticker sets used in the traditional layout, so the coordinate perfectly!


I had a lot of fun embellishing the different cards..I discovered a new (at least to me!) technique to use my fabulous jute twine for....Rosettes!!!  All I did was spiral and twist a single strand of the jute around in a circle to make these whimsical little flowers!  


Here is a larger version of the jute rosette with a dainty yellow button for the center :) The Easter eggs sentiment comes from the Express Yourself/Easter stickers set as well! I also took a close up of the smaller one...I did a tighter spiral for the smaller ones, but the larger one lets the "ruffles" from unbraiding the jute totally shine! 


I also took a close up of the smaller one...I did a tighter spiral for the smaller ones, but the larger one lets the "ruffles" from unbraiding the jute totally shine! 


Another fun combo of  Express Yourself/Easter  and Year of Memories/2018 made for a quick and cute journaling card. A small piece of jute finished off this card nicely!


Supplies used:
Pink Jute Twine


Have you ever "scrapped ahead"?? 

Until next time...


Wednesday, February 7, 2018

Trio of Valentine Cards by Shanna


Hello SRM friends!!  Shanna here again with some fun new cards using a few of the adorable stickers SRM has available for Valentine's Day!  Perfect to give to a few special somebodies in your life!!  
Hope you enjoy!


Here are the 2 sheets I chose to use that helped make all 3 cards!

Supplies Used:
SRM Red jute twine
Candy Apple Distress ink
Fired Brick Distress Oxide ink
Pink Shimmer Spray


...and here they are!!


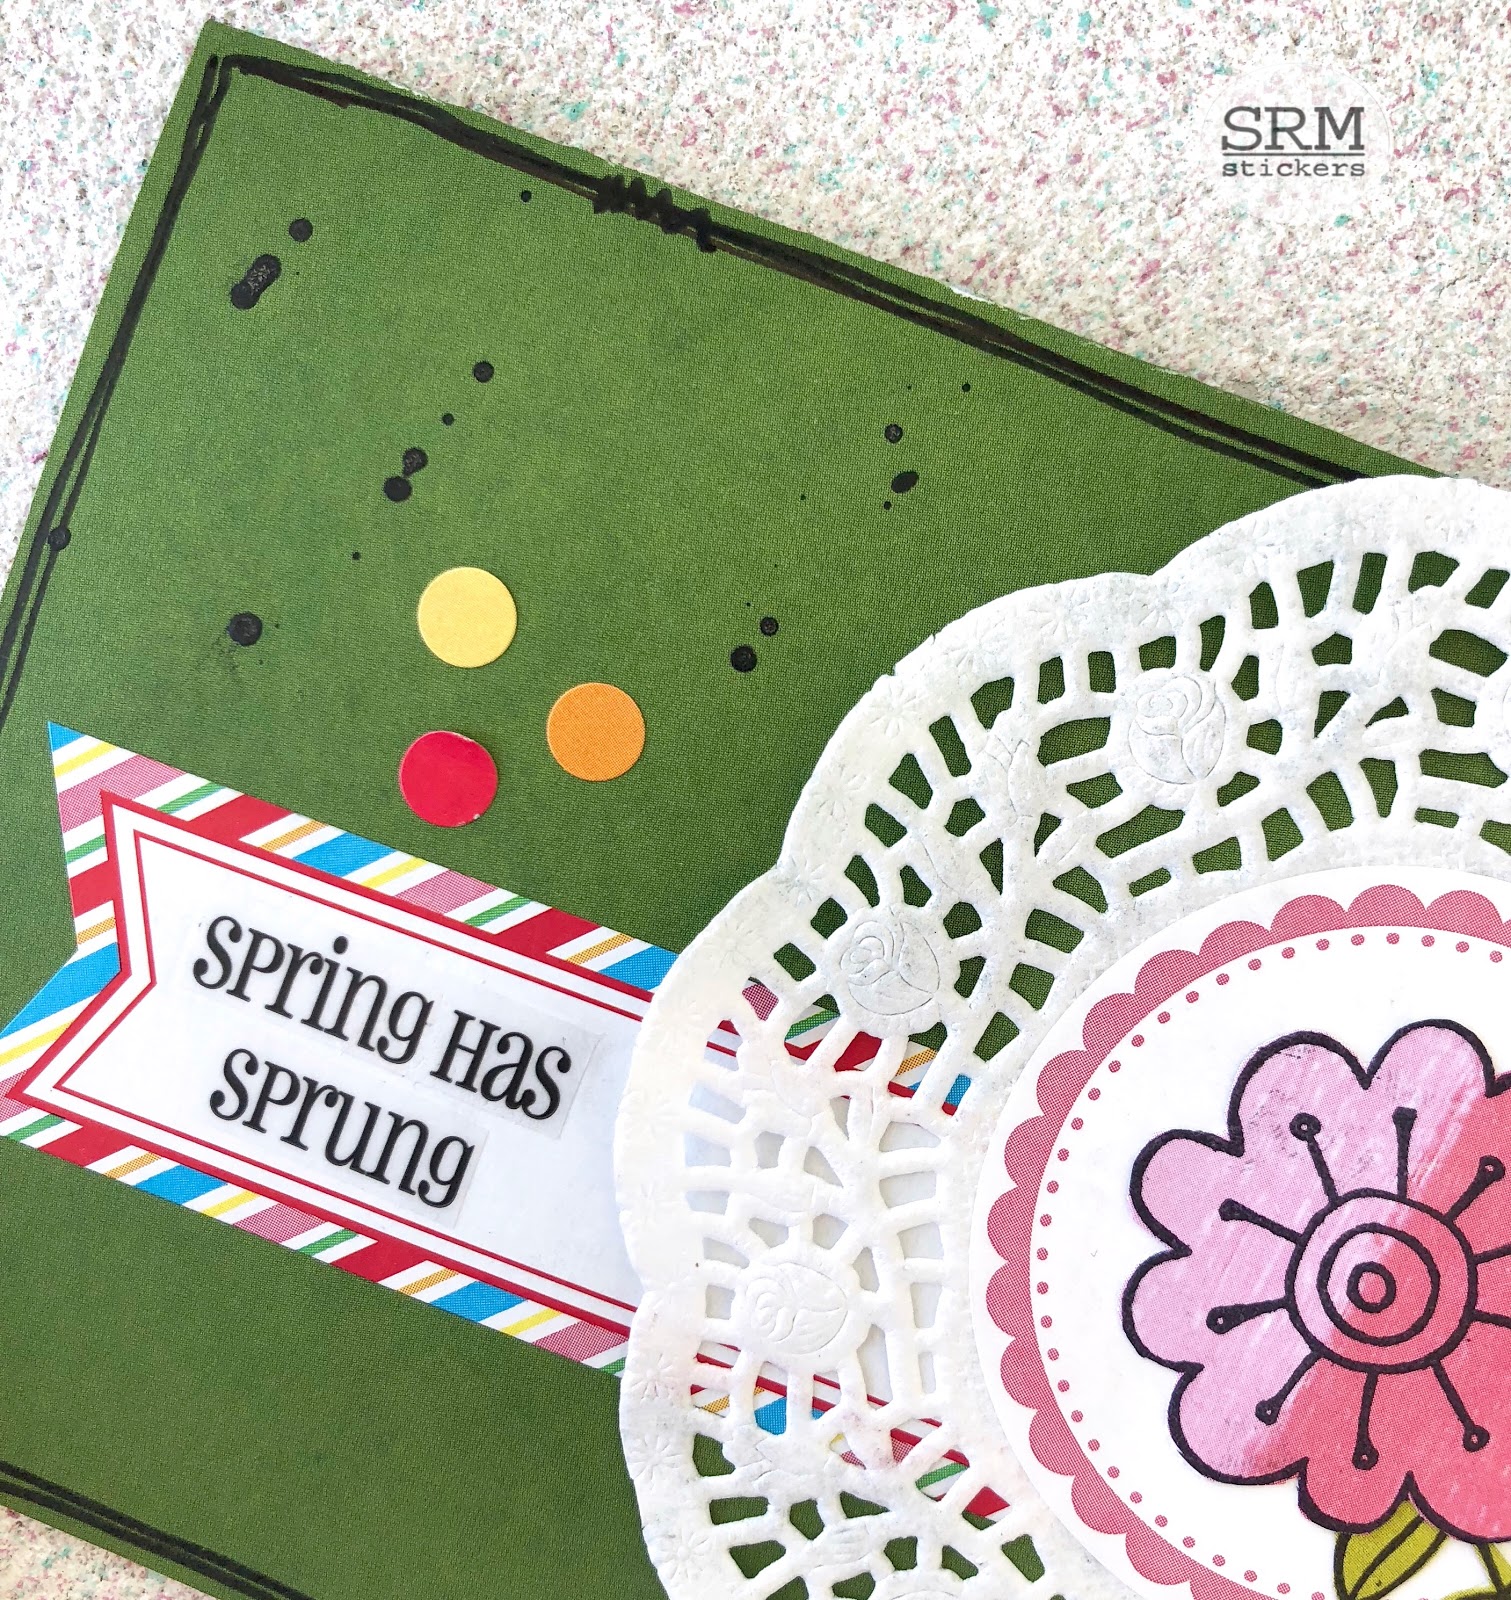
This is a standard A2 card base in white, double matted and spritzed with shimmery pink color spray, the sentiment was popped up with pop dots on an additional piece of white cardstock.  I love the sparkle the shimmer mist provides as a backdrop! The treat bag was great envelope for gifting this card..I love using non-traditional envies for my cards, I added the doily last minute, it fit perfect!!


This mini card is 2x3 in size, with distress inks smoothed in a watercolor background.  Absolutely one of my favorite techniques and super easy! Adding the age-old sentiment "Be My Valentine" was a no-brainer!!  A few heart sequins added the perfect touch! Loving the lacy linen bag as my envelope...it even has a little room left for some sweet treats!

\
Lastly, a 3x3 card that slid perfectly into this linen dotted bag!  Another dose of ink smooshing worked great to frame up the fun heart in the middle.  The border stickers are a fun way to frame up a small project as well!  The polka dot bag was a great match for an envelope, I can slide in some sweet treats or even a gift card if I wanted to!  


Here are all the cards ready to give to a special Valentine!

What type of cards or gifts are you making for YOUR Valentine this year??  

Until next time...