Showing posts with label Watercolor. Show all posts

Wednesday, December 14, 2016

Watercolor Twist Galaxy Card by Karen


Hi friends - Karen here with another ColorIn Watercolor Twist project. I continue to be impressed by the wonderful versatility and strong colors of these ColorIn Watercolor Twists. 


Today, I used them to create a galaxy/night sky effect for a card. 
To begin, I cut a page from an old hymnal that included the lyrics to Silent Night. If you don't have a hymnal (I picked up several at a big book sale) you could print off the lyrics from online. This particular sheet was thicker than Bible paper, so it held water fairly well as I worked the colors together. The words get a bit muted and covered by the paint, but are still visible enough to know they are there and what they are.


To create the effect, I used the black, purple, and blue Watercolor Twists. I began with the black around the edges and added the purple and blue gradually, being generous with the water to blend and layer them with the paintbrush. One of the tricks to creating a galaxy is to create a lot of movement of color across your page, as opposed to well defined, even splotches of color. Don't be nervous about going dark - watercolors are very forgiving and color can be picked up with the watercolor brush if needed. When the colors were nearly dry, I added a bit of watered down white acrylic and lots of white spray/splatter drops for that starry (or maybe snowy) look.


For this project, I used ColorIn Watercolor Twists with the included brush.

Wednesday, October 12, 2016

Love by Shelly


Hey y'all! Shelly, here! 

Today, I'm sharing a simple and fun watercolor art project! 


Remember when you were a kid and use to do the whole 'butterfly technique' (at least I think that's what it was called?...) Where you take a piece of paper and put some paint on one side of it and then fold it in half while it's still wet and then open it back up...and ta-da, you have a image on both sides of the paper?! 

Well, I took that technique and used it for my image. Though, instead of folding my paper, I just laid my other sheet on top and pressed it down, while rubbing my fingers over it as well. It took my several times to figure out what worked best and what I liked best because every time it was different...though, fun! 


Now because I used watercolor pencils, it took some trail and error to figure out the 'transferring' part. So what worked best for me, was to take my pencil and draw the image on a piece of watercolor paper. Which, I repeatedly went over the same line several times. After, I spritzed water on my image and then again used my pencil over the wet part of my image. At first it seemed like it wasn't working well, but after the water soaked in more it almost seem like a pastel/crayon of some sorts. 


To finish things off, I added my image in a frame and then used some vinyl for my sentiment piece. Which I don't have an electric die cutting machine, so I used the vinyl with a regular old die and machine. (note: for that process, I did have to run it through my machine many times.) 

Thanks so much for stopping by!
Enjoy your day! 

SRM Stickers supplies:
Gold Vinyl 

Tuesday, September 27, 2016

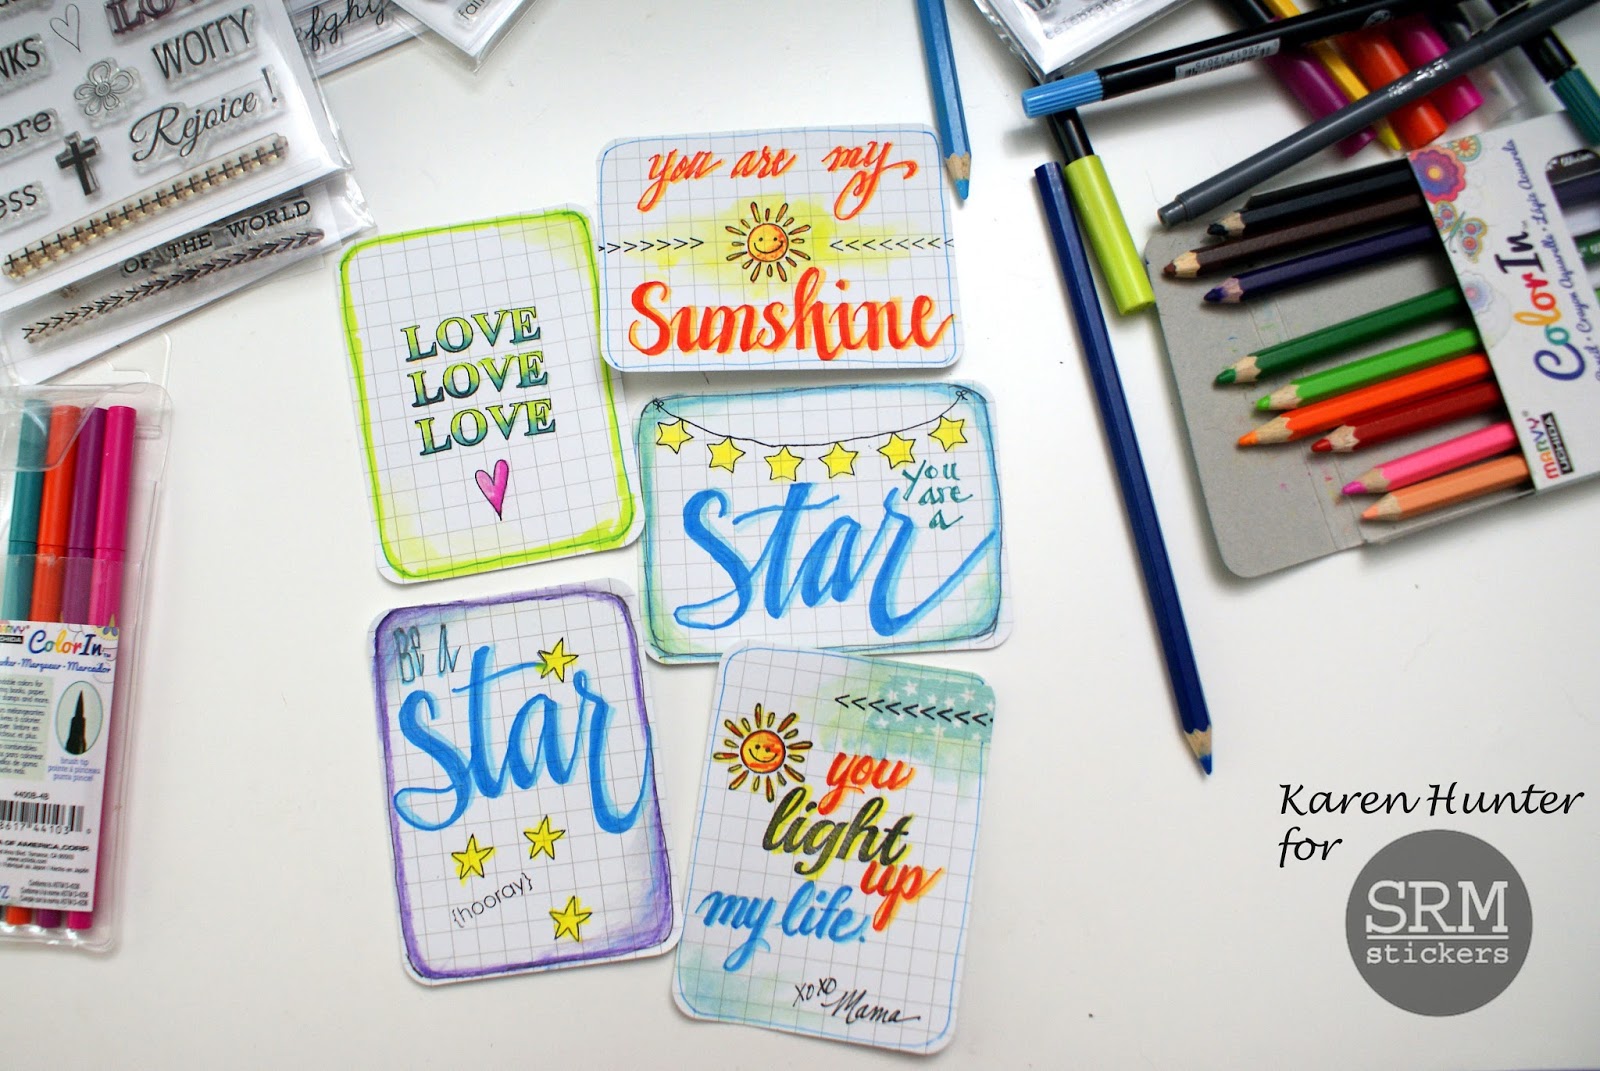
Simple Brush Lettering & Lunch Box Notes by Karen


Hello!  Karen here today to share a little treat that I made for my daughter.  I love stashing little notes into my daughter's lunch bag. Sometimes it's just a quick little message scribbled on a scrap of paper, but I also like to pre-make cute notes to tuck in for her to discover and let her know I'm thinking about her and think she's amazing.


My SRM Faith and Planner stamps are giving me great inspiration for these notes. I used several stamps, brush markers (LePlumeII) and my ColorIn watercolor pencils to create a set for next week.


I've gotten lots of comments complementing my lettering on my Bible journaling pages. I'm no expert and I have to admit to having trouble achieving the look I want with just a brush marker. However - the dual tipped markers give me a great "cheater strategy" in getting the brush lettering look I like. Take a look at my simple brush lettering technique using Marvy Uchida LePlume II dual tipped markers in this video.


Now you can make your own little notes - for lunchboxes, the bathroom mirror, to send in the mail, or leave one for a coworker to find. Enjoy!


For this project I used:
SaveSaveSaveSaveSaveSave
SaveSave

Monday, September 26, 2016

Just Believe by Michele


Good morning! Michele here with a water colored card using SRM's Just Believe stamp set. 


I stamped it the flowers with Versamark and embossed it in white.  I water colored the image using Color in Watercolor Twist Markers from Marvy. After it was all dry, I stamped the sentiment using my Misti to be sure everything was straight.  I added some white gel pen highlights and adhered a few sequins. I kept the card fairly simple with a bit of layering at the bottom using an edge punch, and a white string at the top.


Thank you so much for stopping by today!

SaveSave

Friday, September 23, 2016

Heartfelt Wishes by Tobi


Hi there, it's Tobi from Tobi's Place here and I'm excited to be a SRM DT member for 2016-17!!! I'm currently living in China and I've been on vacation for the past two months. I've brought with me very limited supplies, but I hope to show you that you don't need lots of stuff to pull off a great project! 


I treated myself to some watercolor mediums so that's all I brought on my trip - it forced me to use them!   For this card I used a combo of Distress Crayons and Zig Clean Color markers (both reactive with water) to colour inside and outside the images. I'm looking forward to trying out the new Watercolor Twist Pencils from SRM.  
Love watercolor!


The images were stamped with Versamark ink and heat embossed with white EP. When I coloured outside the flowers I squeezed the water pen so water would drip out and drip down the cardstock. 


The SRM clear sentiment was mounted on vellum so the subtle colours in the background could still peek though. A touch of Twinery Twine finished the card off!


SRM Supplies:
Heartfelt Wishes sentiment: Fancy Sentiment: Love

SaveSave

Friday, September 9, 2016

Love is…by Amber


Hello SRM Sticker fans! It's Amber here, today I have this lovely framed watercolor piece I created for a loved one to share. I had so much fun creating this piece. I used a wooden frame, watercolor paper, a large floral stamp, SRM Stickers By The Dozen/Wedding, and a few Marvy ColorIn Watercolor Twist Pencils to create this piece.


I started by stamping my large floral stamp onto some white watercolor paper and then started the watercoloring process. The Marvy ColorIn Watercolor Twist Pencils were super easy to use, just twist the pencil to feed the lead out and start coloring. I lightly colored my image and background with the twist pencils and then went over all the entire piece with a wet paint brush. The colors blend so nice and smooth, the more water you add the lighter the colors will be. If you want to achieve deep rich colors like I did keep layering and don't be afraid pull color right from the pencil itself. You can do this my wetting your paintbrush and touching your paintbrush directly to the lead.


Once my watercolored panel was dry I added one of the Love Is...sentiment stickers to some white cardstock, cut it, and adhered it to the bottom right of my piece. I added the entire piece to the inside of my wooden frame and then added some more stickers from the Stickers By The Dozen/Wedding sticker sheet around all four outside edges of my frame. Although this piece looks like it took a lot of time because of the watercoloring it really was quick and easy to create. I hope you enjoy.  Thanks for visiting! 

SRM Supplies

Monday, September 5, 2016

You Make Me Smile by Michele


Hello there! Michele here with a duo of water colored cards in two color schemes. 


I stamped the background stamp with Versamark and embossed it in white.  I used my Zig Markers to color each in.  I went with a warmer color scheme for one, and cooler tones for the other.  


I added a sentiment from SRM's Thinking of Your Sticker Sentiment collection along with a few sequins and a silk ribbon. 


Thank you so much for stopping by today!!

Monday, August 1, 2016

Just Believe by Michele


Welcome to the new term of the SRM Design Team.  We have some new faces and we have carried over some of our recent team members.  Over the next few weeks we will share projects from each of the team members.  First up in Michele Kovack, who creates the most magical projects.  Today's project using SRM's new Just Believe Stamp and Watercolor pencils is no exception.
Welcome back Michele.  So thrilled to have you with us for another term.


Here's a bit about Michele in her own words: 

I often feel like I lead two lives,  by day I am a 4th grade teacher, mother, and wife of 23 years to my high school sweetheart,  and by night I am a crafting ninja! I started crafting almost 19 years ago after the birth of my daughter, Cortney.  She was born with severe mental and physical impairments.  This hobby became a way to deal with my feelings at that time,  and my way of focusing on the things my daughter could do. By the time my son, Kyle was born two years later, I was completely hooked.  And as with many hobbies, one thing, led to a million other things, and I quickly branched out.  I now create cards, scrapbook pages, wall art, altered projects…..and anything else that I can get my hands on. I have had so many wonderful opportunities in this industry and am truly blessed to work for some amazing companies. I am thrilled to be a part of the talented SRM team!  I love their products and have been using them for many years!  I can't wait to share with you!

-------------

Good morning! Michele here with a card using SRM's new stamp set, Just Believe.  Sometimes we all need encouragement when life throws us those curve balls.  I used my Mini Misti and masking to stamp my flowers.  I used SRM's new Marvy Watercolor Twist pencils for the flowers and leaves.  I sponged a bit of ink around the edges for a soft look.   


I used my Misti again to line up the sentiment.  I added a shadow to it using  Gray Copic markers for a bit of depth.  I tied black twine and added a few sequins and dew drops to complete my card. 


Here are are the SRM products I used on this card, the Just Believe stamp and the Watercolor Twist pencils.  


Thank you for stopping by today!  Be sure to drop by tomorrow when you will meet another one of our new design team members!

SaveSave

Friday, July 22, 2016

Happiness is a Bowl of Ice Cream by Michele


Good morning friends!
I have a summer card for you that uses a cute cut from Silhouette.  


I absolutely LOVE ice cream in the summer time......okay, seriously, who am I kidding? I LOVE ice cream ALL the time! ;)  Everything on the card was water colored with my Zig markers.  I added glossy accents and glitter to my scoops and cherry.   


The sentiment was a perfect finishing touch from SRM's We've Got Your Border-Bright collection!  I love how SRM has the perfect sentiment for any card!


Thank you for stopping by today!!

Wednesday, July 6, 2016

Life is Good by Michele


Good morning! Michele here with a fun water colored/shaker card! 
I used one of my favorite stickers from SRM's We've Got Your Sticker Plus.  I adore this little bird! 


I water colored the background with my Zig markers and a stencil.  After it was dry, I splattered it with a bit of black paint.  For the front of the card, I die cut the center with a circle and water colored the rest of it. 


I adhered a piece of acetate behind it and built up the back of it with foam tape. For my finishing touches, I tied a twine and added a few sequins.  The sentiment is also from the, We've Got Your Sticker Plus set.  


Thank you so much for stopping by today!!

SaveSave

Tuesday, April 19, 2016

Coffee Times Three by Lesley


Hello crafty friends! Lesley here! I love coffee themed stamps and in our SRM store, we carry Jane's Doodle stamps!!! Jane has an adorable coffee set called Coffee Time that is so versatile and easy to use! 


I have made a few different cards with this set. Sometimes I need some thank you cards on hand that I can use in my classroom. So this design made for a quick and easy card!


I am also into watercolouring and I wanted to create a watercoloured card using the coffee set. I decided to use the sentiment "You Warm My Heart" and I decided to do a loose watercolour.


The "warm" part made me think of melting hearts! 


And finally I created a little "Lovey" themed coffee card! Simple and easy to make but very special for that certain someone in your life!


Thank you for stopping by! I hope this inspired you to make a few simple but sweet cards for your stash!


Friday, November 20, 2015

Hoppy Birthday! by Michele


Michele here with a non holiday card for you!  
People are still having birthdays in the midst of Thanksgiving and Christmas right? ;)  I couldn't resist using these adorable frogs in the Garden Friends set by Jane's Doodles. I stamped them on top of each other using a light brown ink. I water colored each of the frogs as well as the sky and grass. 

SRM Stickers Blog - Hoppy Birthday! by Michele - #card #janesdoodles #gardenfriends #watercolor #birthday

I added black enamel to the eyes and once that was dry, added glossy accents to the rest of the eye for some fun dimension! 

SRM Stickers Blog - Hoppy Birthday! by Michele - #card #janesdoodles #gardenfriends #watercolor #birthday

With a white gel pen I added dots to the frogs'spots, a bit of silk ribbon, and my sentiment stamped at the bottom.  :)

SRM Stickers Blog - Hoppy Birthday! by Michele - #card #janesdoodles #gardenfriends #watercolor #birthday

Have a hoppy day! 

Wednesday, July 29, 2015

Stamped & Watercolored Card by Juliana

We are delighted to welcome back Juliana Michaels to our all star SRM team!  She does it all from layouts to vinyl!  Looking forward to all her beautiful creations! 


Let's hear from Juliana in her own words…

******

Hello SRM Fans! Juliana here today and so excited to be back on the SRM Design Team.  I'm sharing a stamped and watercolored card that I created using the new Jane's Doodles Fancy Doodles Clear Stamp Set

SRM Stickers Blog - Stamped & Watercolored Card by Juliana - #card #janesdoodles #fancydoodles #fancysentiments #watercolor

When I first saw this stamp set, I knew that I wanted to play around with water coloring to create a card to send to my Mother.

SRM Stickers Blog - Stamped & Watercolored Card by Juliana - #card #janesdoodles #fancydoodles #fancysentiments #watercolor

I began by stamping the flowers randomly onto a piece of water color paper cut to 4.25 x 5.5 inches using a Versamark Watermark Ink Pad and then sprinkled the stamped images with white embossing powder heat setting the powder with my heat gun. Because the ink is clear and hard to see on the white paper, I stamped one image and then poured some embossing powder on it so that I could see where to stamp the next image. I repeated this process 3-4 times and then heat set the images before doing anymore stamping. Versamark is a slow drying ink, so you have time to do a little stamping before you have to worry about the ink drying.   I love the beautiful colors and texture that this process created. 

SRM Stickers Blog - Stamped & Watercolored Card by Juliana - #card #janesdoodles #fancydoodles #fancysentiments #watercolor

After I completed the stamping, I pulled out various colors of Distress Ink to use as my water colors. I stamped the pad directly onto my slick craft mat and added water to it using a paint brush. I then painted the color on to my flowers. By allowing the ink to dry, you can add another layer and darken the color. I have found that it is easier to start really light with the color and then add more once things have dried if you want darker colors.

To complete the card, I adhered the Thinking Of You sticker from the Fancy Sentiment Thinking Of You Sticker Set to a piece of vellum and added a few sequins. 

SRM Stickers Blog - Stamped & Watercolored Card by Juliana - #card #janesdoodles #fancydoodles #fancysentiments #watercolor

Now it's your turn to pull our your Jane's Doodle Stamps and start watercoloring! We can't wait to see what you create and share with us!

HUGS!
Juliana