Showing posts with label Just Believe. Show all posts

Wednesday, May 23, 2018

Love is in the Air by Angie


Hello SRM fans! Angie here with you today!
Can you believe that it's May already? Wedding season is definitely upon us. 

Today I'm sharing a card with you that would be perfect for to give for a wedding or wedding shower!


I used the 'Just Believe' stamp set to create the flowers that are on the left side of the word love. The word love is from the 'Big Love' stamp set. I just stamped both of them using black ink on white cardstock and then fussy cut them out.

I used a floral sticker on the bottom circle which is  from the Forever sticker set.


This was a very simple card to make but I think its classy and elegant. 

Thanks for stopping by the SRM blog today!


Friday, April 6, 2018

Spring Cards in Gift Box by Angie


Hello SRM friends! Angie here with you again today to share some spring cards and a cute box to gift them in!!


I made all three cards using stamps from the Just Believe stamp set. For the blue card in the middle, I stamped the flowers and leaves on vellum. Then I used watercolor markers and water to give them the watercolor look. Then I just fussy cut them out. I placed the flowers and stems vertically down the card and used foam under the smaller flowers to add some dimension. 


I made the blue background by using distress oxides and water to give it the bleached look. I added some gold and pink ink mist splatters as well. 


The word 'spring' is from the Seasonal Plans stamp set.


For the front of this pink and white card, I added this fun doodle stamp from the Stamped Stitches set. I love how it adds so much to the card will such little effort!! I stamped and fussy cut the flower and stems and gave the card a fun edge by using a punch to make the scalloped border. 


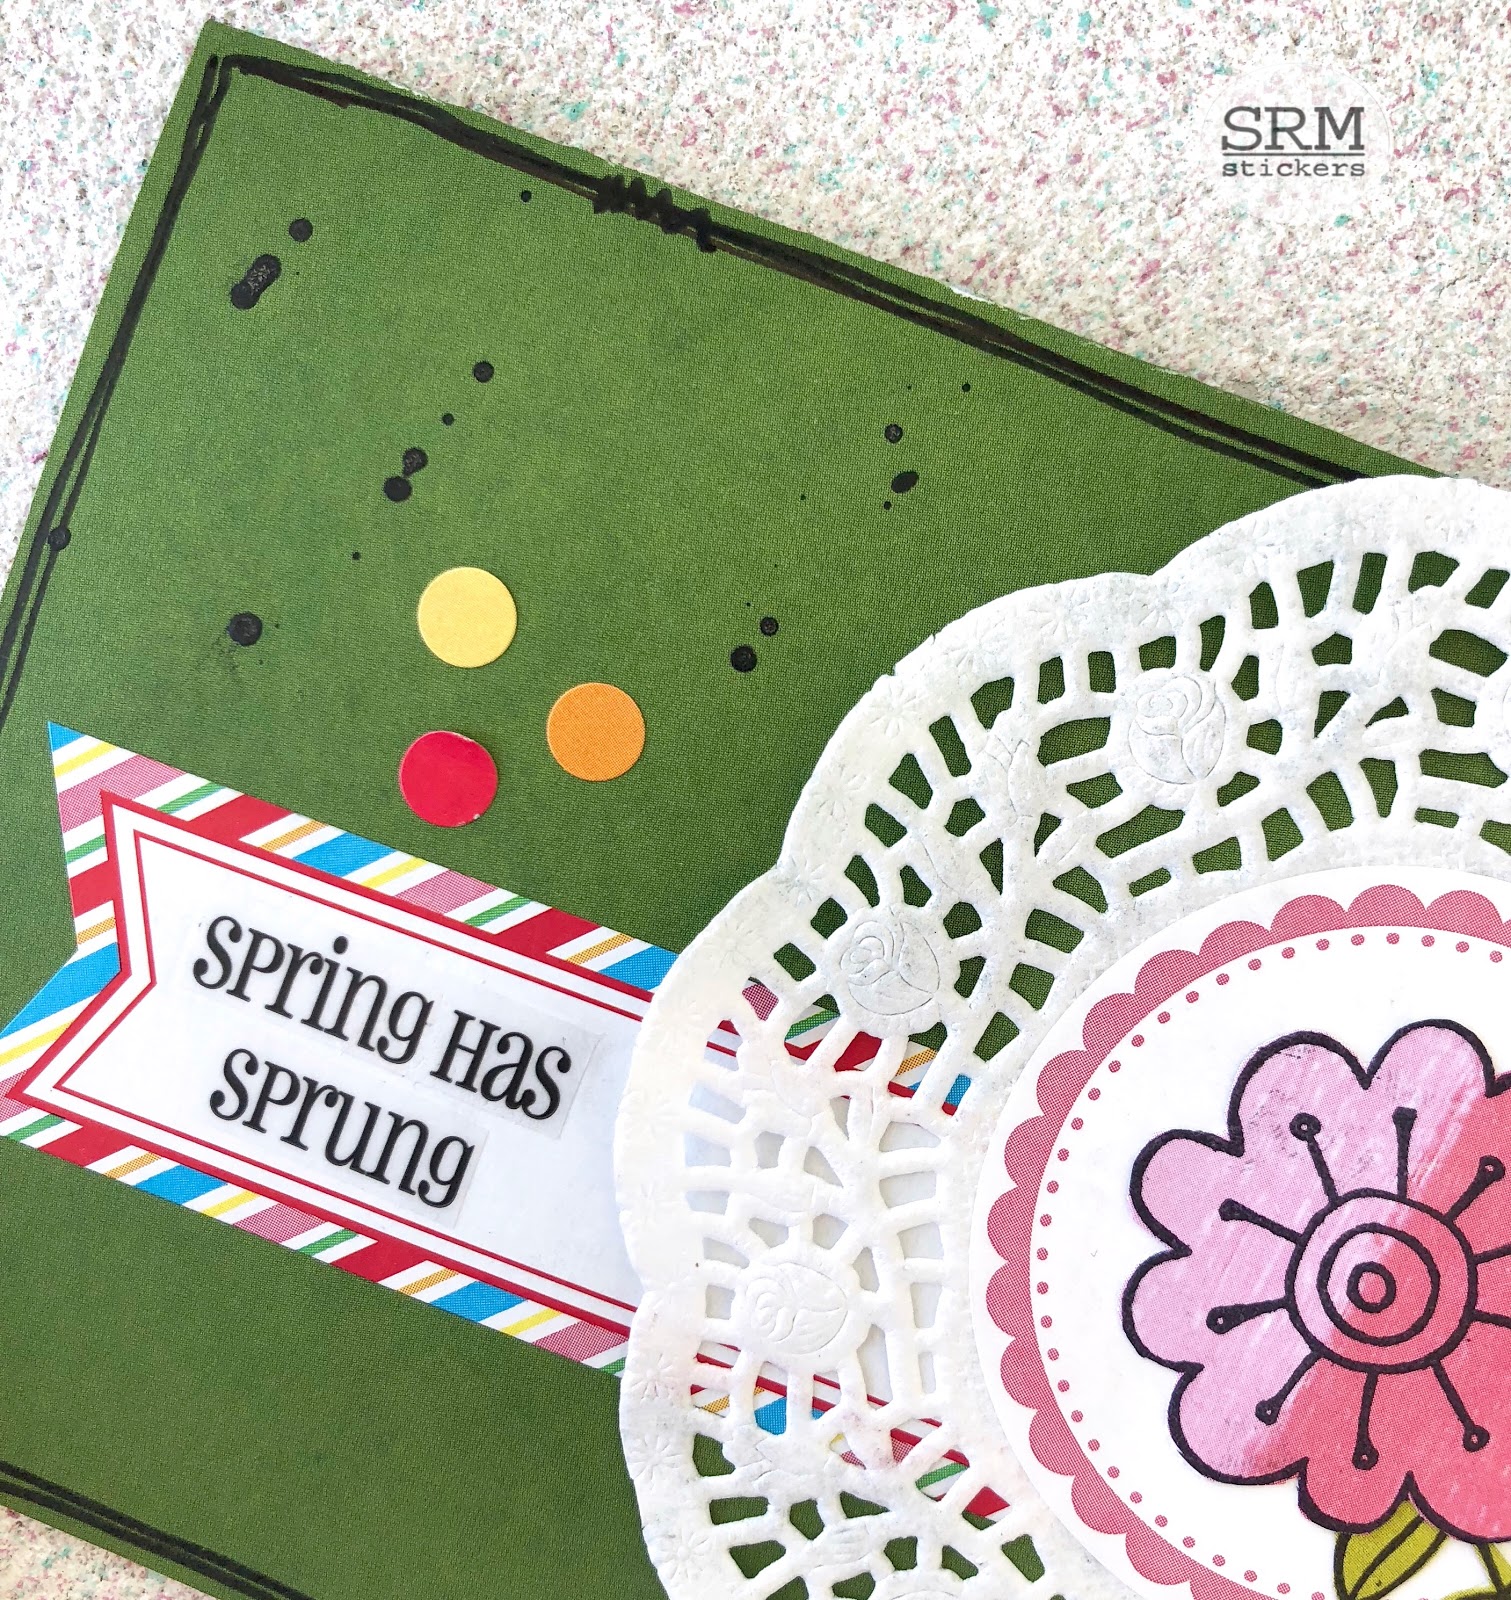
The green card uses lots of fun SRM products such as the small lace doiliesbright blank labels by the dozen and the Easter Express Yourself stickers. 


For the gift box, I used the A2 Clear Card Box. I punched two holes in the top and simply threaded the twine through the holes and made a bow. SRM has lots of twine to choose from. The flower borders on the box are from the Thank You Stickers by the Dozen set and the green label in the middle is another Labels by the Dozen sticker. I added another fussy cut flower, stem and a bird to finish off the box. 

Thank you for visiting the blog today. I hope my project gives you some inspiration to create your own!!

Thursday, March 15, 2018

Spring Cards by Angie


Hello SRM friends and fans! Angie here today to share some spring card inspiration. I love using SRM's bags as envelopes and decorating them too!


One of my favorite stamp sets from SRM is the Just Believe set. I used the stamps from that set on both of my cards.  It is a religious themed stamp set but by looking at my cards, you would never know that. That is one reason why I love SRM's stamp sets--they are so versatile. 

I also used the XXX stamp from the BIG Love stamp set to give my cards a stitched look. The XXX stamp is one long strip but I cut mine down so I could have just three stamps. 


I stamped and fussy cut both butterflies, one of the flowers and the leaf stem. I also stamped one of the other flowers on the pink tag. 

To color the butterflies on the thank you card, I used the watercolor pencils. Just simply add your color and then spread it around using a water brush. 


I used SRM's awesome labels by the dozen on both cards. Those labels have so many uses. They can be used on cards, scrapbook layouts, tubes or even for labeling stuff in your kitchen!! SRM also has many colors of jute twine. I used light pink jute on both cards. 


As you can see, I also used two awesome bags from SRM as cute 'envelopes' for my cards. Have you checked out the selection of bags? Go ahead and have a look. I used the embossed chevron glassine bag and the lime green stripe bag.


I hope you enjoy the ways that I incorporated spring on my everyday type of cards.

Thanks for stopping by the SRM blog!!


Other products used:


Wednesday, August 30, 2017

Polke Dot Bag/Card Holder by Angie


Hello!! Angie here again with a fun way to give a card!


 I wanted to use the black polka dot cotton bag instead of an envelope to hold my card.


I started with a scalloped circle punch out in a teal blue color and added a 'Love You' sticker to the center. To add some embellishment to the circle, I used the small flowers from the Just Believe stamp set. I stamped them with archival ink, watercolored them using the watercolor markers and pencils and then fussy cut them. Quick, easy and so cute!!


For my card, I used some bright pink cardstock from my stash and just trimmed it down so that it would fit inside of the bag. I used another scalloped circle punch out to tie the card and bag together. This time I used the larger flower and branches along with the butterflies from the Just Believe stamp set. I watercolored them as well and cut them out. The top of my card was looking a little plain, so I used a scalloped sticker stitch to fill in the space. I placed a best wishes clear sticker at the bottom to complete my card. 

What fun a fun way to give a card instead of the traditional envelope!

Monday, August 21, 2017

Journal Set by Tangii


Hey yall!  Tangii here with my very first DT post.  To be honest, I made this for me, yes for me!  Lol, I really want to start Journaling for a few reasons and if I have this pretty display sitting on my night table, I'm much more likely to grab it!  And just to show that I'm not a total "Greedy Gertie", I also made a gift set.  Here's mine…


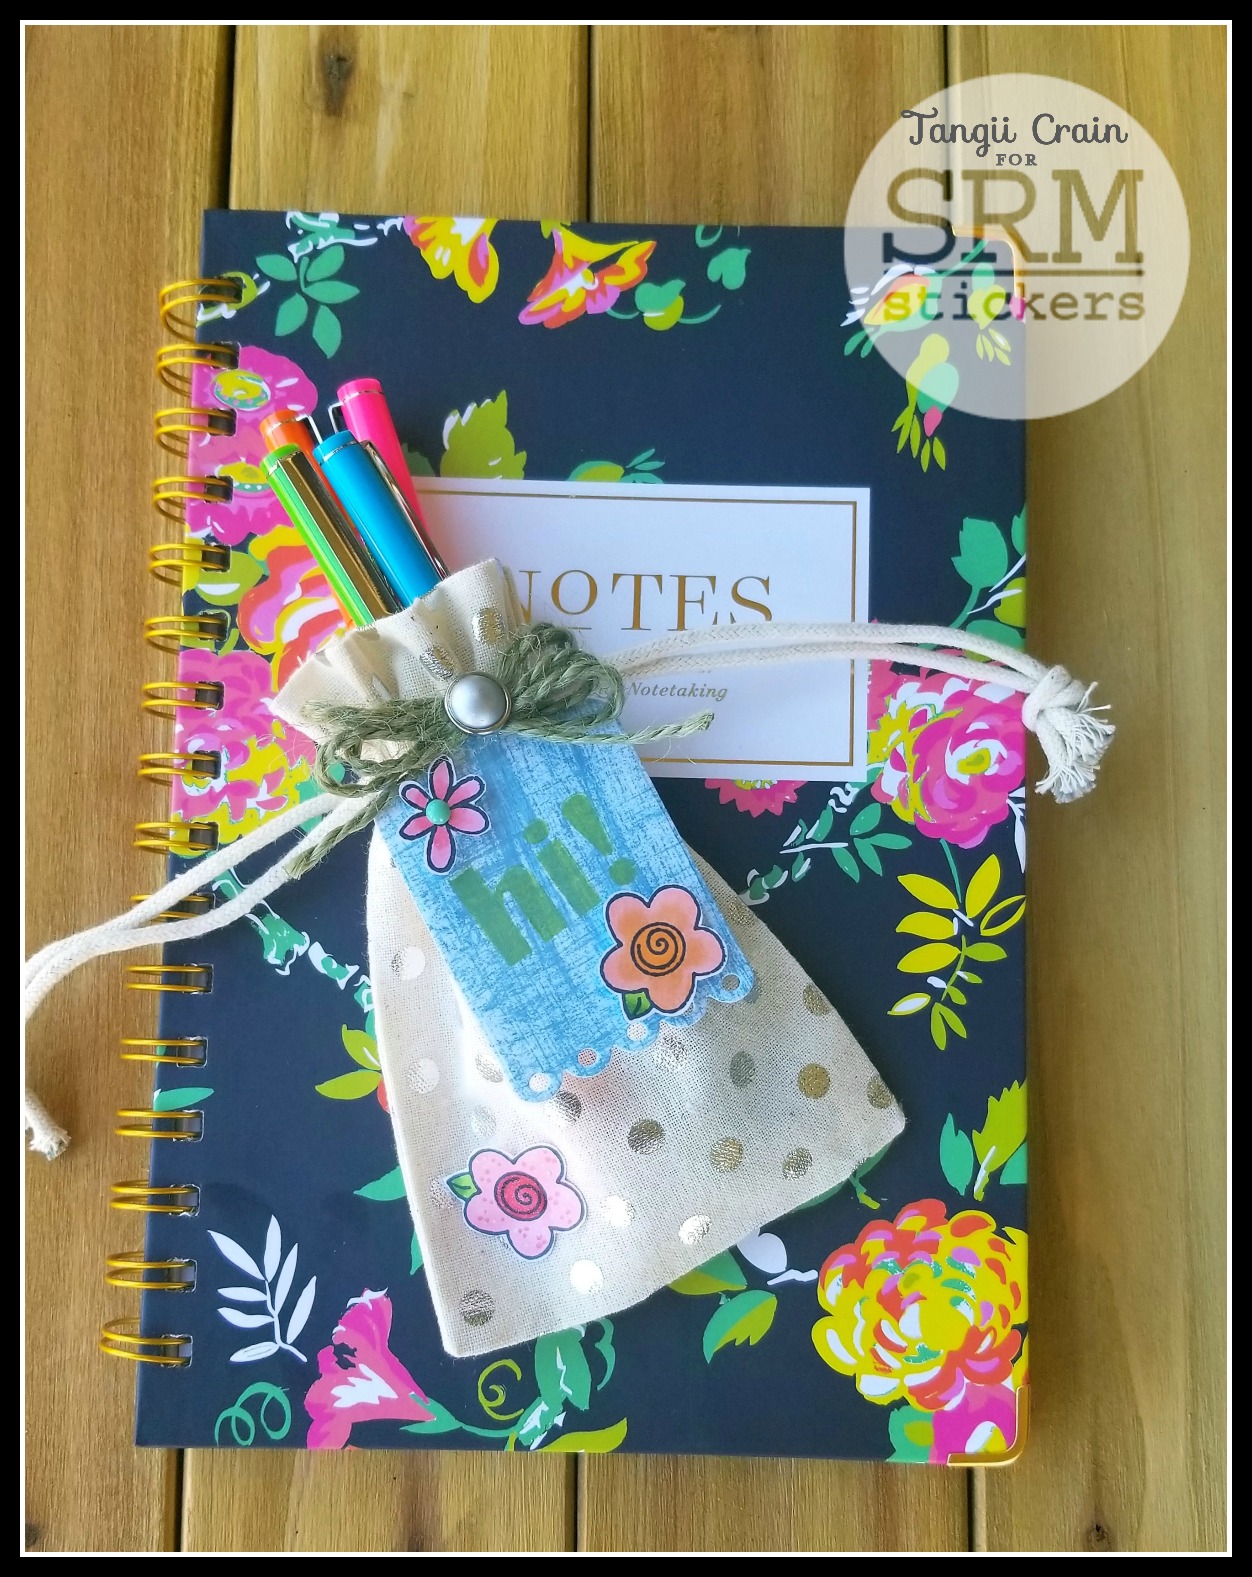
I bought this pretty little journal at Target.  SRM carries these Le Pen fine point pens in 4 pretty sets, this is the Neon set.  The cute little bag is perfect for keeping my journaling goodies together, and by just attaching the tag with a dab of glue to the bag, I can tighten or loosen the drawstrings without disturbing my tag.


This is the set for a giftie, everything is the same just a bigger tag.


For the gift tag, I used the "hi" stamp from Big Hello stamp set, I love the chunky look!  The flowers are from Just Believe, and while I LOVE this set, the individual stamps are so great to mix up with other sets! I stamped them, colored with markers then cut them out and attached them with Foam Dots.  I also added a flower to the bag, just to tie it all together. I used some Jute Twine for the bow at the top... love this chunky texture!!


This is my tag, the "Be Happy" are from the Everyday Plans set... this set gets A LOT of use, lol!  I also added another flower from Just Believe and a woodchip heart (colored with a marker) and another Jute bow.

For these projects I used Everyday Plans, Big Hello & Just Believe stamp sets, Le Pen 4 Piece Fine Point pen set in Neon, Cotton Bag with silver dots and Olive Jute.
Happy Journaling!

Thursday, August 3, 2017

Vegas Selfie Scrapbook Layout by Angie


Today we introduce you to Angie Pond and share with you a wonderful layout she created.  Here's a bit about Angie in her own words: 

I'm Angie Pond from Princeton, North Carolina. I've been married to my high school sweetheart for almost 20 years. We have two amazing sons, one ornery cat and a cute but mischievous dog! I'm also blessed to be an aunt to the worlds most adorable brother and sister duo! I enjoy scrapbooking, taking pictures, traveling, reading and drinking coffee on my front porch!  

----------------

Hello SRM friends! Angie here with you today to share a scrapbook layout. I'm so honored to be on this amazing team and to be able to share all of  the fun products with you.

I created this scrapbook layout using the amazing flower stamps from the Just Believe stamp set. Yes, that stamp set is technically a faith stamp set but SRM's products are so versatile that you can use them on many different projects!


I stamped the flowers and the cute butterflies with archival ink. I used archival ink because I knew I wanted to watercolor the flowers and the butterflies using the watercolor in markers and pencils. I just love how easily the colors blended when I applied a little water.  After I had colored the flowers and butterflies, I hand cut them and created a beautiful border using the flowers.


I added the butterflies above my picture and hand stitched the flight paths of them as well.


I hope you enjoyed my scrapbook layout and that you will use SRM's products in new and different ways. 

Friday, May 5, 2017

Birthday and Thank You Cards by Amber


Hello everyone! It's Amber here, I have two cards today to share using two different styles of clear sentiment stickers and a mini stamp from SRM's Just Believe clear stamp set. 


For my first card I used one of the extra large round Birthday sentiment from the Fancy Sentiment/Birthday sticker sheet, a little butterfly stamp from the Just Believe stamp set, and paired them with some patterned paper from Pink Paislee.


I created a cute little border around my sentiment with the little butterfly stamp. I stamped little butterfly image multiple times, along the two edges of my patterned paper and then onto some white cardstock. I fussy cut the butterflies out of the white cardstock, colored them, added some mini clear sequins to their wings, and adhered them right over the first set I stamped along the two edges of my patterned paper. 


For my second card I used one of the "Thank You" stickers from the Stickers By The Dozen/Thank You sticker sheet and paired it with some gray and yellow patterned paper from Close To My Heart. 


I created this fun over sized flower with some yellow cardstock and a gray brad. I die cut seven circles out of a piece of yellow cardstock, three large ones, two medium ones, and two little ones. Once I had all my circles die cut I wrinkled them up in my hands, unwrinkled them, stacked them from large to small, and added a little gray brad to the center of them to hold them in place. Once I had m brad in place you can wrinkle them a little more and form the flower they way you want. I added my finished flower to my yellow card base right next to my sentiment. 

SRM Sticker Supplies

Monday, April 24, 2017

Mother's Day Watercolor Layout by Shelly


Hey y'all! Shelly, here!
Today I'm sharing a sweet Mother's Day layout with you!


I started with my kraft cardstock and simply added my stamped images in white ink. Once done, I used some colored pencils to add color to each stamped image. 


To finish things off, I added a few jewel drops and a white piece of cardstock where a photo can go. Simple and sweet, yeah?!...

Thanks so much for stopping by!
Enjoy your day! 

SRM Stickers supplies used:

Thursday, April 20, 2017

God Is With You Card & Gift Box by Amber


Hello everyone! It's Amber here, today I'm sharing this stamped religious card and mini kraft gift box. 


The other SRM design team members have been sharing some amazing Bible journaling pages lately using some of SRM's newest religious stamps. I haven't gotten around to using the new sets much so I thought I would use the Child of God clear stamp set & the Just Believe clear stamp set to create a card and matching gift box.

I started with a kraft card base and die cut a large pierced rectangle out of some white cardstock. I stamped a flying angle reaching for a star in the center of my white cardstock and added the "God Is With You" sentiment from the Child of God stamp set right above my angel. I also stamped some fancy text over the entire background in a light brown and added some distressed stars to the right side of my panel to created a visual triangle. To finish I misted the entire panel with some Tattered Angles Sea Shell Glimmer mist to add a vintage look to my piece.


I love creating little matching gift boxes or gift bags to go along with my card so I thought I would create one to along with today's card. I folded and assembled a 3"x 3"x 2"Kraft Box from the shop and added some stamping all around the middle portion of my gift box with SRM's Just Believe stamp set. I tied a light teal ribbon around my mini gift box and my card and matching gift box were complete.


 I hope you enjoyed my post and project today. Thanks for visiting!
SRM Supplies

Tuesday, April 18, 2017

Crafting with Grandkids by Susan & Sylvie


Today is a very special post because my Granddaughter Sylvie is our guest designer!


What happens when I visit with my grandkids?  Lots of love and hugs and lots of fun crafting!  Today I want to share with you what Sylvie and I made on my last visit with her in Massachusetts.  She loves the Just Believe stamp because last year when I was designing the new Bible Journaling stamps, she helped me design this one! 


And here's what we made!  And boy did we have fun! :)
We made cards, framable art, mini cards, and little notes and I love them all! 


Sylvie taught me quite a bit about stamping and pens.  We had a blast!

Crafting with kids is such fun!  They seem to have a natural feel for color and design and you can learn a lot from them! 

Join us tomorrow for more crafty projects  from our talented design team members. Follow us on Facebook or join any of our groups including groups for Bible Journaling, Planners and Vinyl

Hope you have a crafty day!

SaveSave

Monday, March 13, 2017

Happy Spring by Melanie


Spring is just around the corner. Melanie here today to share a mini-card set celebrating our upcoming season. It is my favorite time of the year! I love to see the shoots of my tulips and daffodils starting to come up in the beds.


I decided to play a bit for this card set by using the Marvy watercolor pencils and blender pen. It was a lot of fun to see how the colors turn from pencil stroke coloring to blended watercolor-look.

Choosing images from the Just Believe stamp set, I cut 2-1/2 inch squares of white cardstock to stamp three images three times each. Then I colored each image in a similar fashion. The image on the left is the first, unblended image. The middle image I used the blender pen. Then on the right images I used a little more color on the edges to add some dimension in the shading.


They look similar but the blending really helps smooth out the colors and the shading. I especially love how the pink flower turned out!

I added the "Spring has sprung" sentiment from the Express Yourself Easter sticker set. Then I combined the new jute twine with matching twine and tied them to the side of the colored card. After matting with foam adhesive, I adhered the images to a 3x3 inch card base.  If you like you could put these into a clear Mini Box from SRM!


Happy Spring!  Coming soon to neighborhoods near you!