Friday, April 13, 2018

Project Helper with Clear Containers by Shanna


Hello SRM friends!  This is Shanna here today sharing with you an "outside the box" way to use utilize SRM's fabulous clear containers!  

I have been coloring an awful lot here lately, and I tend to get distracted or interrupted easily (a.k.a. KIDS!) and then forget which exact colors were being used on my current project.  Especially frustrating if I am wanting to duplicate a card or need to touch up a spot I had to walk away from momentarily!  

SRM to the rescue! 


I used SRM's clear mini box and Tall Thin Box to create not only a spot to hold my markers while using them on a project, but a spot for my water brush too!  YAY for organization!  I grabbed a scrap piece of SRM Vinyl in black to make some cute labels for my containers and Voila! I have a small obsession with script fonts and just loved how this turned out....the font is called "Hello Gorgeous" for my fellow font aficionados.  


I decided last minute to adhere some sticky back velcro dots to make the boxes removable from the container that holds all the colors.  I like that I can just have the little boxes on my workspace if I want, as my workspace *shrinks* the longer I create! 
  
Supplies used:
SRM Vinyl- Black
SRM Vinyl transfer paper
Silhouette Cameo
Sticky back Velcro dots


Let me know what you think!
Is there anything you could use some help organizing?  

Thursday, April 12, 2018

Simple Foiled Thank You Cards by Samantha


Hello! Samantha here with you today. I can never seem to have too many thank you cards in my stash. I thought I'd play around with the new Easy Weed Adhesive and Textile Foil to create some Simple Foiled thank you cards.

To create these cards you'll need card stock, Easy Weed Adhesive, Textile Foil (I used blue and copper), a laminator or heat press, and a Silhouette Cameo or similar digital die cutting machine.


You will use your Silhouette Cameo to create and cut the design you want from Easy Weed Adhesive. When working with Easy Weed Adhesive you must remember to mirror your image for cutting (cut it out backwards). 


Place the design you cut on your card stock and heat it with a heat press (only about 2 seconds is needed for Easy Weed Adhesive on paper) or run it through your laminator. Make sure to peel the backing off of your adhesive as soon as you take the heat off. Do not wait for it to cool down. 

Finally, place a piece of textile foil over your Easy Weed Adhesive design. Apply heat a second time (with a heat press or a laminator). Wait until the foil cools, peel it off, and you have a beautiful foiled design. 

My favorite thing about using foil on card stock is that it shows up beautifully on both light and dark colored card stock leaving you endless possibilities for color combinations.  

I think these simple foiled thank you cards show that simple can also be stunning. 

Wednesday, April 11, 2018

Bridal Shower Card by Melanie


Hello! Melanie here today to share a card for a Bridal Shower. One of my co-workers is getting married in July and her shower is in a few weeks.


I found out the colors for her wedding and used them to put the card together. The Mini-Calendar stickers are a fun way to mark the date of a special event. I placed a heart sticker from the We've Got Your Sticker/Forever sheet over the date of her wedding. Then I added a couple of the sentiments along the edge.


To add some extra detail to the card, I placed a variety of black sticker stitches along edges of the paper layers. Sticker Stitches are my most used SRM stickers! Love them!


The "2018"from Year of Memories Sticker/2018 helps define the year of the event. I can’t wait to tuck this card into my friend’s gift basket at her shower. I know it will bring a smile to her face :)

SRM Products Used:
Sticker Stitches/Black
We've Got Your Sticker/Forever
Mini Calendar Sticker/Decorative 2018
Year of Memories Sticker/2018

Tuesday, April 10, 2018

Love You Card by Tobi


Hello there!! I'm here to share a colourful card made with Bible Margins: Love clear stamp set. 

Are you wondering how you could use bible journal stamps other than in your bible?  

Not a bible journaler? 

Neither am I, but there are still lots of great ways to use these stamps on cards, tags, and other projects! 


I took the plunge and cut the stamps up to separate the images/words/phrases so I could mix and match for cards and tags. (Make sure you use good scissors if you're going to do this. I used the Tim Holtz large scissors by Tonic. (I actually cut up my stamps often and they are always my go-to scissor. I think it's the serrated edges that make them so good for cutting rubber and photopolymer)


The heart image is what inspired this card, so I stamped it in four different colours (Distress Oxides) and stamped "Love you" (two different stamps) in black ink. 

SRM Stickers Supplies: 
Bible Margins: Love clear stamp set


Monday, April 9, 2018

Reverse Canvas Vinyl Sign by Karen


Hello!  Karen joining you today with something I just whipped up!  Pun intended! 


This was such a fun project to create! 

The bright colors of vinyl really make it stand out against the rustic frame.


When applying vinyl to canvas, the key is to prep your canvas - either with a layer of paint or spray it with a sealer before attempting to apply your vinyl. For my project, I sprayed the canvas with a spray adhesive after removing it from the frame and before cutting my vinyl. 

I used my electronic die cutter to cut the words/letters and cupcake (3 gorgeous colors of Oracal 651). By the time I finished cutting and weeding, my canvas was ready. The vinyl easily adhered to the surface. I sprayed the whole thing again with the sealer and let it sit while I stained the frame. Once the frame was dried and ready, the last step was re-attaching the canvas to the back of the frame. A very easy project with great results!
For this project I used:


Friday, April 6, 2018

Spring Cards in Gift Box by Angie


Hello SRM friends! Angie here with you again today to share some spring cards and a cute box to gift them in!!


I made all three cards using stamps from the Just Believe stamp set. For the blue card in the middle, I stamped the flowers and leaves on vellum. Then I used watercolor markers and water to give them the watercolor look. Then I just fussy cut them out. I placed the flowers and stems vertically down the card and used foam under the smaller flowers to add some dimension. 


I made the blue background by using distress oxides and water to give it the bleached look. I added some gold and pink ink mist splatters as well. 


The word 'spring' is from the Seasonal Plans stamp set.


For the front of this pink and white card, I added this fun doodle stamp from the Stamped Stitches set. I love how it adds so much to the card will such little effort!! I stamped and fussy cut the flower and stems and gave the card a fun edge by using a punch to make the scalloped border. 


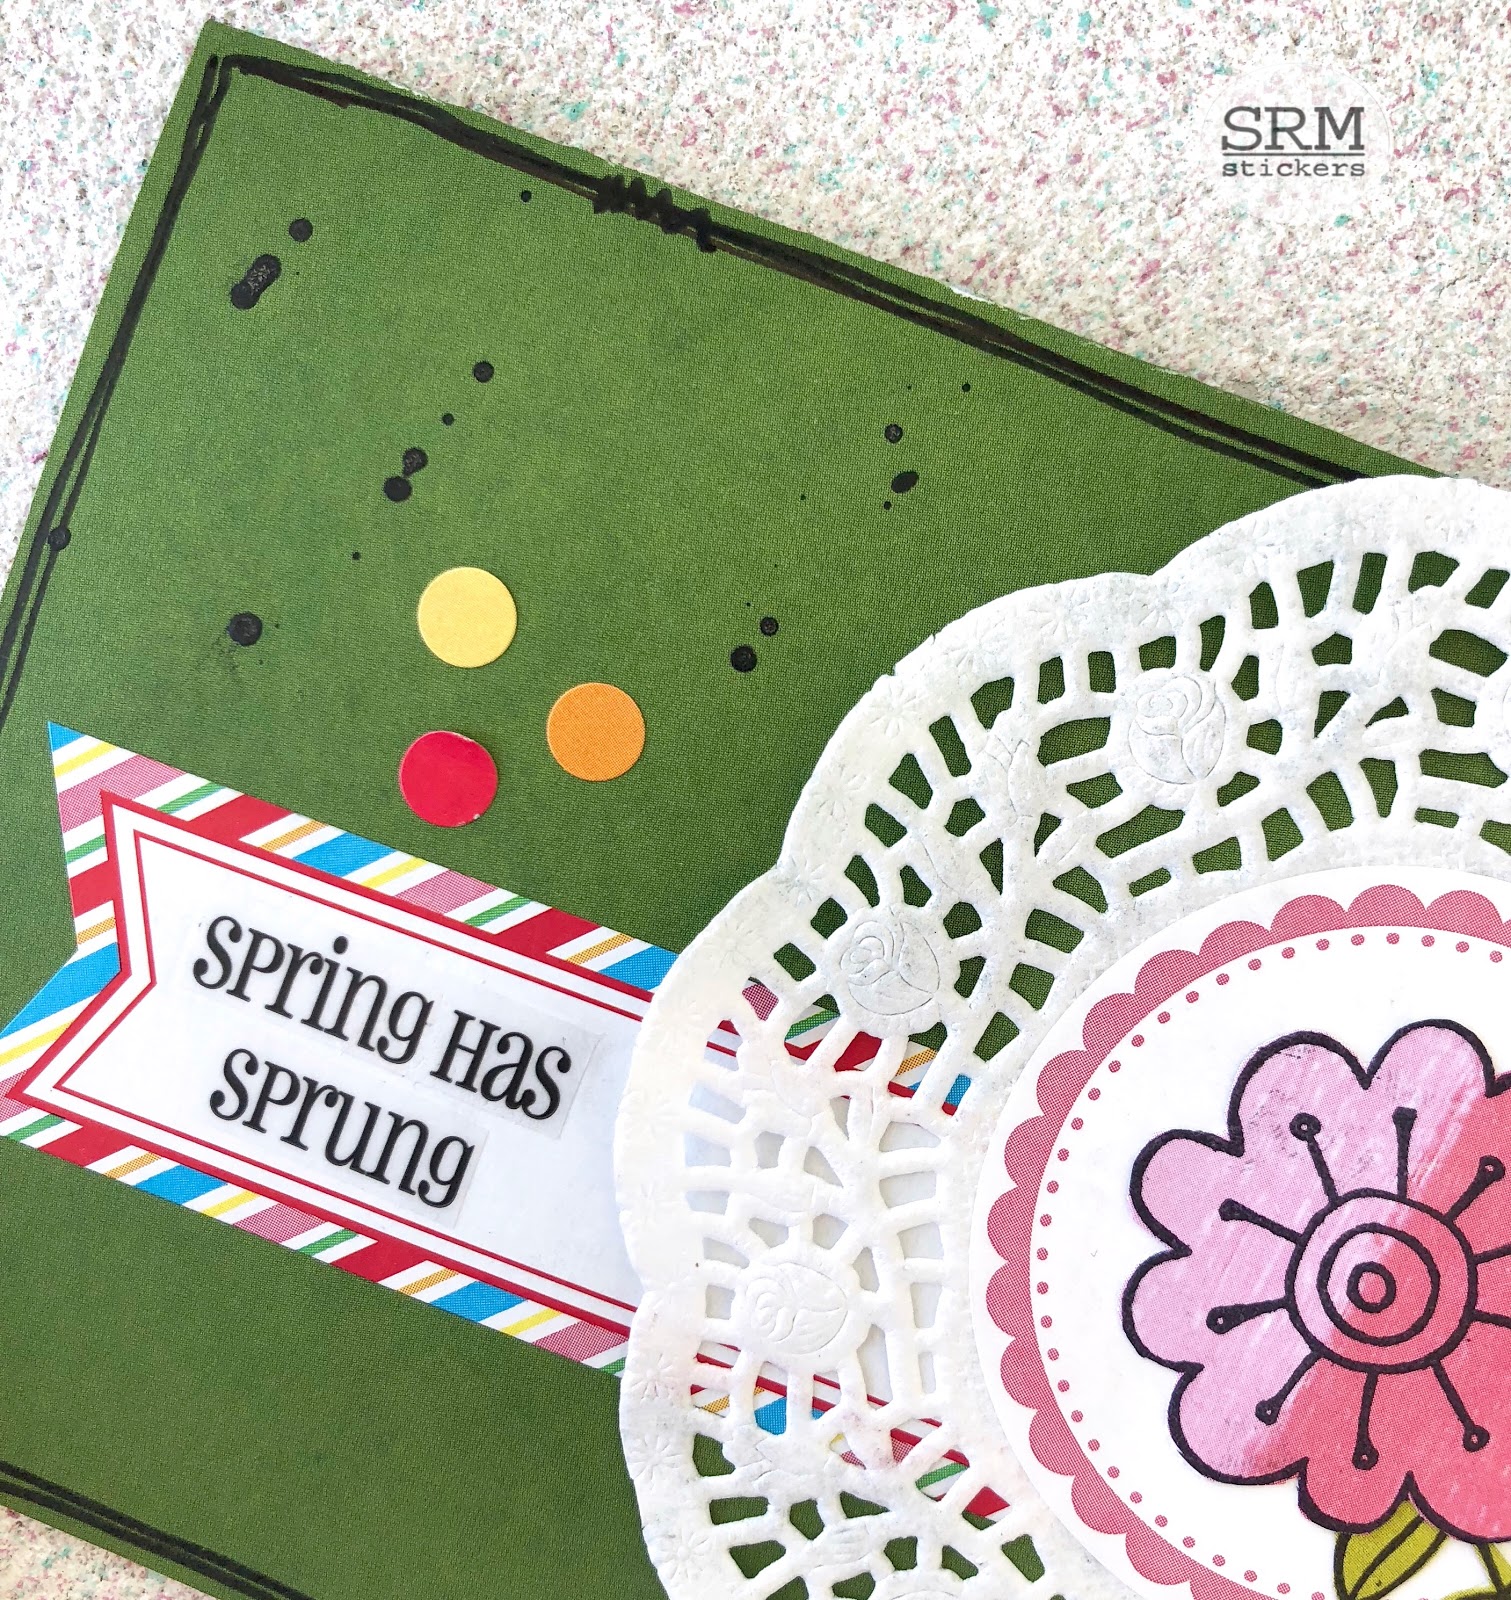
The green card uses lots of fun SRM products such as the small lace doiliesbright blank labels by the dozen and the Easter Express Yourself stickers. 


For the gift box, I used the A2 Clear Card Box. I punched two holes in the top and simply threaded the twine through the holes and made a bow. SRM has lots of twine to choose from. The flower borders on the box are from the Thank You Stickers by the Dozen set and the green label in the middle is another Labels by the Dozen sticker. I added another fussy cut flower, stem and a bird to finish off the box. 

Thank you for visiting the blog today. I hope my project gives you some inspiration to create your own!!

Thursday, April 5, 2018

Vinyl Wall Hanging by Christine


It's always nice to be able to create a new home decor piece and the vinyl selection from SRM makes it easy to do just that!  Christine joining you today with a new piece I made for our Dining Room.  My kids and I do our homeschooling in that room and they could use a reminder on both fronts about being humble and kind. So enter the message for this piece :).


I combined some hand made flowers and leaves with a wood plank base.  Then I brought in some vinyl that was easily cut on my electronic cutting machine. One thing I really enjoy about a project like this is how simple you can keep things.  You don't need a whole bunch of layers or fuss, just a few quick details and it is done!


Once I found a quote I was happy with - I combined it with my vinyl and began cutting.  Finally I used a transfer sheet to place it on my wood plank background.  That made it nice and easy to remove the whole thing and keep it straight.

Wednesday, April 4, 2018

Borders and Stitches Layout by Giorgia


Hello SRM friends, Giorgia here with a summer layout.
One of my favorite SRM Stickers products are borders and stitches, I use them all the time, and for this layout I used many of them to create a funny background. 
If you would like to see another layout created with them, you can find it here in my previous post - I also made a tutorial for it, check it out!


To create the background I used Gelatos and packaging technique (put Gelatos on a piece of plastic, sprinkle it with water and splash it on the cardstock!). Then I started adhering SRM borders and stitches stickers on the white textured cardstock: I alternated colors and motifs, and I created a visual line from top to bottom.  I layered picture on several patterned papers and I decorated with chipboard, flair, other stickers, sequins and glittered foam shapes to complete the LO.  The result is a colorful summer LO. 
Here some close ups:


I hope you liked my layout, if you will give it a try I would love to see your projects!

Until next time,
ciao, Giorgia


SRM products used 
SaveSave

Tuesday, April 3, 2018

Faith Bookmarks by Shelly


Hey y'all! Shelly, here.
Today, I'm sharing some simple faith bookmarks with you.


I started with making my bookmark by using a die and chose a simple patterned paper to use with it. After I used my die once more with regular cardstock and then adhered the two papers together. 


Once done, I stamped on my faith sentiments using a dark grey ink. Then I added some twine and a wooden button at the end. Easy peasy, right?!...


Thank you so much for stopping by!
Enjoy your day!

SRM Stickers supplies:

Monday, April 2, 2018

Dishwasher Safe Tardis Mug by Samantha


Hello! Samantha here with you today. I'm really excited that SRM now has dishwasher safe vinyl. I have a collection of fun coffee mugs, and I'm a bit of a sci fi geek. Thanks to SRM's Oracle Dishwasher Safe Vinyl I got to combine those two things in this dishwasher safe Tardis mug.


Can I see a show of hands for all my fellow Dr. Who fans?!? Love this show, but I haven't come across a mug I really wanted (or when I'd find one it was really expensive) so I decided to make my own.

 I picked up this cool cool mug for about $4. It looks hand thrown, but is actually from a retail chain store and is dishwasher and microwave safe. Then, all I needed was some dishwasher safe vinyl, transfer tape, and a way to cut my vinyl (I love my Silhouette Cameo, but you can use any digital die cutting machine to create your designs). 

I washed my mug, and wiped the area I was going to add my vinyl to with an alcohol wipe. You don't have to use and alcohol pad to prep the area, but I wanted to make sure that my surface was as clean as possible since it's a bit lumpy and bumpy.


 I've washed my 3 times now, and it looks just as good as the day I made it - no peeling, bubbling, or warping. I'm in love with this dishwasher safe vinyl, now the only question is what should I make next?!?