Need a little training in using SRM's new Vinyl?
Juliana Michaels loves playing with vinyl and today she gives us a tutorial on how she created wedding favors using vinyl and SRM's Glassine Bags. How perfect for those of us who are not familiar with Vinyl to see how she created this wedding favor step by step. This project was featured in our booth at CHA and was a big hit!
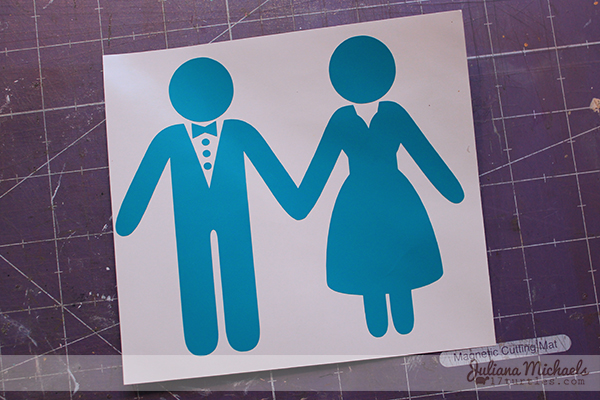
Use an electronic die cutting machine. Cut a piece of SRM Matte Vinyl slightly larger then the finished cut size of the image, place it on your cutting mat and cut the image. Select the Vinyl setting when cutting the Vinyl.
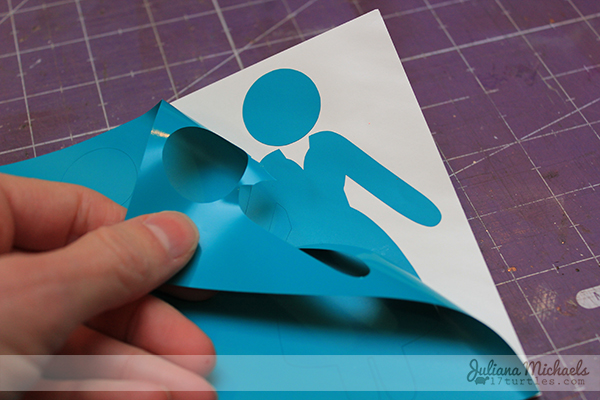
Remove the piece from your mat and then remove the excess Vinyl.
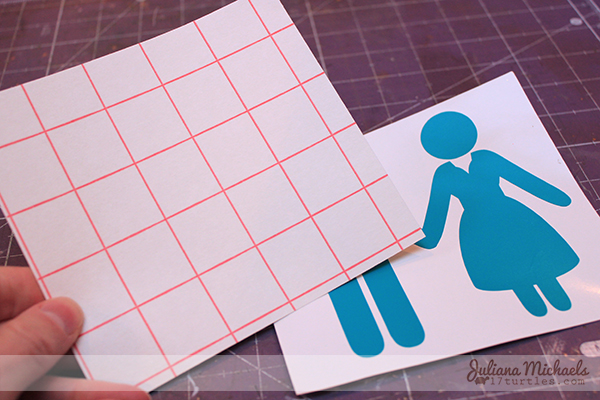
Cut a piece of Transfer Tape the same size as your original piece of Vinyl.
Remove the backing from the Transfer Tape.
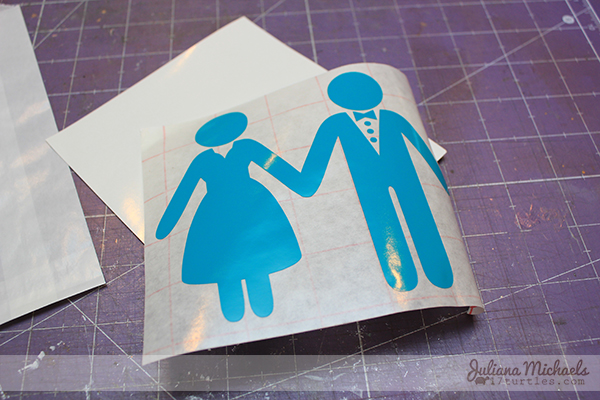
Position the Transfer Tape on top of your cut images.
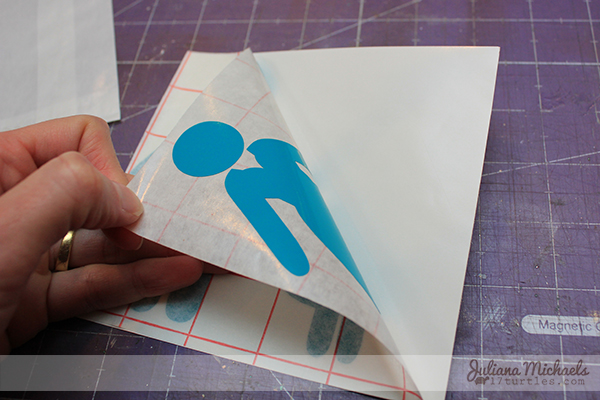
Run a bone folder over the image and help adhere the Transfer Tape to the Vinyl.
Carefully peel up the Transfer Tape making sure that the Vinyl image is stuck to the backside of the Transfer Tape.
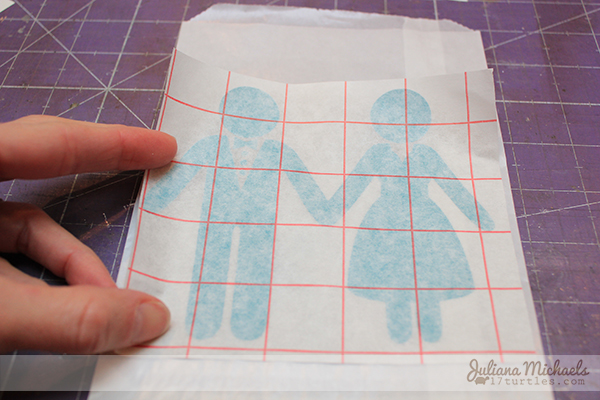
Position the Transfer Tape with the Vinyl image onto the surface you wish to adhere the Vinyl. In this case, the surface is a SRM Glassine Bag.
You can again use a bone folder to help adhere the Vinyl to the surface. Carefully peel off the Transfer Tape.
Here's the Vinyl cut image adhered to a Glassine Bag.
Juliana then added SRM Wedding Take 2 stickers and some twine.
Thanks for that super tutorial Juliana! Now it's time to play with some vinyl!






2 comments:
Thanks for the awesome tutorial! What a creative and ingenious way to use the new SRM vinyl! LOVE the gorgeous result!
It's just adorable! Thank you for the inspiration. Take care.
Post a Comment