Showing posts with label Home Decor. Show all posts

Tuesday, July 3, 2018

Americana Decor by Shanna


Hello everyone!  July brings the pinnacle of and American summer in my house....Independence Day!  I have many fond memories watching glorious fireworks displays both when I was a child and more recently with my own children.  I love decorating around the holidays, so I decided to make a new addition to my summer decor with a fun vinyl sign utilizing SRM's vinyl!


I started with a wooden blank I picked up at my local craft store, it was a 12x12 square, so I enlarged the design I chose to fit those measurements and then went to cutting!  I love the extra bling the holographic vinyl added to the star!  


What do your summer decorations look like??  

~Shanna

Thursday, May 24, 2018

Hello Spring by Karen


Hello Karen joining you today.  As I write this blog post, I'm still on the look-out for spring. Winter does not want to let go quite yet. Even though spring may not have arrived on the outside, this brightly painted spring sign certainly warms up the inside and helps me "think spring."


I used a scrap piece of wood, lightly sanded for this sign. I grabbed several of my brightly colored acrylic paints and "messily" painted the board so that all the colors could be seen. After designing and sizing "Hello SPRING" in my electronic die cutting software, I cut the letters in vinyl and applied them to my (dry) sign. 
Next, I layered a cream colored paint on top of my board and the applied vinyl. I like to peel my vinyl off before the paint is quite dry. I love the variation of bright colors revealed underneath the vinyl as I peeled it off.


To finish off my sign I added some spring colored twine and a trio of buttons. Simple eye hooks and more twine made it the perfect sign to hang in a sunny spot in my home. 
Come on, spring!

For this project I used:
wood board | acrylic paints | Oracal 651 vinyl | SRM spring jute twine | buttons | eye hooks
SaveSave

Monday, April 9, 2018

Reverse Canvas Vinyl Sign by Karen


Hello!  Karen joining you today with something I just whipped up!  Pun intended! 


This was such a fun project to create! 

The bright colors of vinyl really make it stand out against the rustic frame.


When applying vinyl to canvas, the key is to prep your canvas - either with a layer of paint or spray it with a sealer before attempting to apply your vinyl. For my project, I sprayed the canvas with a spray adhesive after removing it from the frame and before cutting my vinyl. 

I used my electronic die cutter to cut the words/letters and cupcake (3 gorgeous colors of Oracal 651). By the time I finished cutting and weeding, my canvas was ready. The vinyl easily adhered to the surface. I sprayed the whole thing again with the sealer and let it sit while I stained the frame. Once the frame was dried and ready, the last step was re-attaching the canvas to the back of the frame. A very easy project with great results!
For this project I used:


Thursday, April 5, 2018

Vinyl Wall Hanging by Christine


It's always nice to be able to create a new home decor piece and the vinyl selection from SRM makes it easy to do just that!  Christine joining you today with a new piece I made for our Dining Room.  My kids and I do our homeschooling in that room and they could use a reminder on both fronts about being humble and kind. So enter the message for this piece :).


I combined some hand made flowers and leaves with a wood plank base.  Then I brought in some vinyl that was easily cut on my electronic cutting machine. One thing I really enjoy about a project like this is how simple you can keep things.  You don't need a whole bunch of layers or fuss, just a few quick details and it is done!


Once I found a quote I was happy with - I combined it with my vinyl and began cutting.  Finally I used a transfer sheet to place it on my wood plank background.  That made it nice and easy to remove the whole thing and keep it straight.

Tuesday, March 20, 2018

Textile Foil on Wood by Karen


Hello!  Karen joining you today with something very addictive! 
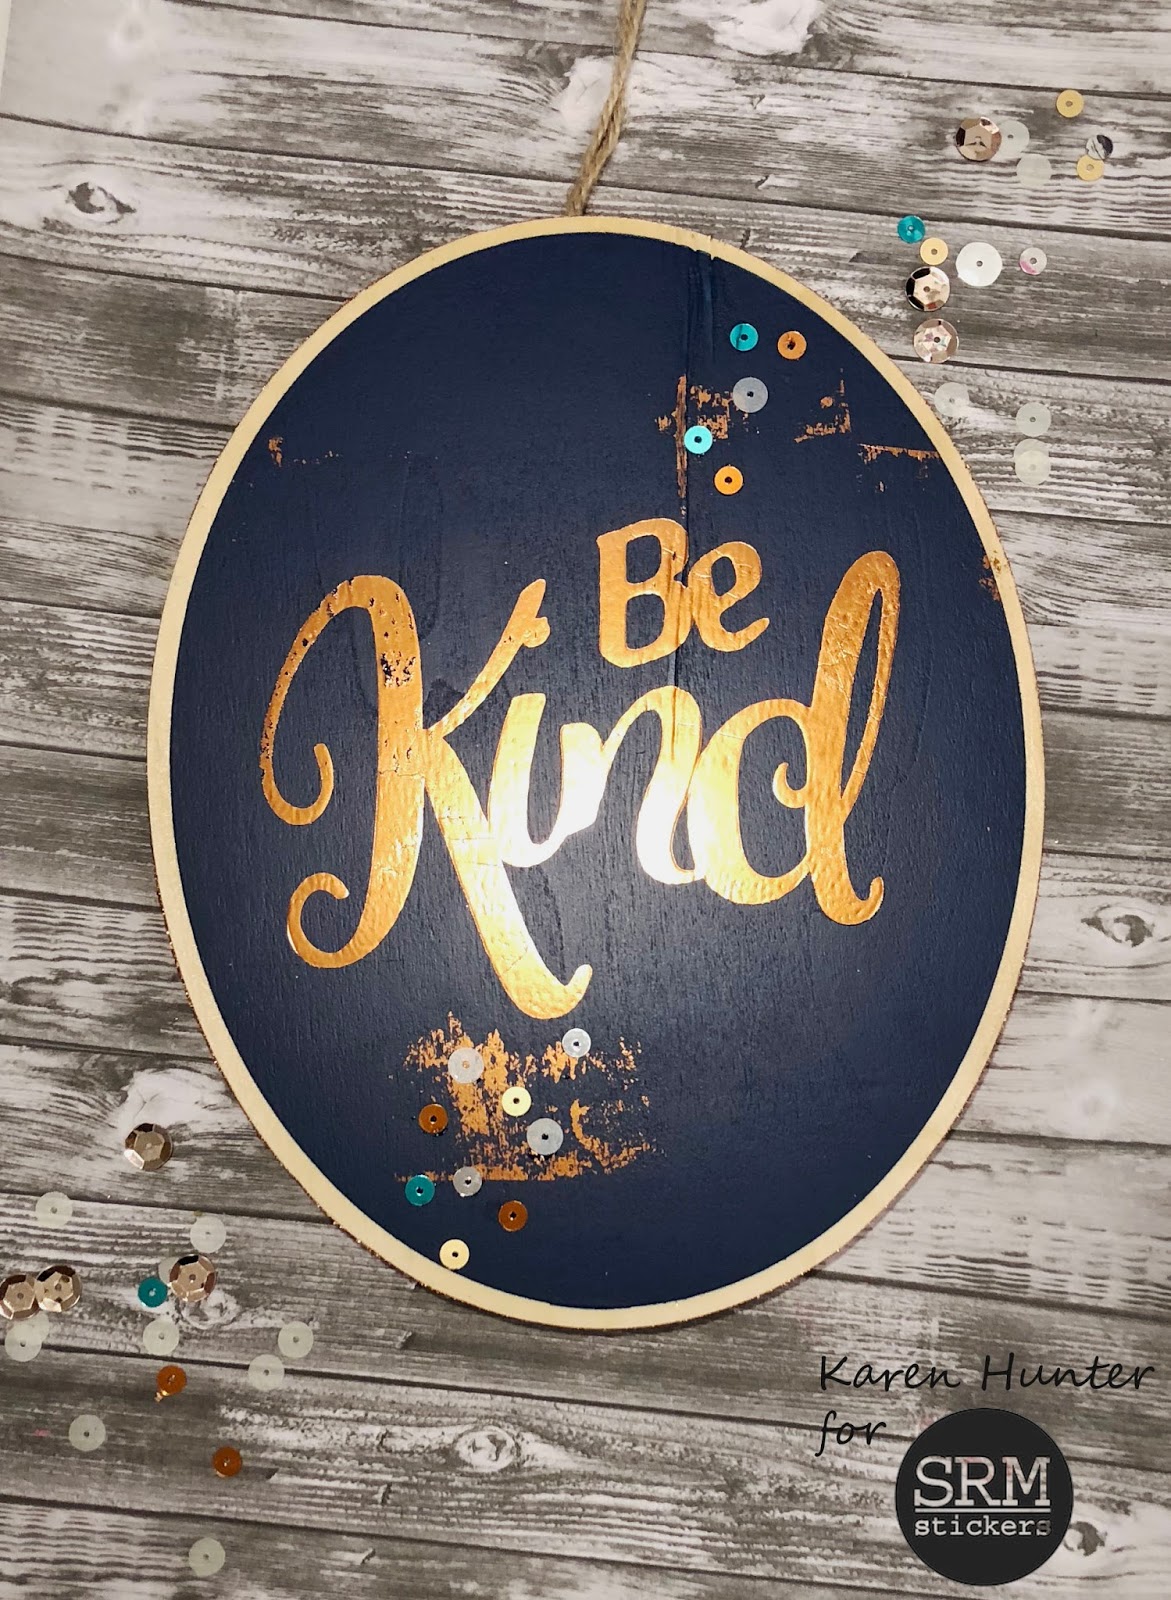
It's so fun when I get my box of goodies from SRM Stamps. Recently, as part of the Design Team, I was sent some textile foil. I'm new to textile foil, but was excited to discover different ways to add some shimmer and shine to my projects.


Today I'm sharing this wood plaque project using textile foil and EasyWeed Adhesive.  Watch this video to see how I created this project and what I did when it didn't turn out quite as expected. 


I love how this project turned out and I learned a lot in the process. I also love that I was able to use this wood plaque that has been sitting for quite some time, just waiting for sparkly inspiration.


For this project, I used:

Tuesday, March 13, 2018

Easter Mason Jar Centerpiece by Jenn


Hello, Jenn back again! This time with an Easter centerpiece/gift idea using everyones favorite (well at least mine)...mason jars! These are quick cute centerpieces that can be made in next to no time with just a few SRM sticker essentials.


To start I am using a quart sized mason jar, I filled mine with Easter grass, jelly beans, and a chocolate bunny. Now comes the fun part...I chose to decorate with a scrap of fabric to cover the lid, and a sweet bow out of jute twine. Using a few Easter stickers I decorated the outside of the jar. I also though it would not only make a cute centerpiece but also a gift to give, so I created a tag using SRM stickers and markers.


I hope you enjoy this sweet festive idea may it bring a little joy to your Easter table. Till next time stay creative and keep sharing your fantastic ideas over on social media using #srmstickers #srmpress. Follow me on Instagram @creativegurl85 for more creative ideas

SRM products used:
SaveSave

Tuesday, February 6, 2018

Love U Banner by Tangii


Hello, Tangii here.  For today's project, I've made a Valentines Banner.  I've used red, pink and white heart doilies, twine and a few sticker sheets.


The banner is fairly long and hard to photo so below are some close-up shots.  The letters I cut out on my Silhouette machine, I adhered them to the middle of each doily then had some fun with stickers!!!


I used the Valentines Stickers by the DozenValentine Say it with Stickers, and Valentine Express Yourself sheets some of the longer stickers I cut up (the hearts and shorter sentiments).


The Jute Twine is great for making triple loop bows, I used red, black and pale pink.  This banner was so easy and quick to put together, you can easily make one for every season, holiday, event, etc!


Happy Crafting!

Tuesday, December 19, 2017

Christmas Computer Decal by Samantha


Hello! Samantha here today with an idea to deck your halls...or more accurately your computer for Christmas with a Christmas computer decal. 


 It just might be the easiest decorating you do this season. All you need is some vinyl (I used SRM's metallic vinyl, silver and metallic gold) and a way to cut that vinyl (I used a Silhouette Cameo).


To be honest, I spend a lot of time on my laptop. I shop from my computer, edit photos, write blog posts, and the list goes on. Why not dress up my computer for the holidays, and give myself a reminder of what this season is really about?

  
The best part is that, because this is vinyl, when Christmas is over I can easily remove my Christmas computer decal and replace it with something else (I'm thinking, "Act Justly, Love Mercy, Walk Humbly"). What would you put on your computer?

Thursday, December 7, 2017

Christmas Decor Tray by Melanie


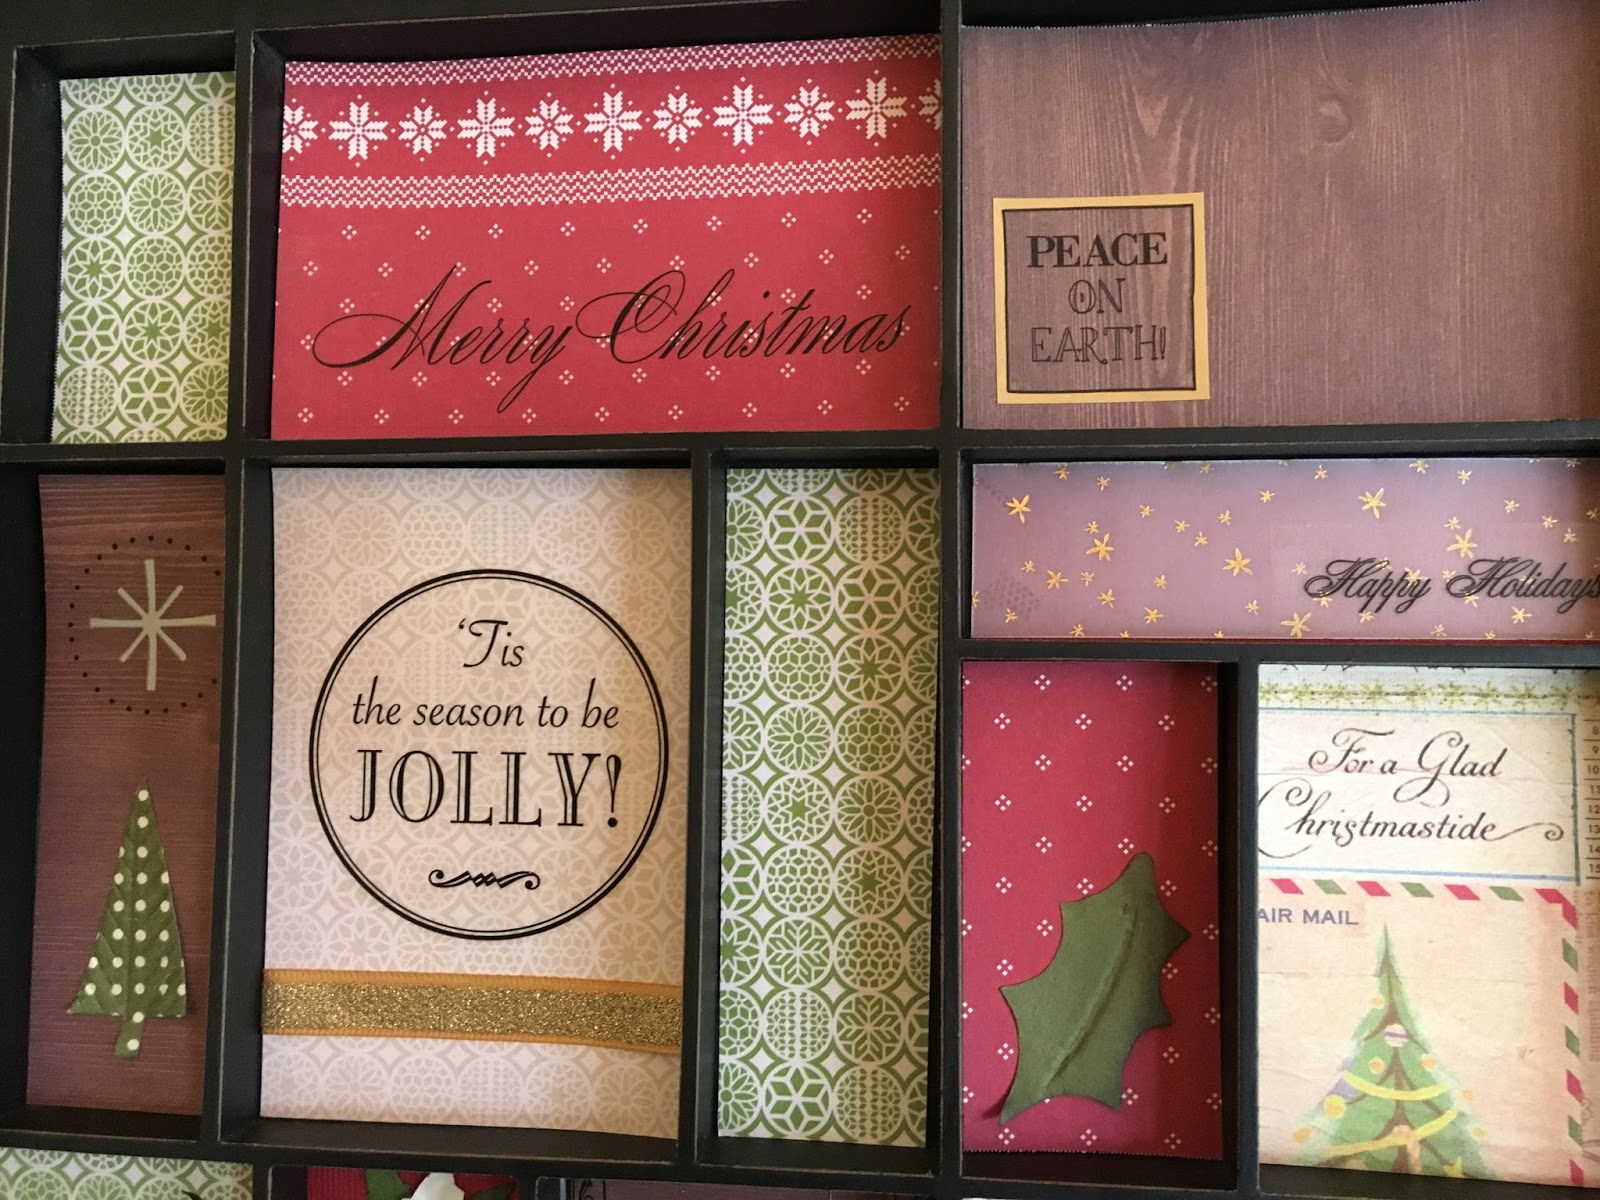
Hello! Melanie here today to share a tray I decorated for the upcoming Christmas holiday. I used two different SRM Press sticker sheets: Quick Cards/Peace and Fancy Sentiments/Christmas.


 The clear backing helps the stickers to blend seamlessly with the patterned papers.  


Adding a few embellishments here and there completes the look for simple, yet classic decoration for our home this holiday season.


Happy Holidays!

Wednesday, December 6, 2017

Be Merry Candle Gift by Shelly


Hey y'all! Shelly, here.
Today I'm sharing a simple gift idea with you!


I started with my candle jar and simply wrapped some wired burlap ribbon around it. After I used some red jute twine and tied it around the burlap. Easy, right?!...Next, I used a festive holly die cut with green cardstock. Which I layered two times. 


To finish things off, I added 'be merry' to a circle die cut piece using kraft cardstock and punched a hole at the top. Once done, I added everything to my jar and tied things off. Simple yet makes for a sweet gift, yeah?!...

Thanks so much for stopping by!
Enjoy your day!

SRM Stickers supplies:

Wired Burlap Ribbon
Red Jute Twine
SaveSave

Tuesday, December 5, 2017

Home Decor with SRM Vinyl by Shanna


Hello Crafty friends!!  Shanna here, and today I am showing off a fun and easy desktop easel and a canvas that I personalized with the ever-so-versatile SRM Vinyl!


I found the easel at my local Wal-Mart and fell in love with it....I love the look of chalkboards, but don't really enjoy the messiness of chalk.  So I figured I would create a faux-chalk look with white vinyl on the black chalkboard side of my mini-easel!  


I love how it turned out!  I plan on displaying it on my mantel off and on throughout the year, because let's be honest.... A family of 5 is ALWAYS and adventure!!

The Canvas was an extra I had from a different project and I have been eyeing the "family rules" idea for a while now.  I used a file from the silhouette store and sized it to the size of the canvas.  I prepared the canvas first by painting it with black acrylic paint to get the "chalkboard look".  I really like how it cam out and will definitely be proudly displaying it in my home.

Thanks for stopping by!  
See you soon,


Materials used:
SRM Glossy white Vinyl

Tuesday, November 28, 2017

Pretty Frame Decor by Tangii


Hello, Tangii here.  For today's project, I've taken a pretty frame that I picked up and decorated the photo part.  It would make a beautiful Christmas gift for someone special in your life!


This was super easy and lots of fun to put together!  Just a few scraps of paper, the frame and the Just Believe stamp set, the coloring medium of your choice and a couple of fun embellishments (totally optional!).


I found a piece of scrap paper that liked for the background, then stamped out several images from the Just Believe stamp set.  I colored my images in and then just fussy cut them all out.  The sentiment is stamped on a couple of dies I have.  I added a small button with twine in the middle of the larger flower for a little more texture, and all of the pieces are "popped up" with dimensional type sticky dots.


Here it is on it's new home!  It fits in beautifully!  This would be easy to swap out too, maybe make a few different panels and swap them out from time to time.  OH, by the way, the glass is behind patterned paper, so as not to smoosh the flowers, etc.  Well that's it for me, thanks for stopping by!!!

For this project I used Just Believe stamp set
Happy Crafting!

Thursday, November 23, 2017

Happy Thanksgiving! Throwback Thursday!


Happy Thanksgiving to our USA readers! We hope your holiday is filled with family and joy. Sharing just a few projects for you today...  These are projects from the past but such fun and easy to create even last minute for your table.

Susan altered a treat container using Marvy's Border Punch System and SRM Stickers to give as a special gift;


And here's a wonderful idea for paper napkin rings by Deana Boston . Deana also used Marvy's Border Punch System.


Have a wonderful holiday, we'll see you again on tomorrow! 

Wednesday, November 22, 2017

Thanksgiving Table Setting by Tangii


Hello, Tangii here.  Today I'm prettying up our Thanksgiving Table!  Hope this gives you some last minute ideas of how to fancy up your table for tomorrow! I've made a couple of Silverware Pockets using Burlap Bags.  These are easy to make so let's get started!


The Burlap Bags come in 2 sizes, I used the smaller.


This is one of those projects where you can just use scraps.  So I grabbed some Fall Leaves from some leftover Garland I had from making a Wreath.  For this one I grabbed a large Heart die and some simple patterned paper scrap.  The "Gratitude" and the small leaf on the heart are from the Express Yourself, Thanksgiving sticker set.  The banner across the heart is just another die, and the "Gratitude" sticker fit perfectly on it!  I just added a ribbon bow & button cluster and Voila!!


For this one I did pretty much the same thing, but to mix things up a bit I used a Tag die here.  The "Giving Thanks" is from the Express Yourself, Thanksgiving sticker set.  The leaf sticker is from the Say It With Stickers, Thanksgiving sticker set  Ok, that's it for me, thanks for popping in!

Happy Crafting!

Wednesday, November 8, 2017

Thanksgiving Table by Karen


Hello!  Karen here today sharing some ideas and a video!


Thanksgiving is such a sweet time to spend with friends and family. It's fun to make the decor and table settings extra special. Here's a quick and easy idea for you to try. Tuck your fancy silverware in a small dotted pouch marked with the initial of each guest in vinyl. Don't forget to add a small card at each place setting for guests to record what they are most thankful for. Later, these cards make great additions in a planner or scrapbook with photos of the day's festivities and a record of Thanksgiving.


Watch it come together in this quick video.


For this project, I used:

Tuesday, October 24, 2017

Toy Box Plaque with Vinyl & Stickers by Tangii


Hello, Tangii here.  Today I'm playing with some Matte Vinyl.  I have a super cute Blonde Lab that is spoiled as all get out!!  This is one of his Toy Baskets and I've decided to make him a name plaque for it!


I also added a few stickers from my stash (We've Got Your Stickers - SweetSentiment - Life Is GoodExpress Yourself - Birthday)  For the ones that wouldn't show up on that black, I simply adhered them to some cardstock, cut them out and then adhered them to the plaque.


I apologize for not taking pictures along the way, honestly I was having so much fun with this and was so excited... I forgot, lol.  Ok so there are 3 layers here, the first being that pretty scalloped heart in Red Polka Dot Vinyl.  The 2nd is the heart in White Vinyl and on this one those paw prints are actually cut out so the Red Polka Dots show through (LOVE THIS!).  The 3rd layer is Huck's name, in Black Vinyl.  


This is by far my favorite Vinyl of all of the brands I've used!  And I'm not saying that because this post is for SRM!  Ok, that's it for me, thanks for popping in!

For these projects I used We've Got Your Stickers - SweetSentiment - Life Is GoodExpress Yourself - Birthday, Red Polka Dot Vinyl, White Vinyl, Black Vinyl.
Happy Crafting!

Monday, September 18, 2017

Beware of Hitchhiking Ghosts Halloween Sign by Samantha


Hello! Samantha here with you today to share a Halloween decor idea. We love to decorate for Halloween in our family, but my kids aren't too big on the scary aspects of Halloween. We are also big Disney-a-holics in our family, so I decided to draw inspiration from one of our favorite Disney rides (the Haunted Mansion) and create this Beware of Hitchhiking Ghosts Halloween sign. 


For this project all you'll need is wood (mine is about 11" x 13" long), paint (I used white and gray), SRM vinyl (I used black and gray), and a way to cut vinyl (I uses a Silhouette Cameo).


I started by painting my wood with white paint. To give this a little more of a distressed look, I sponged a little gray paint around the edges when the white paint had dried. 
  
 
I cut my black vinyl words using a free font called Haunted Mouse. I thought it had the perfect haunted house feel to it...old, elegant, and a little bit creepy! I added my hitchhiking ghost that I cut from gray vinyl last. It was easiest to line up my words on top first, then my words on the bottom, and finally center my hitchhiking ghosts in the empty space. 


Since we have awesome memories of family time spent on this ride, this sign is a perfect piece of not too scary Halloween decor. Do you ever take decor inspiration from your favorite places?