Showing posts with label Fancy Sticker Sentiments. Show all posts

Thursday, December 21, 2017

Christmas in my Faith planner by Jennifer


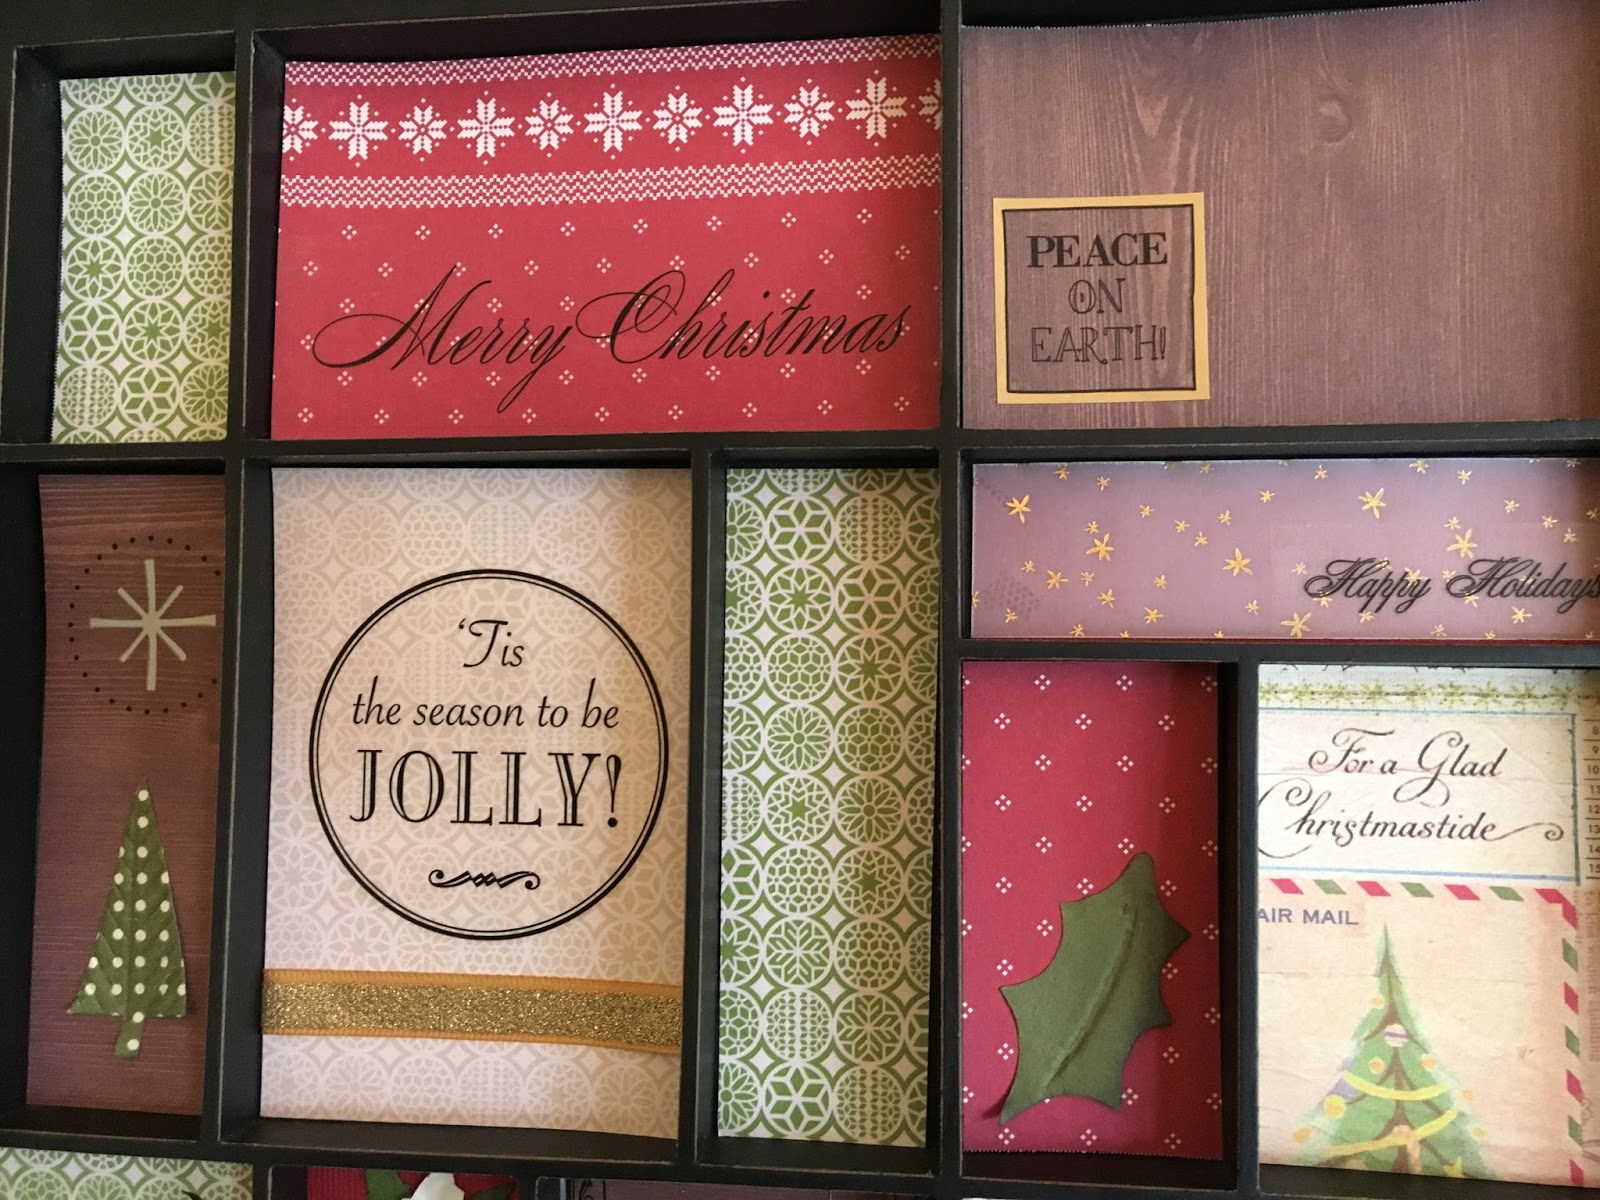
Hello friends, Jenn here! Today I am sharing planner pages from my faith planner, which in case you are curious is the Happy Planner faith edition. I typically use my faith planner to write out scriptures, take sermon notes, podcasts notes, and a place to write prayers.

Decorating my pages makes them a little more inviting and a little less intimidating than a blank page.


To begin, I pulled out these adorable border stickers that remind me of washi and they all coordinate together...bonus! Next I used a couple clear stickers to make my pages feel a little more festive. Using the large Merry and Bright sentiment I stamped on the top and bottom of the coordinating pages in red and
green. A few extra bits of washi and my pages are finished. I mentioned earlier that I really enjoy having lots of space to journal, but if you prefer no or little white space stamp and sticker away SRM has tons of beautiful stickers and stamps to bring joy and color to your pages.

I hope this inspires you to pull out that planner and write down those prayers, scriptures and devotional times. Looking back over the weeks and months is such a great way to see how God is moving in our simple everyday lives. I pray you all have an incredibly blessed and joyful Christmas and I will see you back here on this blog in the New Year!

Supplies Used:
We've Got Your Border/Christmas,
Fancy Sentiment/Christmas,
Merry and Bright large sentiment stamp set


Friday, December 15, 2017

Joy Ornaments by Shelly


Hey y'all! Shelly, here.
Today I'm sharing some simple Christmas ornaments with you! I think these would be great special gift for someone, too! :)


I kept things very simple. I started with die cutting my snowflakes in three different sizes. For the smallest snowflake I used a silver glitter cardstock and the two bigger ones white cardstock. After, assembled them together. 


Once done, I added my SRM sticker to the center. In this case, joy. I only added my sticker to one side and left the backside showing on the silver glitter snowflake. After, I punched a hole at the top of my snowflake and added some jute twine. Simple, yeah?!...

Also, giving this special gift to someone, you can easily pop them into a patterned glassine bag! ;) 

Thanks so much for stopping by!
Enjoy your day!

SRM Stickers products:


Thursday, December 7, 2017

Christmas Decor Tray by Melanie


Hello! Melanie here today to share a tray I decorated for the upcoming Christmas holiday. I used two different SRM Press sticker sheets: Quick Cards/Peace and Fancy Sentiments/Christmas.


 The clear backing helps the stickers to blend seamlessly with the patterned papers.  


Adding a few embellishments here and there completes the look for simple, yet classic decoration for our home this holiday season.


Happy Holidays!

Wednesday, November 29, 2017

Welcome Baby Cards by Melanie


Hello, Melanie joining you today to share some baby cards. Lately we have had quite a few babies to welcome into our family and circle of friends. I love to have a handmade card to accompany the gift. Here are a couple of baby cards I made to celebrate the birth of new little ones.
 SRM has THE best stickers for making cards! There are all kinds of sizes, fonts, shapes . . . it is awesome :) I love how they can be easily cut apart to fit exactly what you need.

For this Precious Baby card I used the Sentiment/Baby sheet as well as the We've Got Your Border/Pastel for "Hello Beautiful".


The Fancy Sentiments/Baby "Welcome Little One!" is such a sweet way to say just that. I added a bit of buttercream twine at the top of the banner piece for an extra special touch.


To finish off the look for each card, I added a border to the envelopes from We've Got Your Border/Baby Boy


Hope you enjoy these cards and are inspired to make some of your own :)
SaveSave

Friday, November 24, 2017

'Tis the Season to be Jolly! by Shelly


Hey y'all! Shelly, here.
Today I'm swinging on in to share a sweet little Christmas tag and gift with you! 


I started with my tag. I kept things nice and easy, so I just built my tag from the bottom up. I started with my patterned paper, then added a touch of kraft cardstock, along with a doily and dark brown cardstock. Once done, I added my sticker on top. Simple, right?!...


After finishing my tag, I simply used a clear container and added some deep green cardstock to the front and back of my container on the inside of it. Once having that done, fill the container with any treat you like. :) To finish things off, I added my tag to the container using two colors of jute twine. Easy peasy, yeah?!...

Thanks so much for by!
Enjoy your day!

SRM Stickers supplies:


Thursday, November 16, 2017

Gift Wrapping by Shantaie

Hello!  Shantaie here today to share some gift wrapping ideas!


I'm one of those people who cherish the opportunity to wrap gifts, I make an event of it, and truly find it to be a joyful activity. That being said I know not everyone feels the same way I do, so I thought I would share a couple of ways to add beauty to simple packages that are so pretty that you may just convert.


Let's start with a simple square kraft box Before opening the box add a joy stamp from Big Merry in a row of three with versamark ink and gold embossing powder, heat set and open box. To add a fun ribbon detail I cut a small slit in the box front bottom, and wind around to tie on top


Kraft boxes come in a ton of different sizes and I reccomend have them on hand for every occasion, but I especially stock up before the holidays.


We all love the ease of a gift bag, and if you've never given any thought to flat bags as an easy but beautiful option for gifts allow me to share with you my love of these bags!! They come in many sizes, colors and patterns


Like the box above I used a stamp to add a sentiment and embossed it with gold powder, the gift was added and I folded the top of the bag over, and tied a bow, to that I added a spray of die cut branches and a lovely gold ornament tag with a sticker from Fancy Sentiments Christmas and a spattering of pearl dot accents.


Gift wrapping can be easy if you start with a few simple basic containers, and a little crafty fun! 

Monday, September 25, 2017

Back to School Card Set by Tobi


Hi there, it's Tobi Crawford here! As a teacher I always have a need for school-related cards, especially at the beginning and the end of the year. Councillors, admin, and fellow teachers need a special "kudos" this time of year, and small little note-cards are the perfect token of appreciation. 


Each card is a little different (that's for me - so I don't get bored), but also because I wanted to switch up the sentiments slightly to be a little more personal. 


The formula is easy: 

 1) ruled patterned paper
2) lined patterned paper
3) apple stickers (Live Life: School)
4) sentiments (Fancy Sentiment: Thanks)
5) twine (Solid Maraschino)

Thanks for stopping by!  See you again soon!

Friday, September 8, 2017

Birthday Card Set by Karen


Hello!  Karen here today with a fun birthday card ideas!


Do you still send out birthday cards to friends and family? I'm not always perfect at it, but I do enjoy sending out handmade birthday greetings. Last week I dug into my stash to look for a birthday card and discovered I was out (sorry to all those early August b-days).

When I need to make a lot of cards, I settle on one design that I can duplicate easily. For this set of birthday cards, I used my die-cut machine to cut and assemble several cupcakes. I find it easier to do several images at the same time and make a sort of assembly line process. To fancy up these cupcakes, I even added some glitter at their final stage.

Once all the cupcakes were assembled and dry, the cards were super easy and quick to put together. I used plain white cardstock for the base and two layers of patterned cardstock on the front. Then I added one or more cupcakes and a clear sentiment sticker or two. There are so many to choose from in SRM's collections.


As seen in the first photo, I packaged up a few to share. Five cards plus envelopes easily fit into a flat glassine bag touched simply with a ribbon, "just for you" sentiment, and a green stripe at the bottom.

Do you need more SRM Birthday stickers?
Check out the birthday section of the SRM Store!  

For this project, I used:

Wednesday, July 5, 2017

Baby Calendar by Shelly


Hey y'all! Shelly, here.
Today, I'm sharing a sweet baby calendar with you. 


I thought this would be fun gift to give to someone who is expecting...they can completely customize it to their liking. :)

I simply only added a 'cover' to the front of the calendar,which I used some patterned paper and kraft cardstock for a mat. For the back of the calendar I just added kraft cardstock only. 

To tie things together for a gift, I added a little strip of kraft cardstock around my calendar and then added a couple doilies with a baby sticker in the middle. I also I added all the cardstock stickers pieces/etc. into a larger glassine bag and slipped it underneath the doilies and kraft strip. Simple and sweet, yeah?!...

Thanks so much for stopping by!
Enjoy your day!

SRM Stickers products:


Tuesday, May 23, 2017

Crafting with Kids by Shelly


Hey y'all! Shelly, here!
Today, I'm sharing what my kids made with some SRM Stickers goodies!


I gathered some SRM Stickers supplies together and then let them one by one create a card and a bag to put it in. In this case they chose to make Mother's Day cards, though you could do this with any theme you like. :)


Thank so much for stopping by!
Enjoy your day!

SRM Stickers supplies used:

Little Borders-Gold
Patterned Bags
Watercolor Twist  Pencils

Thursday, May 11, 2017

Graduation Cards by Melanie


Hello! Melanie here today to share a couple of graduation cards with you. My oldest child is graduating from high school this year (*sigh*). I went with her school colors of dark red and black for the cards.


SRM has several great graduation sticker options. I used the following:
Black Lace
The bottom layer of the card is actually some polka dot tissue paper. I love how it has a playful look and adds a little texture to the card. Then I layered some Black Lace for more texture and a border sticker on the tissue paper.


Next I used a dark red cardstock to mat graduation sentiments to layer on the lace. I finished off the cards with one more border sentiment.

By using the same basic structure for both cards, they came together quickly. SRM stickers made it easy to vary the look of the cards, yet keep the process simple.

Friday, May 5, 2017

Birthday and Thank You Cards by Amber


Hello everyone! It's Amber here, I have two cards today to share using two different styles of clear sentiment stickers and a mini stamp from SRM's Just Believe clear stamp set. 


For my first card I used one of the extra large round Birthday sentiment from the Fancy Sentiment/Birthday sticker sheet, a little butterfly stamp from the Just Believe stamp set, and paired them with some patterned paper from Pink Paislee.


I created a cute little border around my sentiment with the little butterfly stamp. I stamped little butterfly image multiple times, along the two edges of my patterned paper and then onto some white cardstock. I fussy cut the butterflies out of the white cardstock, colored them, added some mini clear sequins to their wings, and adhered them right over the first set I stamped along the two edges of my patterned paper. 


For my second card I used one of the "Thank You" stickers from the Stickers By The Dozen/Thank You sticker sheet and paired it with some gray and yellow patterned paper from Close To My Heart. 


I created this fun over sized flower with some yellow cardstock and a gray brad. I die cut seven circles out of a piece of yellow cardstock, three large ones, two medium ones, and two little ones. Once I had all my circles die cut I wrinkled them up in my hands, unwrinkled them, stacked them from large to small, and added a little gray brad to the center of them to hold them in place. Once I had m brad in place you can wrinkle them a little more and form the flower they way you want. I added my finished flower to my yellow card base right next to my sentiment. 

SRM Sticker Supplies

Thursday, May 4, 2017

Mom's Day Card & Gift Bag by Karen


Hello!  Karen here today to share something special just in time for Mother's Day!   And a video too!

Mother's Day is a special day to honor and celebrate those women in our lives who encourage, love, and inspire us. Today, I'm sharing a sweet card and gift bag to help me do just that.


Check out this process video to see how you can quickly put together a similar card and gift bag for that special lady in your life.


For this project I used:

Monday, May 1, 2017

Lovely Lace Card by Tobi


Hello!  Tobi joining you today with a lovely lace wedding card. 

What is more elegant than lace? 
The word "lace" conjures so many words in my mind, 
most prominent of which are: 
love, wedding, sexy, delicate, sophisticated and classic. 

This card embodies all of those words:


I paired black lace with a white doily, and built my card around that. A monotone color scheme keeps this card classic and timeless, and the SRM stickers pair beautifully with all of the other elements. 

Supplies: 
Black Lace