Showing posts with label Spring. Show all posts

Thursday, May 24, 2018

Hello Spring by Karen


Hello Karen joining you today.  As I write this blog post, I'm still on the look-out for spring. Winter does not want to let go quite yet. Even though spring may not have arrived on the outside, this brightly painted spring sign certainly warms up the inside and helps me "think spring."


I used a scrap piece of wood, lightly sanded for this sign. I grabbed several of my brightly colored acrylic paints and "messily" painted the board so that all the colors could be seen. After designing and sizing "Hello SPRING" in my electronic die cutting software, I cut the letters in vinyl and applied them to my (dry) sign. 
Next, I layered a cream colored paint on top of my board and the applied vinyl. I like to peel my vinyl off before the paint is quite dry. I love the variation of bright colors revealed underneath the vinyl as I peeled it off.


To finish off my sign I added some spring colored twine and a trio of buttons. Simple eye hooks and more twine made it the perfect sign to hang in a sunny spot in my home. 
Come on, spring!

For this project I used:
wood board | acrylic paints | Oracal 651 vinyl | SRM spring jute twine | buttons | eye hooks
SaveSave

Wednesday, May 2, 2018

Spring Layout by Angie

Hello friends!! Angie here with you today! 

I'm sharing a spring layout in hopes that it will actually make spring appear!! I'm sure a lot of you can commiserate with me that it's been an exceptionally long winter!! I hope this layout will give you a glimmer of hope!!


I started with a white piece of card stock and painted the black stripes using some acrylic paint. I added some black and gold paint splatters as well.

For the flowers and stems on my layout, I stamped them using the Just Believe stamp set. I used black archival ink on polka dot paper and then stamped the other flowers using some pink and yellow inks. I stamped the stems in black and green. I fussy cut those flowers and stems out and used them in some different clusters around my layout. 


I used several of SRM's border stickers and sticker stitches to add some interest to layout as well. They add a nice pop of color as well.


This was a very quick layout to put together but I love how it turned out. I hope this will inspire you to use the great products found in the SRM store!!

Have a great day!!


Other products used:

Thursday, April 26, 2018

"Faux" Project Life Cards by Giorgia


Hello SRM friends, Giorgia here and today I want to share with you an idea on how to use Project Life cards if you are not into Project Life.  I'm calling them "faux" Project Life cards!   
I was so lucky to win a set of Project Life cards, but I don't like to do it, so I thought of using them in my cards! 
I created a panel with them and added embellishments; as sentiment I used SRM Stickers.

Here it is the first card:


And here it is the second one: in this one I also added a sweet SRM ladybug sticker as embellishment.


Both my cards are springy and feminine and they could also be meant as a card set: you can put them in a SRM Stickers bag, or box and give them away to a friend as a little gift.

I hope to have given you an idea!
Until next time,
ciao, Giorgia.


SRM products used 


Wednesday, April 18, 2018

Hello! Card by Michele


Good morning! Michele here!  I am so glad to "be back!"  I recently moved into a new home and had to wait patiently while my craft room was being painted, decorated, and the zillion boxes unpacked and organized! But I am officially back now and couldn't be happier!  
I created this card with a stamp I found during my move and thought it would pair beautifully with SRM's BIG Hello stamp set!


This large bold sentiment was perfect!  I wanted to "ground" it, so I decided to stamp a few stitches using the Stamped Stitches set.  I added a bit of ribbon to finish the card.


So glad to be back!
Thank you for stopping by today!

Friday, March 30, 2018

Spring Planner by Angie


Hello SRM friends!! Angie here with you today to share some spring inspired planner pages!  My planner pages are for March, but you can use this format for 
any month.

What makes you think of Spring? For me, it's the beautiful colors of new flowers growing, singing birds and amazing sunsets. I just love all of the pretty colors!!

Those colors inspired my planner pages!! I hope you will get inspired by spring and create some beautiful projects of your own. SRM has plenty of products to help you do just that!


To make the watercolor on my planner pages, I used the watercolor twist pencils. I simply scribbled the pencil onto some plastic packaging, added some water and then mashed the packaging down on my pages. I added some splatters of the color as well. I used the same process to color the stamped images seen on my pages. Those stamped images are from the Just Believe stamp set and are probably my favorite stamp set from the store. 


The 'March' sticker is from the small months sticker set.


I hope you enjoyed my planner pages! Grab some products from the SRM store and create something amazing today!!


Other products used:


Monday, March 26, 2018

Watercolor Spring Bouquet Card by Emma


Hello there!  Emma here today to share a sweet and easy Spring card using SRM supplies.

After a long hard winter here in southern Ontario, I'm sure I'm not alone in looking forward to Spring!  (As I'm typing this, it's actually snowing outside again, so yes, REALLY would like to see the end of that as soon as possible..)


So to start this card, I stamped some flowers onto watercolor paper from the SRM "Just Believe" stamp set.  As some stamping ink reacts with water, I recommend a waterproof ink such as Versafine or Ranger Archival.  I wanted to use a colored ink, so for this I used "Warm Sunshine" crisp ink by Altenew.


To color the flowers, I used the Watercolor Twist pencils by Marvy, and a waterbrush.  It makes it so easy to get a nice soft watercolor effect.


Once this was dry, I fussy-cut the flowers out of the paper and set aside.  I adhered a couple of pieces of co-ordinating patterned paper on a white card base, then used a Kraft embossed paper bag.

Inside the top of the bag, I cut freehand some green 'leaves' and arranged them.  I then adhered my watercolor flowers on top of the leaves to make a Spring bouquet!  I tied some jute string around the bag for an extra fun element.

As finishing touches, I added 'Hooray!' from Sticker Sentiments "Thinking of You" and 'Spring' from Express Yourself "Easter" stickers.


So there you have it, a very cute card to send to a friend who is happy that Spring is here (or almost..)!
Happy crafting,

~~ Emma ~~


Supplies:
White watercolor paper
White cardstock
Green cardstock
Patterned paper
Glue dots / liquid adhesive


Friday, March 23, 2018

Easter Bags by Shelly


Hey y'all! Shelly, here.
Today, I'm swinging in to share some fun and easy Easter bags with you. And they happened to be perfect for kids, too! ;) 


I started with choosing my patterned bags, in this case I chose the polka dots in purple, turquoise, pink, and yellow. After I used some felt to make some 'peeps/bunnies' and they attached them to my bags. I then added a little sticker sentiment to my bags, along with a few sequins. 


So simple, right?!...These easily can be filled with candies, little games/toys, a coloring page and crayons, etc. So many possibilities! I left my empty for now because I don't want my kids seeing anything. ;) 


Thanks so much for stopping by!
Enjoy your day! 


SRM Stickers supplies:


Tuesday, March 6, 2018

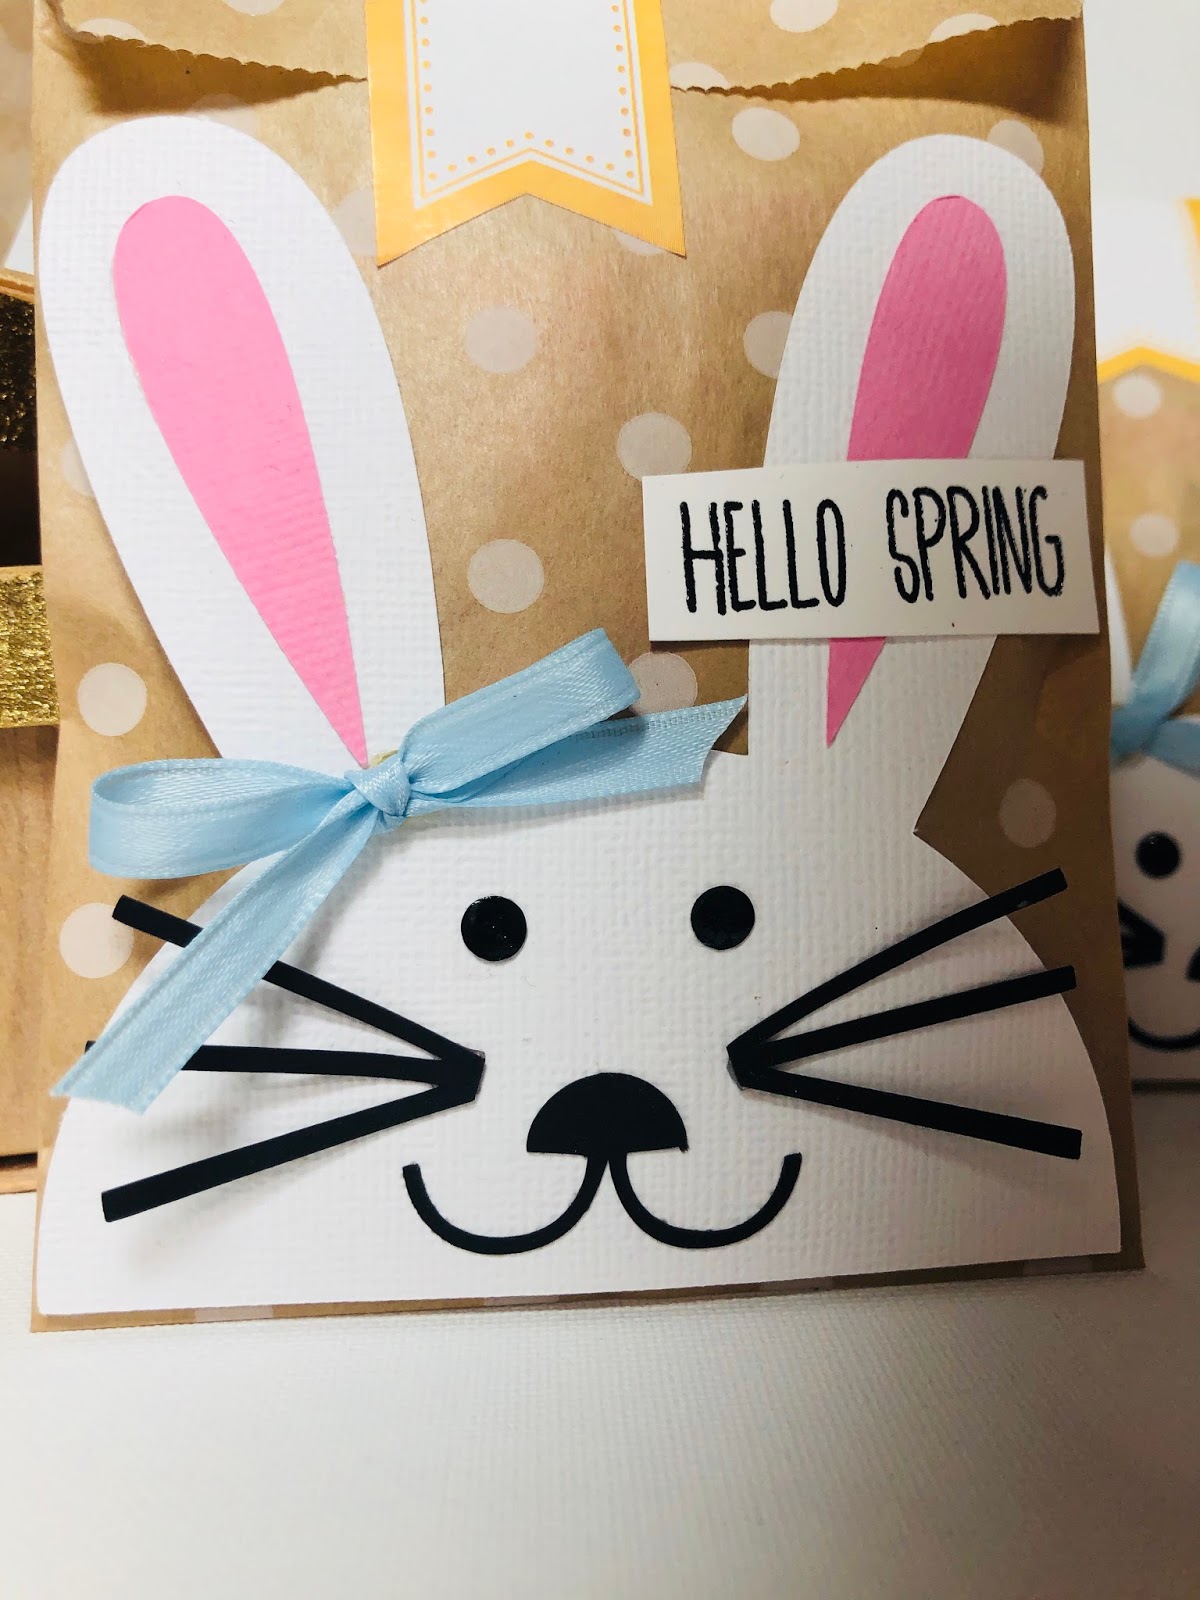
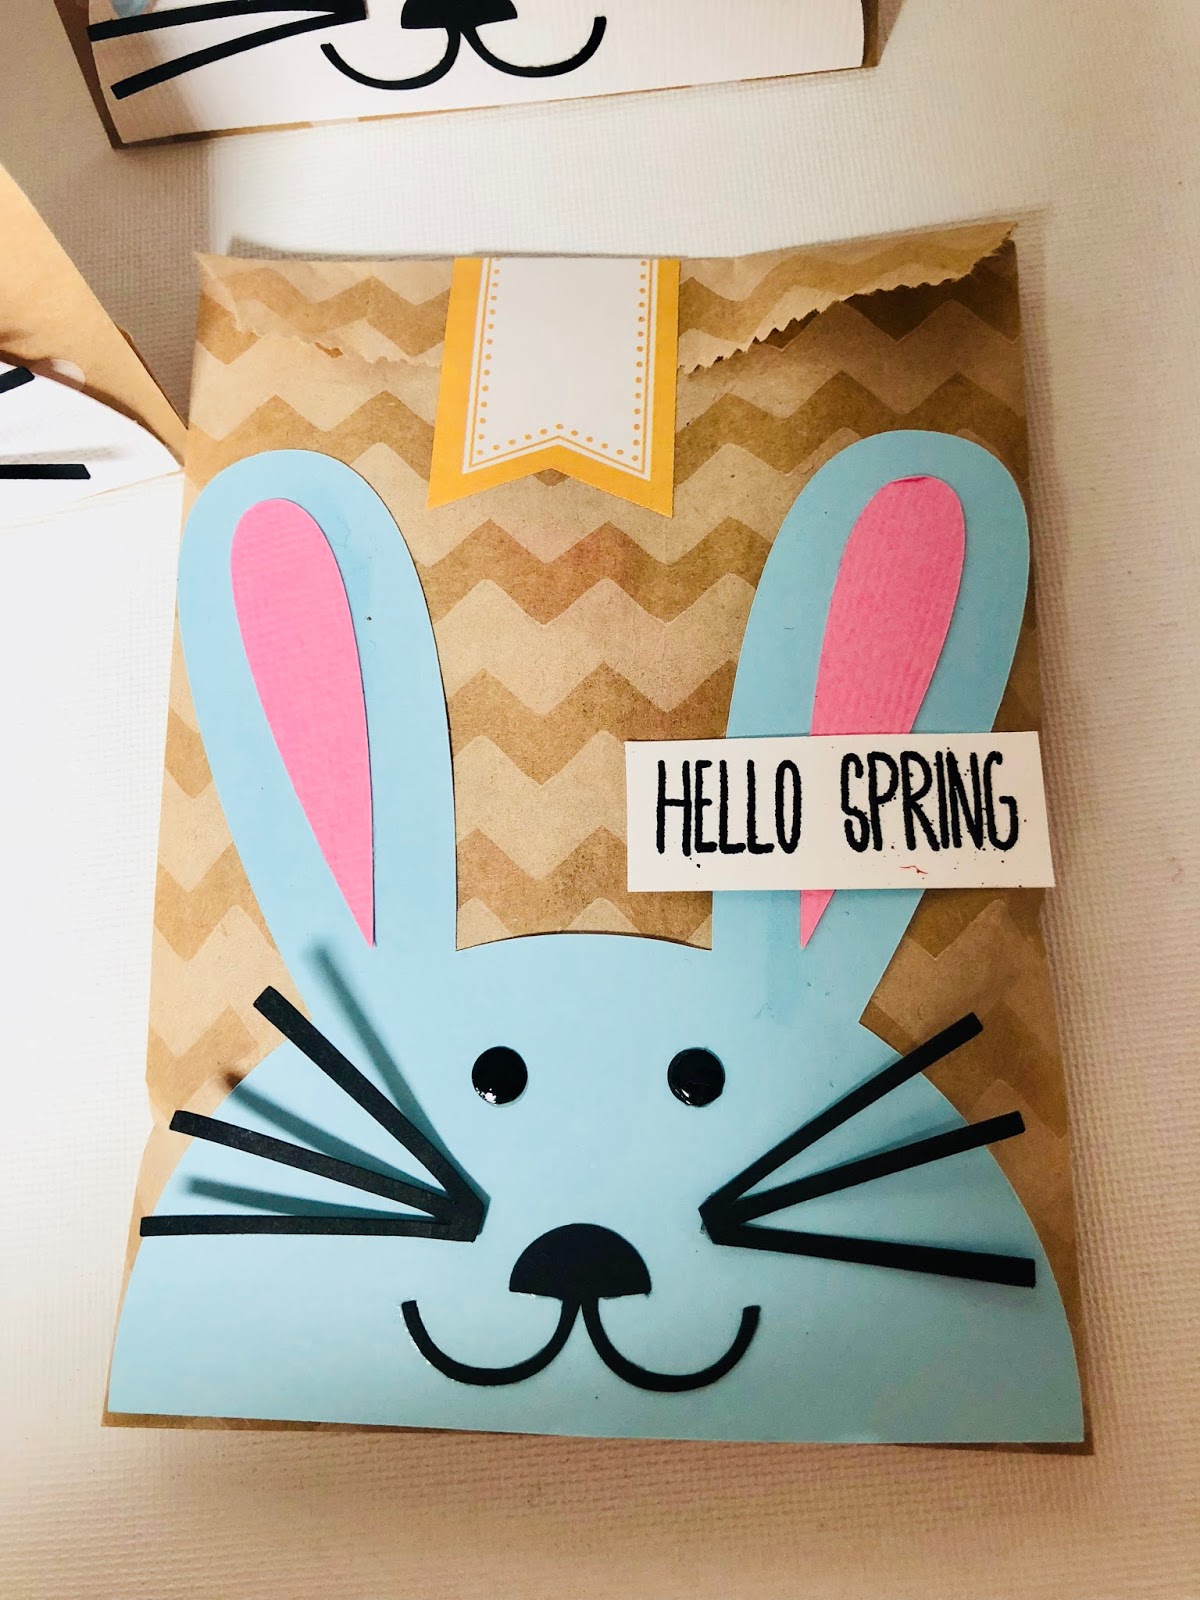
Hello Spring Bunny Treat Bags by Shantaie

Hello!  Shantaie here today with something fun for Spring!


SRM is celebrating Spring and I immediately think of bunnies and baskets, lush green lawns and delicate flowers when spring is mentioned. I made a set of treat bags to fill Easter baskets or to hand out as a cheerful gift. 


SRM Kraft bags were used to create a sweet treat container. I cut the bunnies with the Silhouette cameo using this design by Sarah Bailey super cute, and quick to put together.


Next I stamped "hello spring" using SRM seasonal planner clear stamp set and embossed it with black powder.  I love that font!


I made 5 of these filled with easter goodies for my nieces and nephews Easter baskets 3 blue and 2 white and pink. to seal the bag closed ...you know so I don't get tempted to grab a craftroom snack or anything, I used a label sticker from the labels by the dozen bright blank  and labels by the dozen everyday brights.


I hope you enjoyed these adorable little treat bags, have a great and inspired day! 

Friday, February 16, 2018

Spring/Love Layout by Giorgia


Hello SRM friends, Giorgia here.
Today I am here to show you a spring layout (we are still in winter days but I really needed to think about sunny and warm day, since here it is rainy and foggy!)  

So I printed this picture of me and hubby last year on holiday in beautiful Tuscany and created a colorful springy layout.  As background I used a photographic paper and I decorated the layout with many SRM Stickers!


I adhered strips of different colors to the background paper. I used many types of FreeStyle stickers, then I added the picture and decorated it. I also used the lovely quote from Say It With Stickers/Outdoors sheet.

Some stickers are adhered directly on the paper, some others are adhered on white cardstock and fussy cut.  For some of them I used foam tape to make them pop.


I also used some stickers to create my title "wonderful vacation". I added sequins to  little extra sparkle (you know, I love sequins!)


I hope you liked my layout and wish you a good day. 

Until next time,
ciao, Giorgia

SRM products used 

Monday, May 22, 2017

Spring Shaker Cards by Christine


Spring is in full swing and Summer isn't far off!  Christine joining you today with some cards that can work perfectly for Spring or Summer depending on what you need!  I love that the stickers from SRM Stickers are clear and using them on a Shaker Card can really highlight just how awesome they are!


Using clear Keepsake Envelopes from Scrapbook Adhesives by 3L helped make this job a little easier.  I simply slid my patterned paper into it and added some sequins.


Topped the whole thing with a spring sentiment from the Sentiment/Spring sticker set and there you have it! A quick, whimsical card sure to make anyone smile.


And if pineapples aren't your thing, how about flamingos?  Same process for this card but a different look with a different paper and sticker.


The circle stickers have long been a favorite in my stash!  This one also comes from the Sentiment/Spring set.  Now if you are thinking, I don't have time to get a spring card done, you can easily swap out the spring stickers for these: Sentiment/Summer and have it work just as well!

Monday, May 8, 2017

Thank You Butterfly Cards by Tobi


Hello! It's Tobi Crawford here with some spring-inspired greeting cards. 


Butterflies are a guilty pleasure of mine and I have quite the collection going, which makes mixing and matching elements a snap! 


These cards feature a stamp set by My Favorite Things, and a diecut from Sizzix. I made four cards in total, and a couple of them say "Thank You!" and a couple of them say "Wish" thanks to We've Got Your Sticker: Happy and We've Got Your Sticker: Thanks


Thank you for stopping by! 

Friday, April 21, 2017

Flashback Friday with Laurel Seabrook


Hello!  Today we are doing a Flashback Friday feature with a beautiful Mother's Day Card from Laurel Seabrook.  Enjoy! 

-------------

Laurel Seabrook makes the most lovely layered cards.  What a Spring treat this card is just in time for some Mother's Day inspiration.


For her card Laurel used lots of delicious patterned papers, SRM's Mother's Day Express YourselfMother's Day Quick Card and some Natural Twinery Twine.  YUM!


With Laurel's inspiration and a few SRM Stickers, you can CASE this card and there's plenty of time before Mother's Day to get the job done!