Wednesday, March 14, 2018

Personalized h2O to go with SRM Vinyl


Hello Everyone!  
Shanna here today with a quick and easy project that can be used every day!  


Everyone knows that you *should* drink plenty of water everyday.  An efficient way to help that along is to keep a water bottle with you.  I have a teenage daughter that is actually really good about her water intake, but she takes a bottle everywhere with her!  She was in need of an "updated" bottle from the beat up one she has been lugging around for some time now. She is currently very into astronomy and constellations, so that's how this design was born!  SRM's dishwasher safe vinyl made this personalized project a breeze! I cut the design out on my Silhouette Cameo and will link to the file below! 

Some tips I have picked up along the way:
  • Remember the thicker the font/design--the more adhesive that there is to adhere to the blank
  • Be sure the surface is fully cleaned of debris--rubbing alcohol is a great tool to remove oily residue from fingerprints and such.
  • Pull transfer tape up slowly--or risk stretching the vinyl out of shape :(
Supplies used:
SRM Vinyl - Gold dishwasher safe
SRM Vinyl- transfer tape
Silhouette Cameo
Silhouette Store design #132011
Water Bottle

 I hope you enjoyed my project!  
What do you want to personalize next??

Until next time,

Tuesday, March 13, 2018

Easter Mason Jar Centerpiece by Jenn


Hello, Jenn back again! This time with an Easter centerpiece/gift idea using everyones favorite (well at least mine)...mason jars! These are quick cute centerpieces that can be made in next to no time with just a few SRM sticker essentials.


To start I am using a quart sized mason jar, I filled mine with Easter grass, jelly beans, and a chocolate bunny. Now comes the fun part...I chose to decorate with a scrap of fabric to cover the lid, and a sweet bow out of jute twine. Using a few Easter stickers I decorated the outside of the jar. I also though it would not only make a cute centerpiece but also a gift to give, so I created a tag using SRM stickers and markers.


I hope you enjoy this sweet festive idea may it bring a little joy to your Easter table. Till next time stay creative and keep sharing your fantastic ideas over on social media using #srmstickers #srmpress. Follow me on Instagram @creativegurl85 for more creative ideas

SRM products used:
SaveSave

Monday, March 12, 2018

Textile Foil Cards & Video Using Laser Printer and Laminator by Karen

Hello!  Karen joining you today.  I've been having a great time discovering different ways to use the new textile foils from SRM. Today I'm sharing some of my favorites. 


To make these cards, I found free online images and imported them into a (Word) document. There I resized them and recolored to make sure they would print out dark and black. I printed each image onto card stock using a laser (toner) printer. It is key that the image prints with toner ink (not an inkjet printer).   


I then ran my image with foil covering it through my personal laminator. The heat of the laminator adhered the foil only to the printed image. After a short cooling off, I simply peeled the foil away to leave the shiny image.


I'll walk you through it in this process video. But I have to warn you, though, you may become addicted to this easy and quick foil application technique!


Thanks for watching - I hope you are inspired to use textile foil in your projects!
SaveSave

Friday, March 9, 2018

Easter Bunny Gift Bags by Giorgia


Hello SRM friends, Giorgia here.
Today I have for you an idea for cute Easter gifts for kids. You can also make this DIY with your kids to have fun together, it is not complicated at all.

Turn SRM kraft paper bags into the cutest bunny butt ever!


To create the bunny ears you need to cut a deep V shape at the top of the paper bag. 
Now fill your bag with Easter chocolates and hot glue the pom pom towards the bottom of the bag to make a bunny tail. Then tie your bag at the base of the ears with bakers twine or jute twine and add a gift tag decorated with SRM Easter stickers.
So cute and easy! 


Until next time,
ciao, Giorgia. 
SRM products used 

Thursday, March 8, 2018

Textile Foil Tank Top by Samantha


Hello! Samantha here today, and I'm so excited to be sharing my latest obsession with you: DIY t-shirts. SRM released a lot of new heat transfer material (including foil and glitter) last month and I am having so much fun creating with it. Today I have this textile foil tank top to share.


If you have a digital die cutting machine (like a Cricut or a Silhouette Cameo) the possibilities are endless! Since I coach my son's baseball team, I went with RV (the abbreviation our city) and Baseball, but Baseball Mom would be really cute, too!


The textile foil is a 2 step process. First, you heat apply your image to your shirt with Easy Weed Adhesive, which gives you a clear glue print of your image on your shirt. Second, you heat apply your Textile Foil in one of 18 colors over your adhesive image. 


 Textile foil not only gives your image a cool metallic shine, but also a flecked vintage look. I can't wait to rock this shirt come baseball season! 
What sport do you need a custom shirt for?

Wednesday, March 7, 2018

Make a Wish Birthday Tubes by Shelly


Hey y'all! Shelly, here.
Today, I'm sharing some fun birthday tubes with you!

I wanted to do something fun and somewhat whimsical, so I thought of a garden/flower themed birthday party. :). Perfect for Spring!


I started with my tubes which I simply added some patterned paper around. Easy, right?...After, I worked on making my tags. I used some bright yellow punched pieces and some little flower die cuts. 


For my sentiments, I used some stickers and simply added them to cardstock. Once done, I added them to my tubes and used some twine to tie it all together. Simple, yeah?!...

*Note: Since being a garden themed party, I thought the perfect treat to fill these tubes with would be those little chocolate covered sunflower seeds candies. ;) Though, you can easily fill them with anything you like! :)

Thanks so much for stopping by!
Enjoy your day! 

SRM Stickers supplies:


Tuesday, March 6, 2018

Hello Spring Bunny Treat Bags by Shantaie

Hello!  Shantaie here today with something fun for Spring!


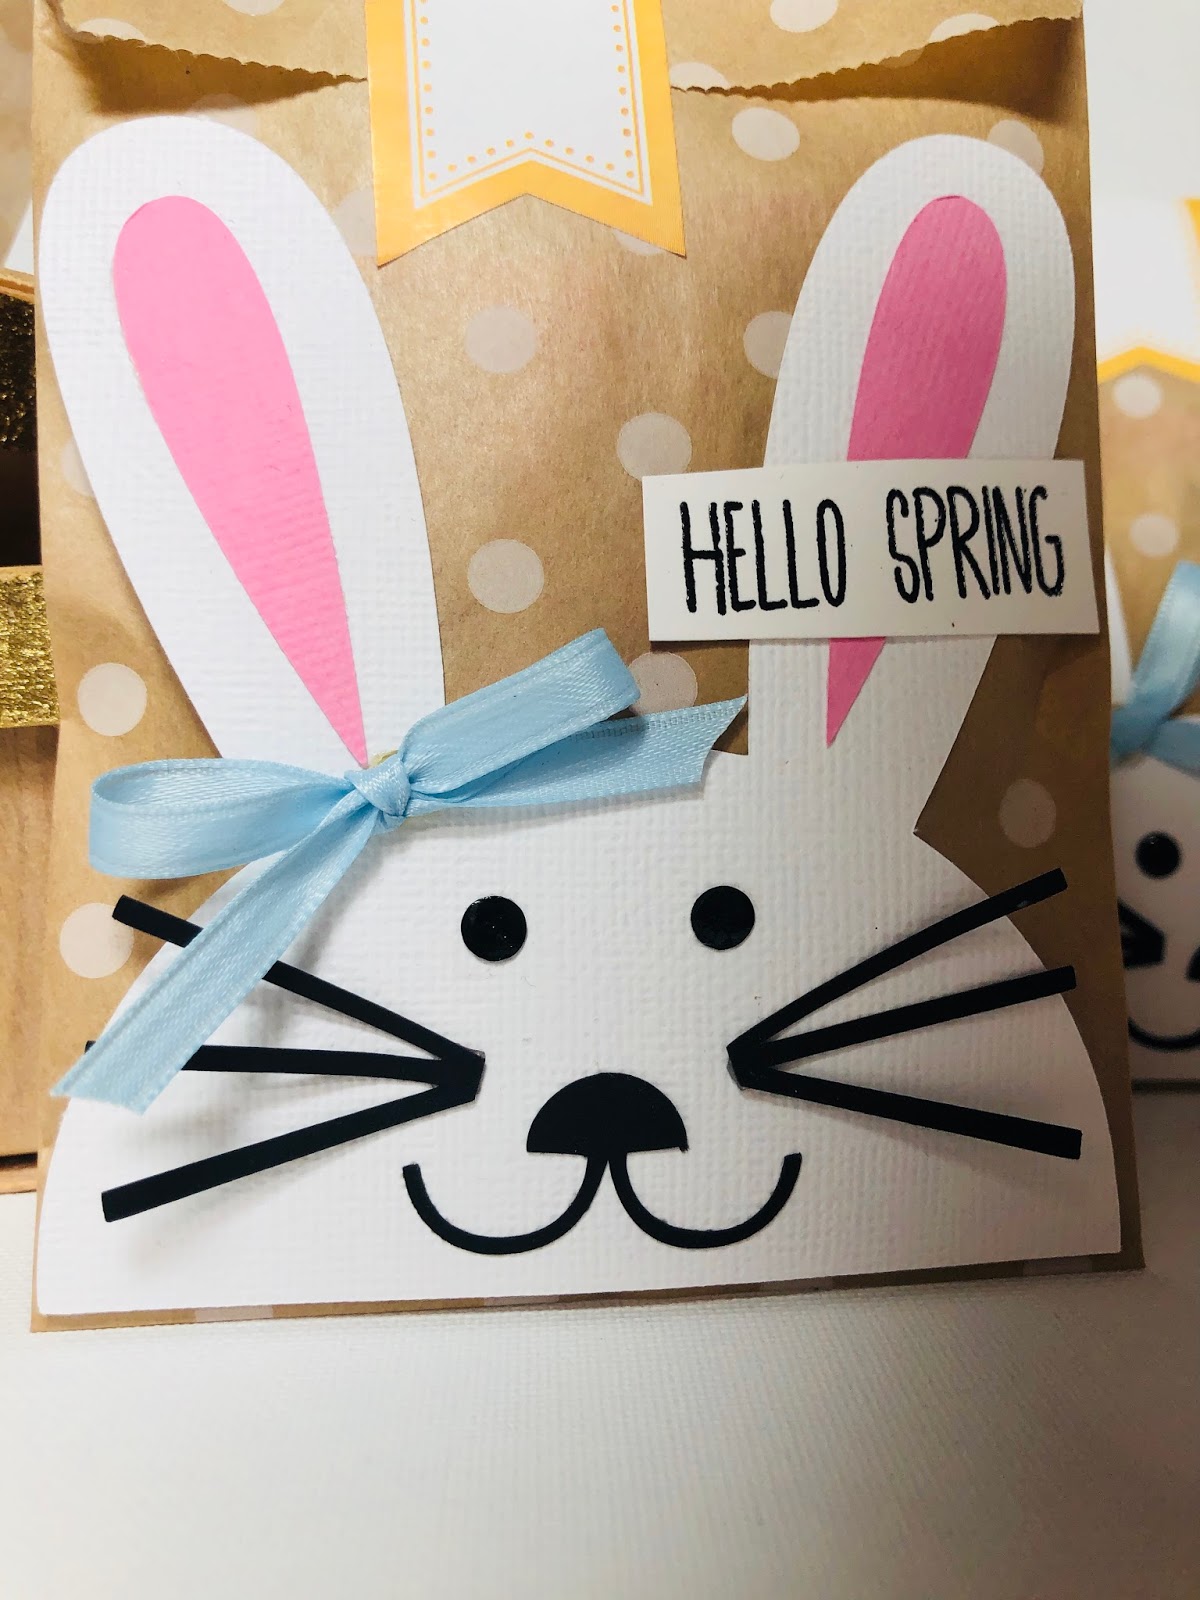
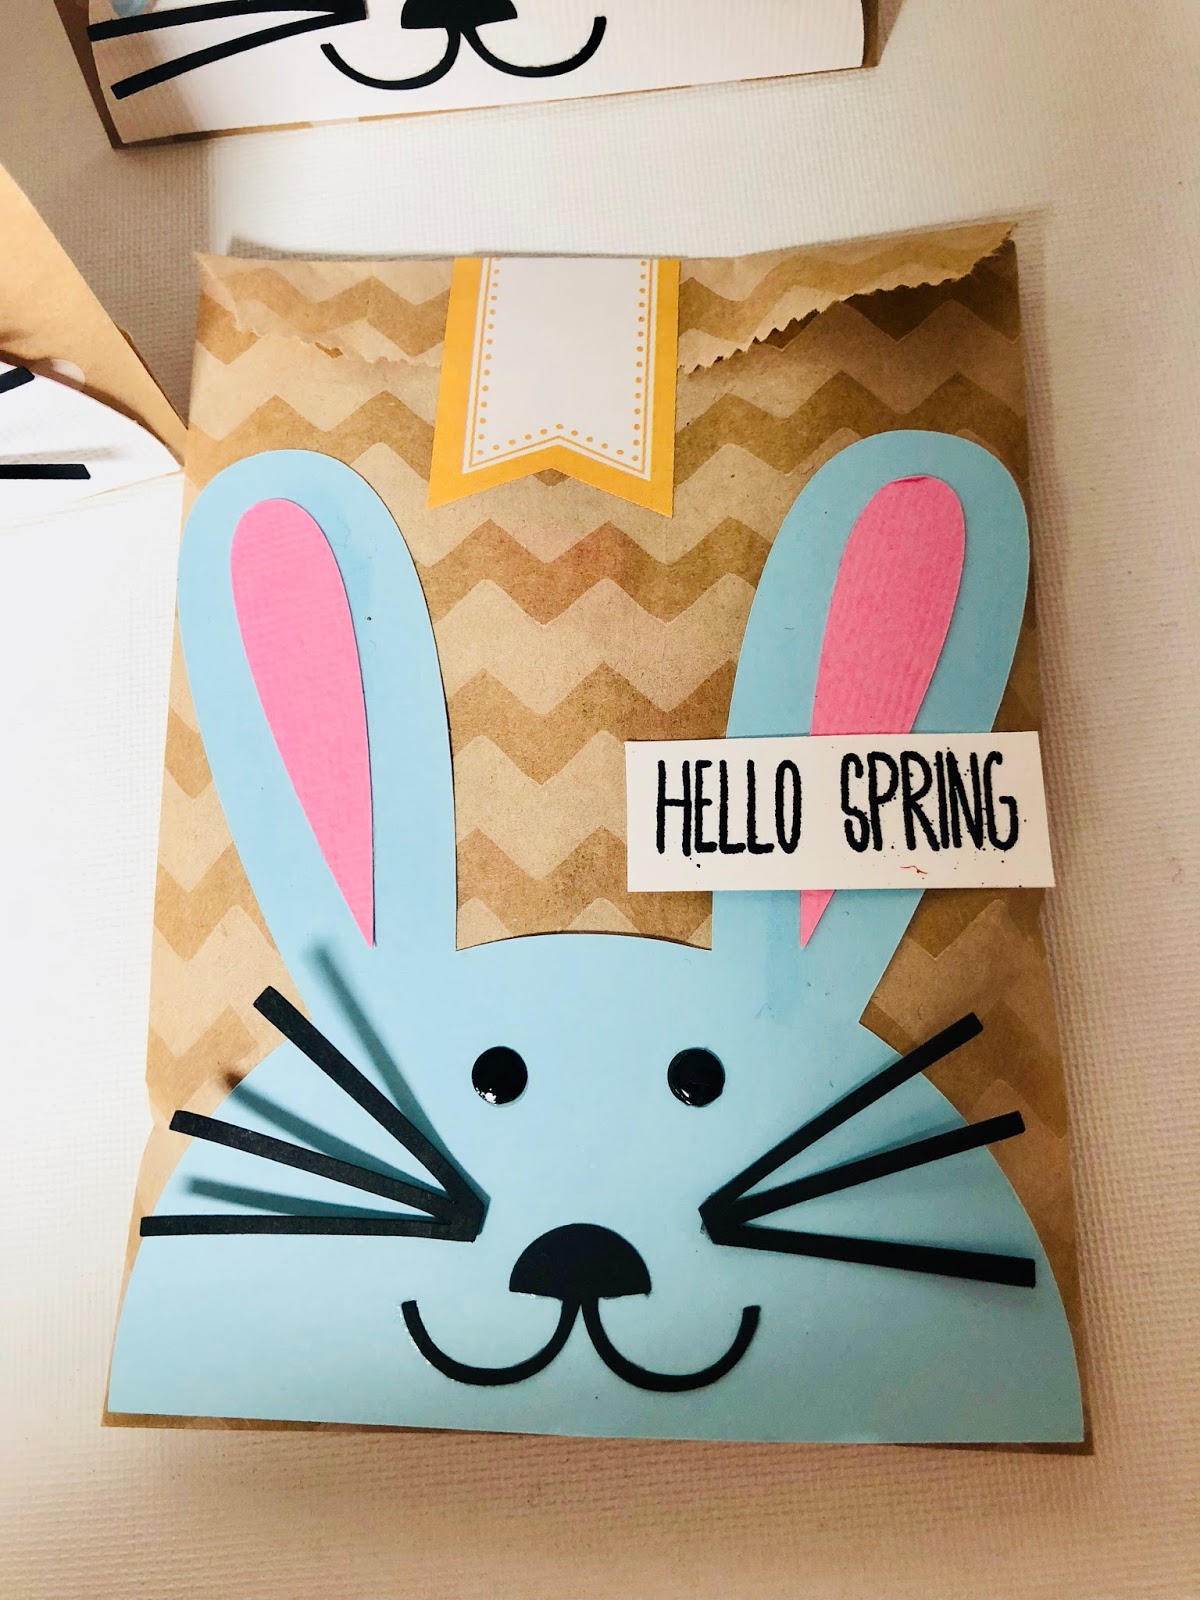
SRM is celebrating Spring and I immediately think of bunnies and baskets, lush green lawns and delicate flowers when spring is mentioned. I made a set of treat bags to fill Easter baskets or to hand out as a cheerful gift. 


SRM Kraft bags were used to create a sweet treat container. I cut the bunnies with the Silhouette cameo using this design by Sarah Bailey super cute, and quick to put together.


Next I stamped "hello spring" using SRM seasonal planner clear stamp set and embossed it with black powder.  I love that font!


I made 5 of these filled with easter goodies for my nieces and nephews Easter baskets 3 blue and 2 white and pink. to seal the bag closed ...you know so I don't get tempted to grab a craftroom snack or anything, I used a label sticker from the labels by the dozen bright blank  and labels by the dozen everyday brights.


I hope you enjoyed these adorable little treat bags, have a great and inspired day! 

Monday, March 5, 2018

Textile Foil Zipper Pouch by Shanna


Hello again SRM friends!  Shanna here today to show you my newest addiction project!  Have you seen SRM's fabulous new textile foils they debuted recently?!?  Oh my goodness are they sparkly and fun!  I had the pleasure of playing with them, and let me tell you.....I couldn't stop!  I keep looking at something and thinking "hmmm....that would be better foiled"! It's bad in the best of ways! 
 

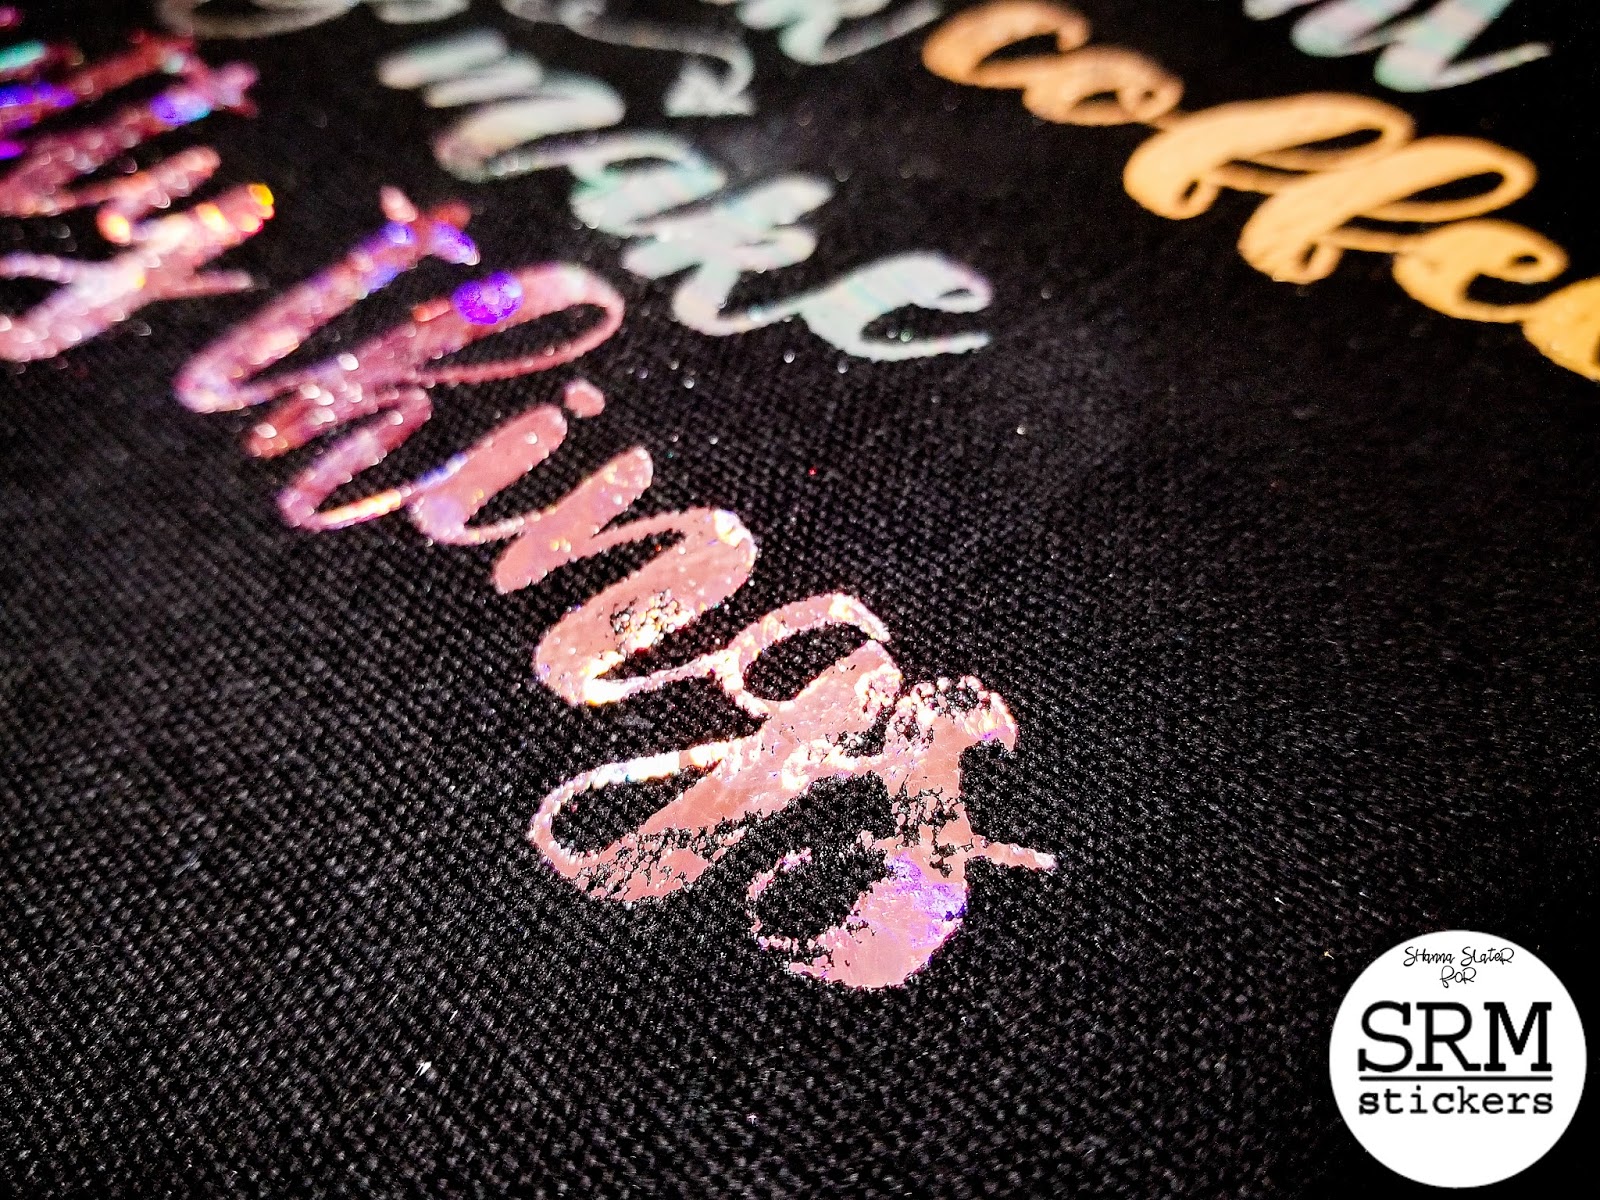
To get back on track, take a look at the zipper pouch I made for my coloring supplies when I am away from home.  I couldn't just pick one design (see above reasoning!) and ended up putting a different design on each side!  Double the SPARKLE, double the FUN!


Here is a close up of the copper textile foil....I am a sucker for metals!


Here is a close up of the pink floral textile foil.  LOVE this shade of pink, and the flowers are sweet, although hard to see in a thin design like the script


The mirror textile foil is almost rainbow to me...The "prism" colors look amazing in person


It was my very first time working with textile foils, so if I can do it...trust me....You can too!  I took a couple pics along the way, but will have to work out a tutorial if anyone has any questions because I just got too distracted by the shiny goodness revealing itself to remember to take more pics of the process!  

Here is a before picture when I just had weeded the Siser EasyWeed adhesive. 


I thought the after picture of the copper sheet was kinda fun....The foil only sticks to the adhesive, so the negative image appears magically when lifting the foil off after it cools!  


I am NOT known as a "patient person"....so I couldn't help but take a picture of some of the goodies I plan on stowing away in this amazing pouch!  I like to bring coloring projects with me when I am away from home, and this will be perfect to bring my markers, colored pencils, gel pens, and any other little goodies I might toss in!  SRM carries a wide assortment of awesome coloring supplies, be are to check them out!


Supplies used:
SRM Vinyl - copper textile foil
SRM Vinyl - Pink flowers textile foil
SRM Vinyl - Mirrored textile foil
SRM Vinyl - Siser EasyWeed adhesive
SRM Vinyl - Teflon sheet
Black canvas zipper pouch 
Iron
Silhouette Cameo
Silhouette design store file #143045
Silhouette design store file #171550

I am already thinking ahead to what I will "foil" next...What needs a little sparkle and shine in your life??  


Until next time!

Friday, March 2, 2018

Spring Card Set by Giorgia


Hello SRM friends, Giorgia here and today I want to share a set of cards I created as a gift for a friend: a card set is a little gift that you can make in minutes for your loved ones!

I made these three cards thinking of Spring, so I used pastel colors and flowers.
I used the same patterned papers and the same sketch to create the three cards, so they really are a set!


I used paper scraps to create the cards: when I need to make cards I always dig into my paper scraps box!I added die-cuts, a resin flower and machine stitching on all the cards.As sentiments I used SRM Stickers.


I put the cards in a clear card box: I adhered patterned paper inside it, decorated with SRM Stickers. 


I hope to have inspired you to make a card set: it is really easy and fun with SRM stickers.

Until next time,
ciao, Giorgia. 
SRM products used 

Thursday, March 1, 2018

Lucky in Love Card by Angie


Hello SRM friends! Angie here with you today to share a non-traditional St. Patrick's Day card.

I made a loved themed card but tied St. Patrick's Day in as well. This card would be perfect for the person you are lucky to be in love with!!


I used white cardstock for the base of my card. I added some ink splatters using some watered down Distress Oxide ink in Lucky Clover (how appropriate, right??). 

The clover paper is from my stash and since I knew I wanted to use the gold doily on the top of the card, I stamped and heat embossed gold clovers on the green cardstock.  I cut those papers into banner shapes, added the doilie  and then tied some green jute twine around it. 


For the stamping, I used the word 'love' from the BIG Love stamp set. I used the word 'in' from the Walk By Faith stamp set. SRM's stamps are so versatile and can be used in so many different projects. I used a stamp from my stash for the word 'lucky'. I used gold heat embossing on 'lucky' and 'love' to tie in that gold theme. 

I hope you enjoyed my card!!