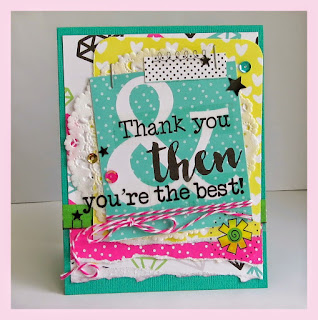
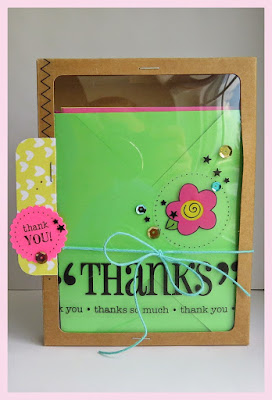
Hello! Shannon here with a Thank You card gift set. Just to let you know… I am a procrastinator on top of procrastinating. I can make a list for a list. I'm pretty excited to say, that I have finished Mack's teacher gift, I can only hope that she loves it.
It's a creative spin on a thank you gift. It's a set of thank you's as a thank you! I wanted to create something that Mrs. W could use, and thank you's are something everyone needs.
SRM Stickers has many products that make this possible! ♥
This set has 5 cards and six envelopes (just in case)...and as you can see, it comes in a gift window box.
One tip I can offer when you are creating a set of cards, is have a plan in mind when you start. Colors, stick to a collection of paper and have a general design in your head. I am a layer-er so my plan for this set, was simple layers.
Here's a few examples of the cards and how they began, adding patterns, stitches and doilies as I completed each card in the set.
And here are my finished cards:
See the doilies peeking out? I think that's a sweet touch to any project!
TIP: You can separate your stickers and layer them on top of papers, other stickers, almost anything..that's the beauty of clear stickers!
Hooray for versatility! ❤
Twine is always a perfect touch for projects, simple in design, but lends a perfect punch of color or layer when added!
Sticker Stitches are my go to favorites. I think you can look back through 99% of what I create and there will be a sticker stitch somewhere on the card, layout or project.
TIP: Making a sticker front and center is also another way you can make big impact with a single embellishment!
The window box these cards are being delivered in is also so very versatile. It can carry six envelopes and five cards like a boss! Add a few stickers to the acetate and some twine, and you have a perfect gift to give.
Thank you for letting me share my idea with you today, hopefully I have inspired you to create!
❤


3 comments:
very nice
These are awesome. Great job.
wow--love these!
Post a Comment