Tuesday, December 13, 2016

Holiday Treat Containers by Samantha and Melanie


Today we have a special treat!  Actually 2 special treats!  Samantha Taylor and Melanie Jarocki both have ideas for last minute treat projects.  You will have plenty of time to create them!  

Let's take a look at Samantha's project first...

Hello! Samantha here with you today sharing a holiday treat container with a surprise. Years ago we started to find unique and sometimes silly ways to give my nephews money for birthdays and Christmas. Today I'm sharing how I used some fun SRM containers to come up with this year's Christmas gift. 


These may look like simple candy containers made from the Small Clear Take Out Box and the Clear Rectangular Box, but they hold a secret inside. 


I put their Christmas money in a Tiny Tube...


then I nestled it inside one of the clear boxes and filled in all the space around the tube with their favorite candy. 


I finished off my treat boxes with stickers from We've Got Your Sticker MerryWe've Got Your Sticker Plus Christmas, and We've Got Your Border Christmas. I really love the seamless look of the clear stickers on the clear boxes! 


I put the finishing touches on the boxes by creating tags from Labels By The Dozen Christmas Greetings. I think this holiday treat container with a surprise is going to be a really memorable gift this year. How do you like to make giving money a fun surprise?

And now here is Melanie's project....


(To the tune of Jingle Bells . . . ) “Oh what fun it is to craft with S-R-M stickers!”


Seriously, when I was introduced to SRM stickers over 5 years ago, it felt like I held the winning lottery ticket to crafting. I love that I can sit down to make a project--clean and simple, embellished, or artistic--and it turns out looking great. 


These Christmas treat bags were pretty quick to make and are a festive way to share holiday cheer. I used one sheet of stickers, embossed kraft bags, punched scallop circles, and twine.
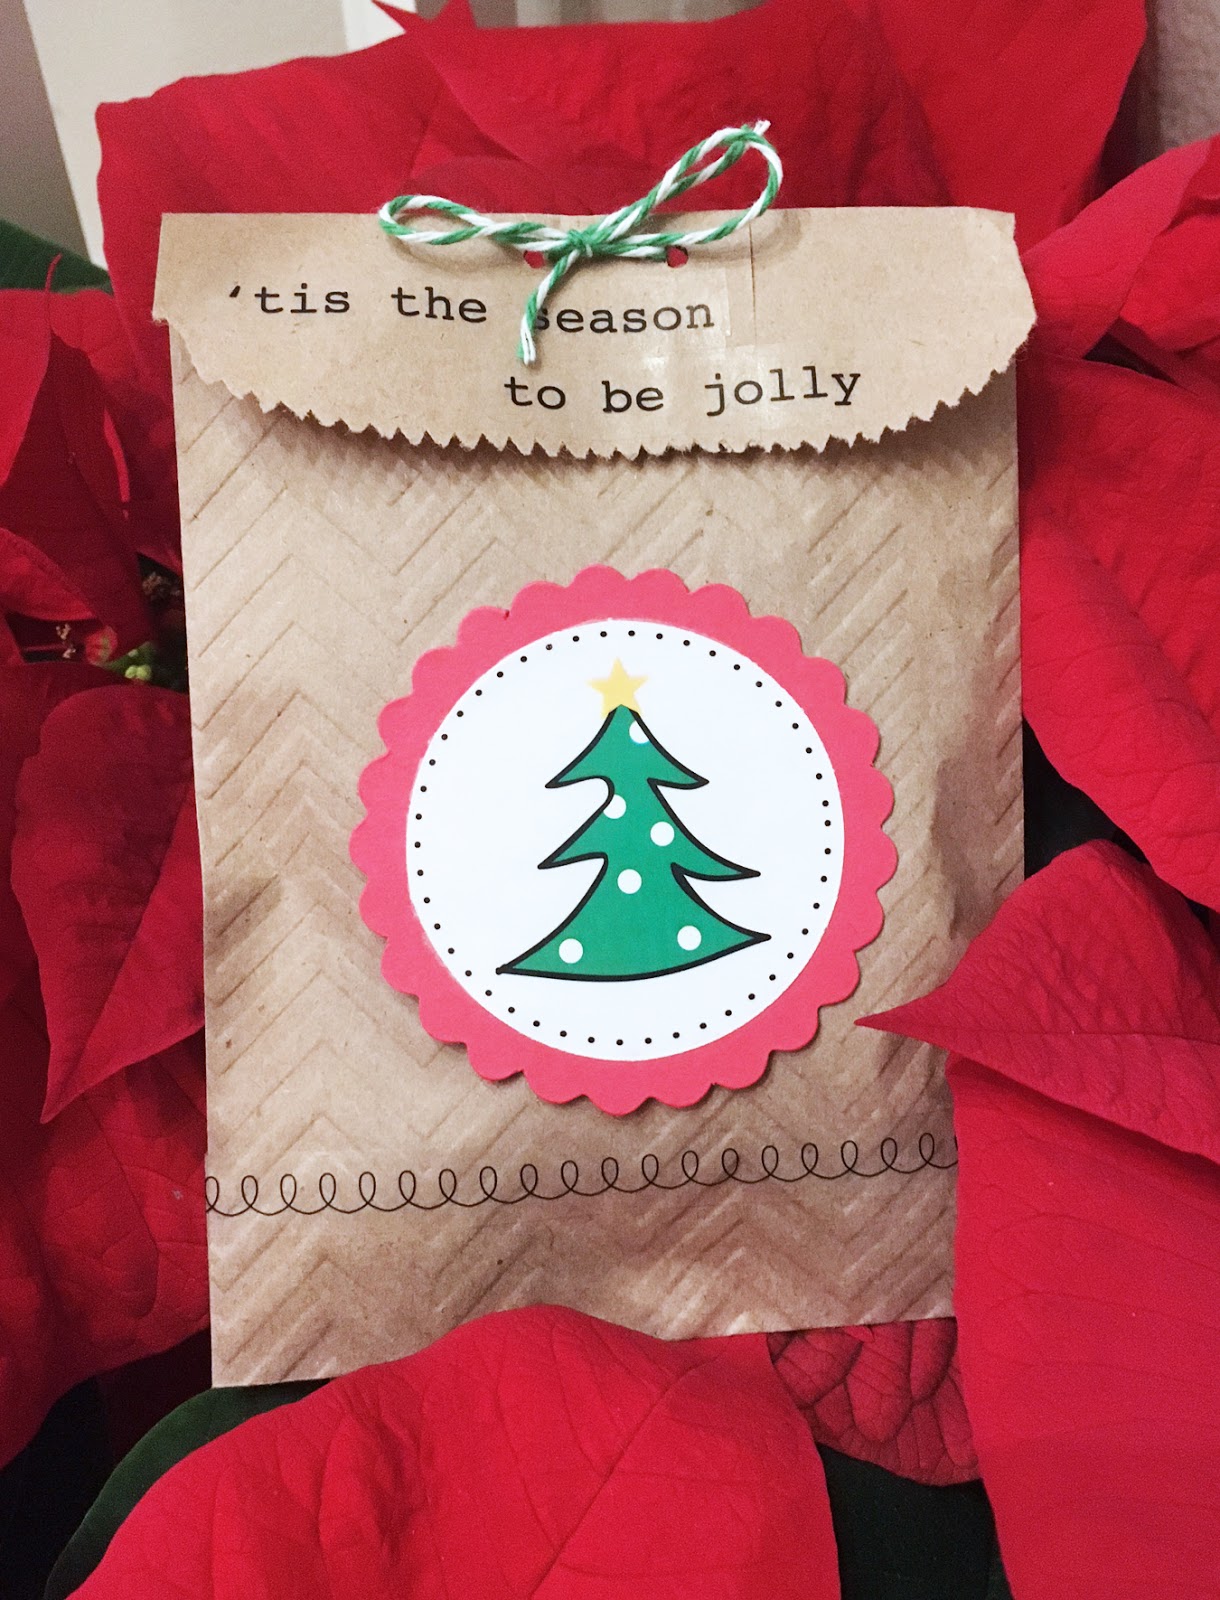

The Christmas Tree stickers are a 1-¾” circle and fit perfectly inside the 2” punched scallop circles. The clear stickers are seamless on the chevron embossed bags. I love how well-thought-out these products are :)  Securing the treat bags closed with twine is a nice finishing touch.


What a sweet way to share treats during the holidays!

Products used:

Monday, December 12, 2016

Masculine Christmas Tags by Samantha


Merry (almost) Christmas. Samantha here with you today. I was in need of some masculine Christmas tags for my gifts this year, and I knew SRM would be up to the task. 


I created tags from white card stock. I used my Silhouette Cameo to cut the tree and ornament shapes from the tags, but you could just as easily use a steel die or punch to get the same effect. 


I chose more monotone colors for my patterned paper and stuck with mostly black and few green stickers to keep a more masculine feel. I used stickers from We've Got Your Stickers MerryStickers By The Dozen Christmas, and We've Got Your Stickers Plus Chirstmas 


I used some simple black twine to finish up the tags. I think these masculine Christmas tags will be the perfect finishing touches for my gifts this year!


Friday, December 9, 2016

Pray Card by Amber


Hello everyone! It's Amber here, today I have this fun little religious themed card to share featuring two of SRM's newest Bible Journaling stamp sets. I love how these stamps can be used to create a variety of different projects and the sentiments are perfect for mixing and matching to create different verses or expressions. Today I show you how to mix two different sentiments from two different sets to create a fun little card.  

I started with an A2 sized white card base and adhered a slightly smaller piece of patterned paper to the front. When starting this card I wasn't sure which sentiments I wanted to use so I quickly went through my stamp collection and found this cute little praying angel from Cornish Heritage Farms and decided pair it with the large "pray" sentiment from SRM's BIG Amen stamp set and the "with god all things are possible" sentiment from SRM"s Amazing Grace stamp set. I stamped the two sentiments and angel image in black ink directly onto the piece of patterned paper that covered my card base. On a separate piece of white cardstock I stamped my angel image, colored her with some Spectrum Noir markers, fussy cut her, and adhered her to my card front right over the first 
image I stamped.


For the upper half of my card I die cut another piece of patterned paper with a stitched border die, tied and wrapped some lace ribbon around it, and adhered the entire piece to my card front. I hope you enjoyed my little card today. Thanks for visiting!

SRM Sticker Supplies

Thursday, December 8, 2016

Advent Journal Cover by Karen


Hello!  Karen with you today.  I'm a big fan of upcycling or trying to use what I have before buying new. Such was the case with my Advent journal for this year. I had a little used journal, so I removed the used pages and freshened up the cover to create this notebook to record my daily devotions for December.


The cover was in pretty good shape, but after removing a couple of stickers, was in need of a refresh. I simply brushed on acrylic paint in a similar color to the original and it looks great. For the title, I grabbed some awesome and shiny SRM vinyl that I've been wanting to use. It cut beautifully in my die cut machine and adhered really well to my cover.


To finish it off, I added some great stickers from my Christmas stash. Now my journal is ready for the season!

For this project I used the following supplies:

Wednesday, December 7, 2016

Christmas Bible Journaling by Samantha


Hello! Samantha with you today sharing some Christmas Bible journaling. Not only is it my favorite time of the year, but there are so many great sections of the Bible to journal when it comes to Christmas. 


I chose a Isaiah 9:6 to journal about for my page today. I simply combined the words of the verse with some Marvy LePlume markers for a clean and simple page. 

I think I've mentioned that I can't draw, and I don't have very good handwriting either. If you're in the same boat as me, try out this little cheat. I create my design on my computer and print out what I want to journal. Print it as dark black as you can. Slip it under your page, and trace over your design with pencil. It can be a little hard to see at times, but I still get better results than when I depend on my artistic talent alone. 


I finished up by tracing over my pencil lines with marker, and then gently erasing my pencil lines. The fine tip of the Marvy Le Plume Markers works wonderfully for this small detail work. Have you been doing any Christmas Bible journaling?

Tuesday, December 6, 2016

Fall Thank You Cards by Amber


Hello everyone! It's Amber here, today I have two fun Fall themed thank you cards to share. I used one piece of kraft cardstock, two sheets of pattered paper, three different stamp sets, two ink pads, three clear sentiment stickers, Spectrum Noir markers, scissors, and a staple gun to create both of these cards. Using the same supplies and creating both of these at the same made the creating process a whole lot faster and easier.

For my first card I cut two strips of pattered paper, stamped one of them with the fun border stamp from SRM's BIG Hello stamp set in chocolate brown, ripped the two ends of my patterned paper strips, and adhered them to the bottom left side of my card base. After my two strips of patterned paper were adhered I added my brown "Thanks" sentiment sticker from SRM's We've Got Your Sticker/Thanks sticker sheet, added my stamped image with some foam adhesive above my patterned paper strips, and added a little banner towards the top right of my card base.


For my second card I started by cutting two strips of patterned paper, cut slits along the bottom edges to create a fringe detail, and layered both pieces across the bottom half of my kraft card base. After my two strips of patterned paper were adhered I stamped the stitched border stamp from SRM's Planner Banner stamp set in brown along the top patterned paper piece, added my two sticker sentiments from SRM's We've Got Your Sticker/Thanks sticker sheet, adhered my stamped image with some foam adhesive towards the right of my sentiment, and added a little banner towards the top left of my card base like I did on my first card. Both of these were fairly easy to create and could easily be changed by using different stamps, sentiment stickers, patterned paper, and colors for another holiday or season. 


I
hope you enjoyed my two Fall themed Thank you cards today. Thanks for visiting! 

SRM Sticker Supplies

Monday, December 5, 2016

Cookies for Santa Plate by Christine


I've been a mom for just over 12 years now and somehow I have managed to never have a plate for Santa's cookies.  Every year on Christmas Eve we scramble around throwing together a plate.  But this year I'm ready!  Christine joining you today with a vinyl project that will have my kiddos ready to feed Santa and his reindeer!


I did the whole plate using my Silhouette Cameo and several vinyls from SRM.  I debated between going with cutesy or a more grown up look - but we have so much cutesy going on in this house I opted to make it have a more grown up look!  I used Red Vinyl, Gold Vinyl, and Silver Vinyl.


I picked up my plate for this at a big box store for $1.99.  I liked the shape of it - I wanted something not round because I thought it would be easier to center! The quote came from Silhouette and was easily transferred to my plate by using Transfer Tape.


The flourishes and snowflakes are also Silhouette Cuts and those I also used Transfer Tape on just so I could master the placement and not mess up the cut too much!

Are you getting ahead on Christmas gifts and decorations too? We'd love to see what you are creating!


Friday, December 2, 2016

Faith Planner by Karen


Hello!  Karen here today to share my faith planner with you. 

A few months ago I jumped on the planner wagon. I purchased a large planner (mine is spiral bound and about 7x9 inches). At first I had a hard time getting started and keeping up. So I decided to rethink how I could to make the best use of my planner. I wanted something to record my prayers, but didn't want it to be separate from my daily devotions.  So, I turned my planner into a "faith planner" and couldn't be happier.


Each week I creatively record my prayers and scripture that is standing out to me from my devotion time, study, and sermon notes. I use lots of stamps, washi tape, printables, stickers, and bits from my scrapbooking stash. It doesn't take much time each day, so it's easy to keep up with. The bonus I've discovered is that having all that in one place has really helped focus my prayers and see God moving in response to my prayers.
In this video I share several of my pages and show you a spread midway through the week as well as walk through my steps for setting up pages for the coming week. You'll see lots of SRM stamps and stickers. 


Hopefully you'll be inspired to think out of the box with your planner.


Here is the featured spread at the end of the week:


These are just some of the great SRM products I love to use in my Faith Planner:


Thursday, December 1, 2016

Holiday Cheer Bag by Shelly


Hey y'all! Shelly, here! 
With all the holiday's being right around the corner, I thought it be fun to make a sweet little holiday cheer bag!


I kept things fairly simple for my bag. I started with my patterned papers and simply added different stickers to each one. After, I used some adhesive and added them to a piece of white cardstock. Once done, I carefully did some cutting and then placed aside. 


I then used a glassine bag and added a silver doily to it. Afterwards I added my sentiment piece, along with a few wood veneer stars and a little jute twine bow. Nice and sweet, yeah?!...

Thanks so much for stopping by!
Enjoy your day and see y'all soon! 

SRM Stickers supplies:

Jute Twine

Wednesday, November 30, 2016

Christmas Tube by Tobi


Hi there! Tobi Crawford here with an off-beat idea for Christmas gift-giving. 
I like to fill the Tubes with lots of different yummy treats, but over here in China things like Hershey's kisses and M&Ms don't exist, so I have to get creative!! 

Enter: the Trail Mix tube! 


I make my own trail mix consisting of: 

Mixed, salted nuts
Dried Pineapple
Dried Cranberries
Dried Papaya 
Mini Chocolate chips


So what's better than a couple of cute Squirrel images to go with the nuts?? 


I added a bunch of glitter and snow to make the scene super festive and it was done!What a quick and easy way to say "Merry Christmas" to your health nut friends and family!! 

Supplies used: 
Stamps: Lawn Fawn
SRM Stickers:  Tubes 
Twine: Maraschino