✳...Snowflakes in the Air...✳
♬♪...Carols everywhere
Olden times and ancient rhymes
Of love and dreams to share...♫♪♩
Hello! Shannon here to let you know it's quickly approaching! I'm not beating down the door to Christmas and the holiday season, but I'm just standing outside pacing.
94 days....do you have a sense of wonder? Or a sense of panic?
I'm here today to make your life a little easier. All you need is some cardstock (or pre-made tags), twine, stamps, mist, glitter glue, markers and some ingenuity.
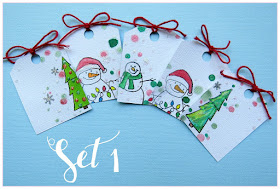
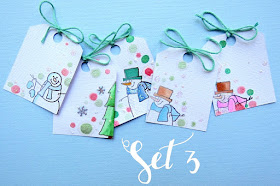
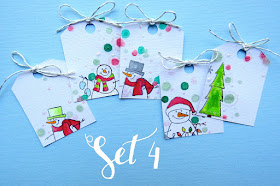
I used one sheet of white card stock to create these tags. I used a file and my cutting system to get an easy 20 tags out of the 12X12 sheet. Another easy way to get 20 tags? Buy some pre made ones.
I stamped on each tag. If you notice, I did not stamp them perfectly at all. They are all off center. This is perfect for people who aren't stamping gurus. I am among that category. I love stamps, I just get easily intimidated.
Once you get them all stamped and they are nice and dry, you can begin coloring. That is always the fun part! After they're colored...you can use some mist and spatter it all over the tag, or if you aren't into that..skip it! You can also add the glitter glue at this time...this is also optional.
Once everything is good and dry, add your twine. I simply threaded the twine through and tied a bow. You can either add another piece of twine to tie on a bag or gift...oooorr you can add a glue dot to the back and stick it right to a package!
I shared each set of 5 because I wanted to share all the fun little details. And here's the products I used to create these fun little tags:
Thanks for dropping by. Time to get started on your Christmas crafty projects? I'm off to do more of mine! :)


super cute
ReplyDeleteSuch cutie pie tags!
ReplyDeleteSuper fun and festive!
ReplyDelete